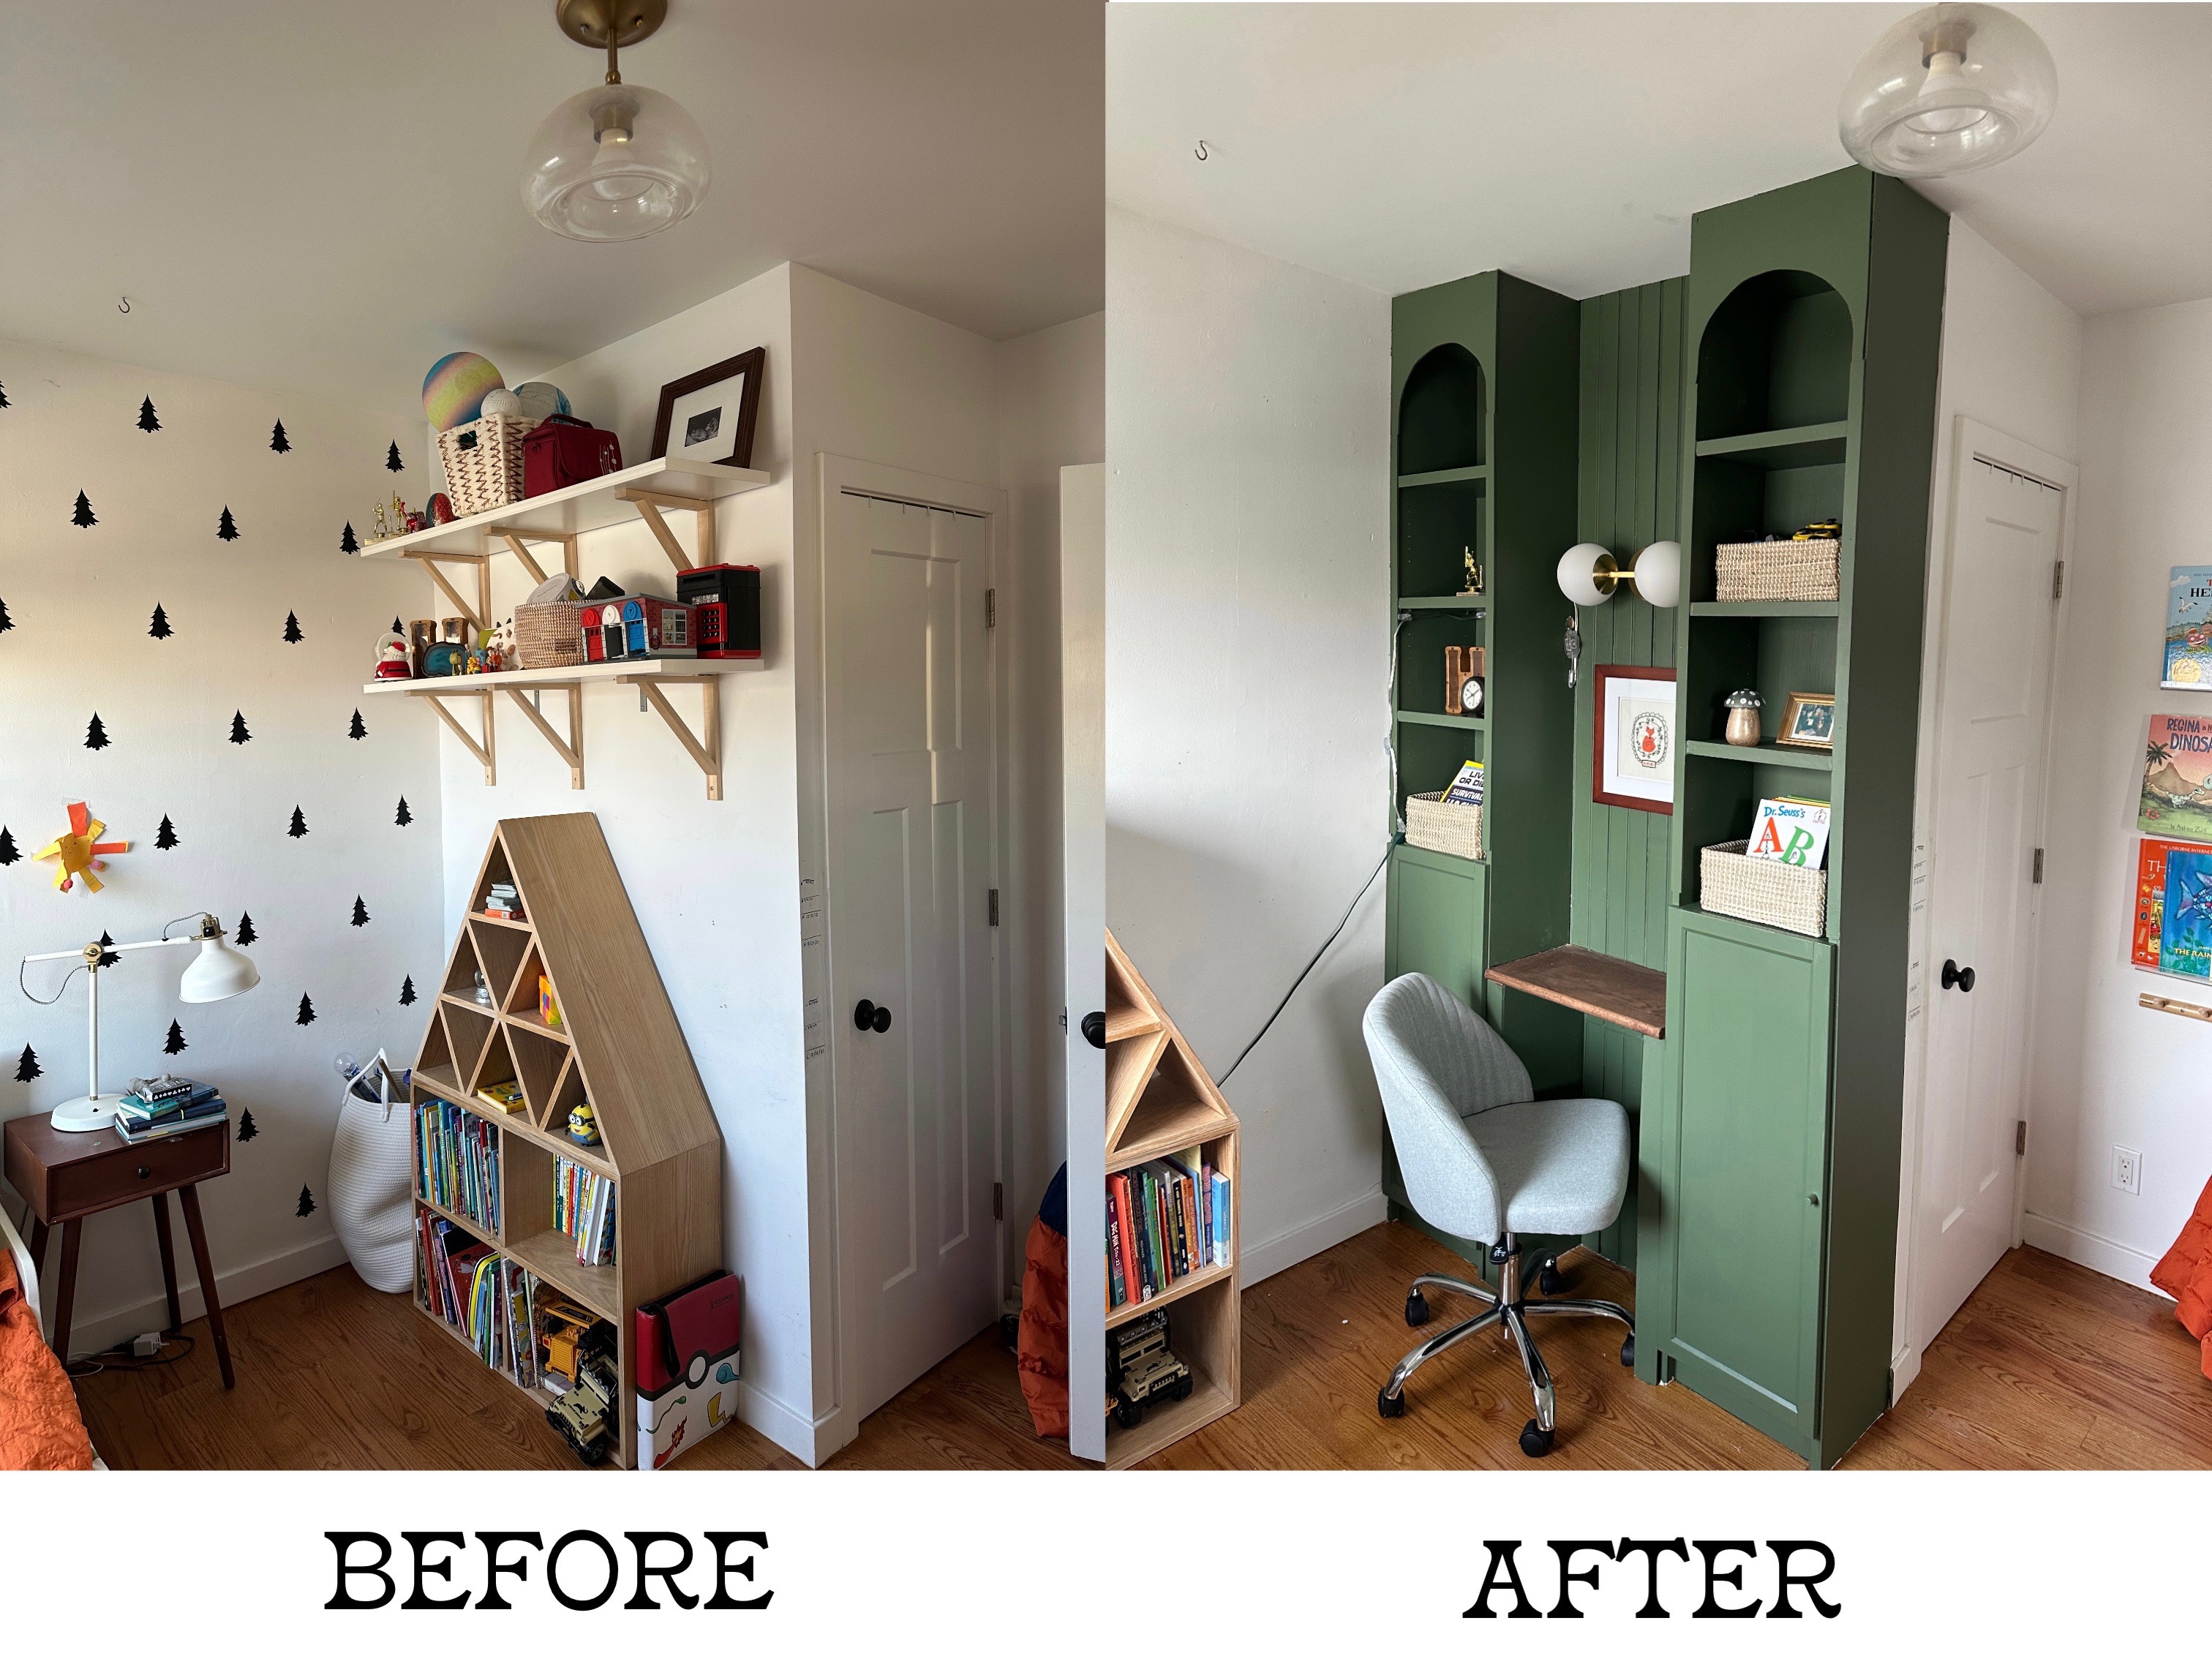
For my first DIY of the year, I’ve been working on transforming Hudson’s room into a big kid room! His room became very hodge-podge, with bits leftover from his nursery mixed with hoards of toys, baskets shoved in corners, and not much organization. The bed he’s been sleeping in since he is 2.5 (he’s now 6) was a teeny IKEA bed that we were ready to pass on to Charlie, so we began the planning process!
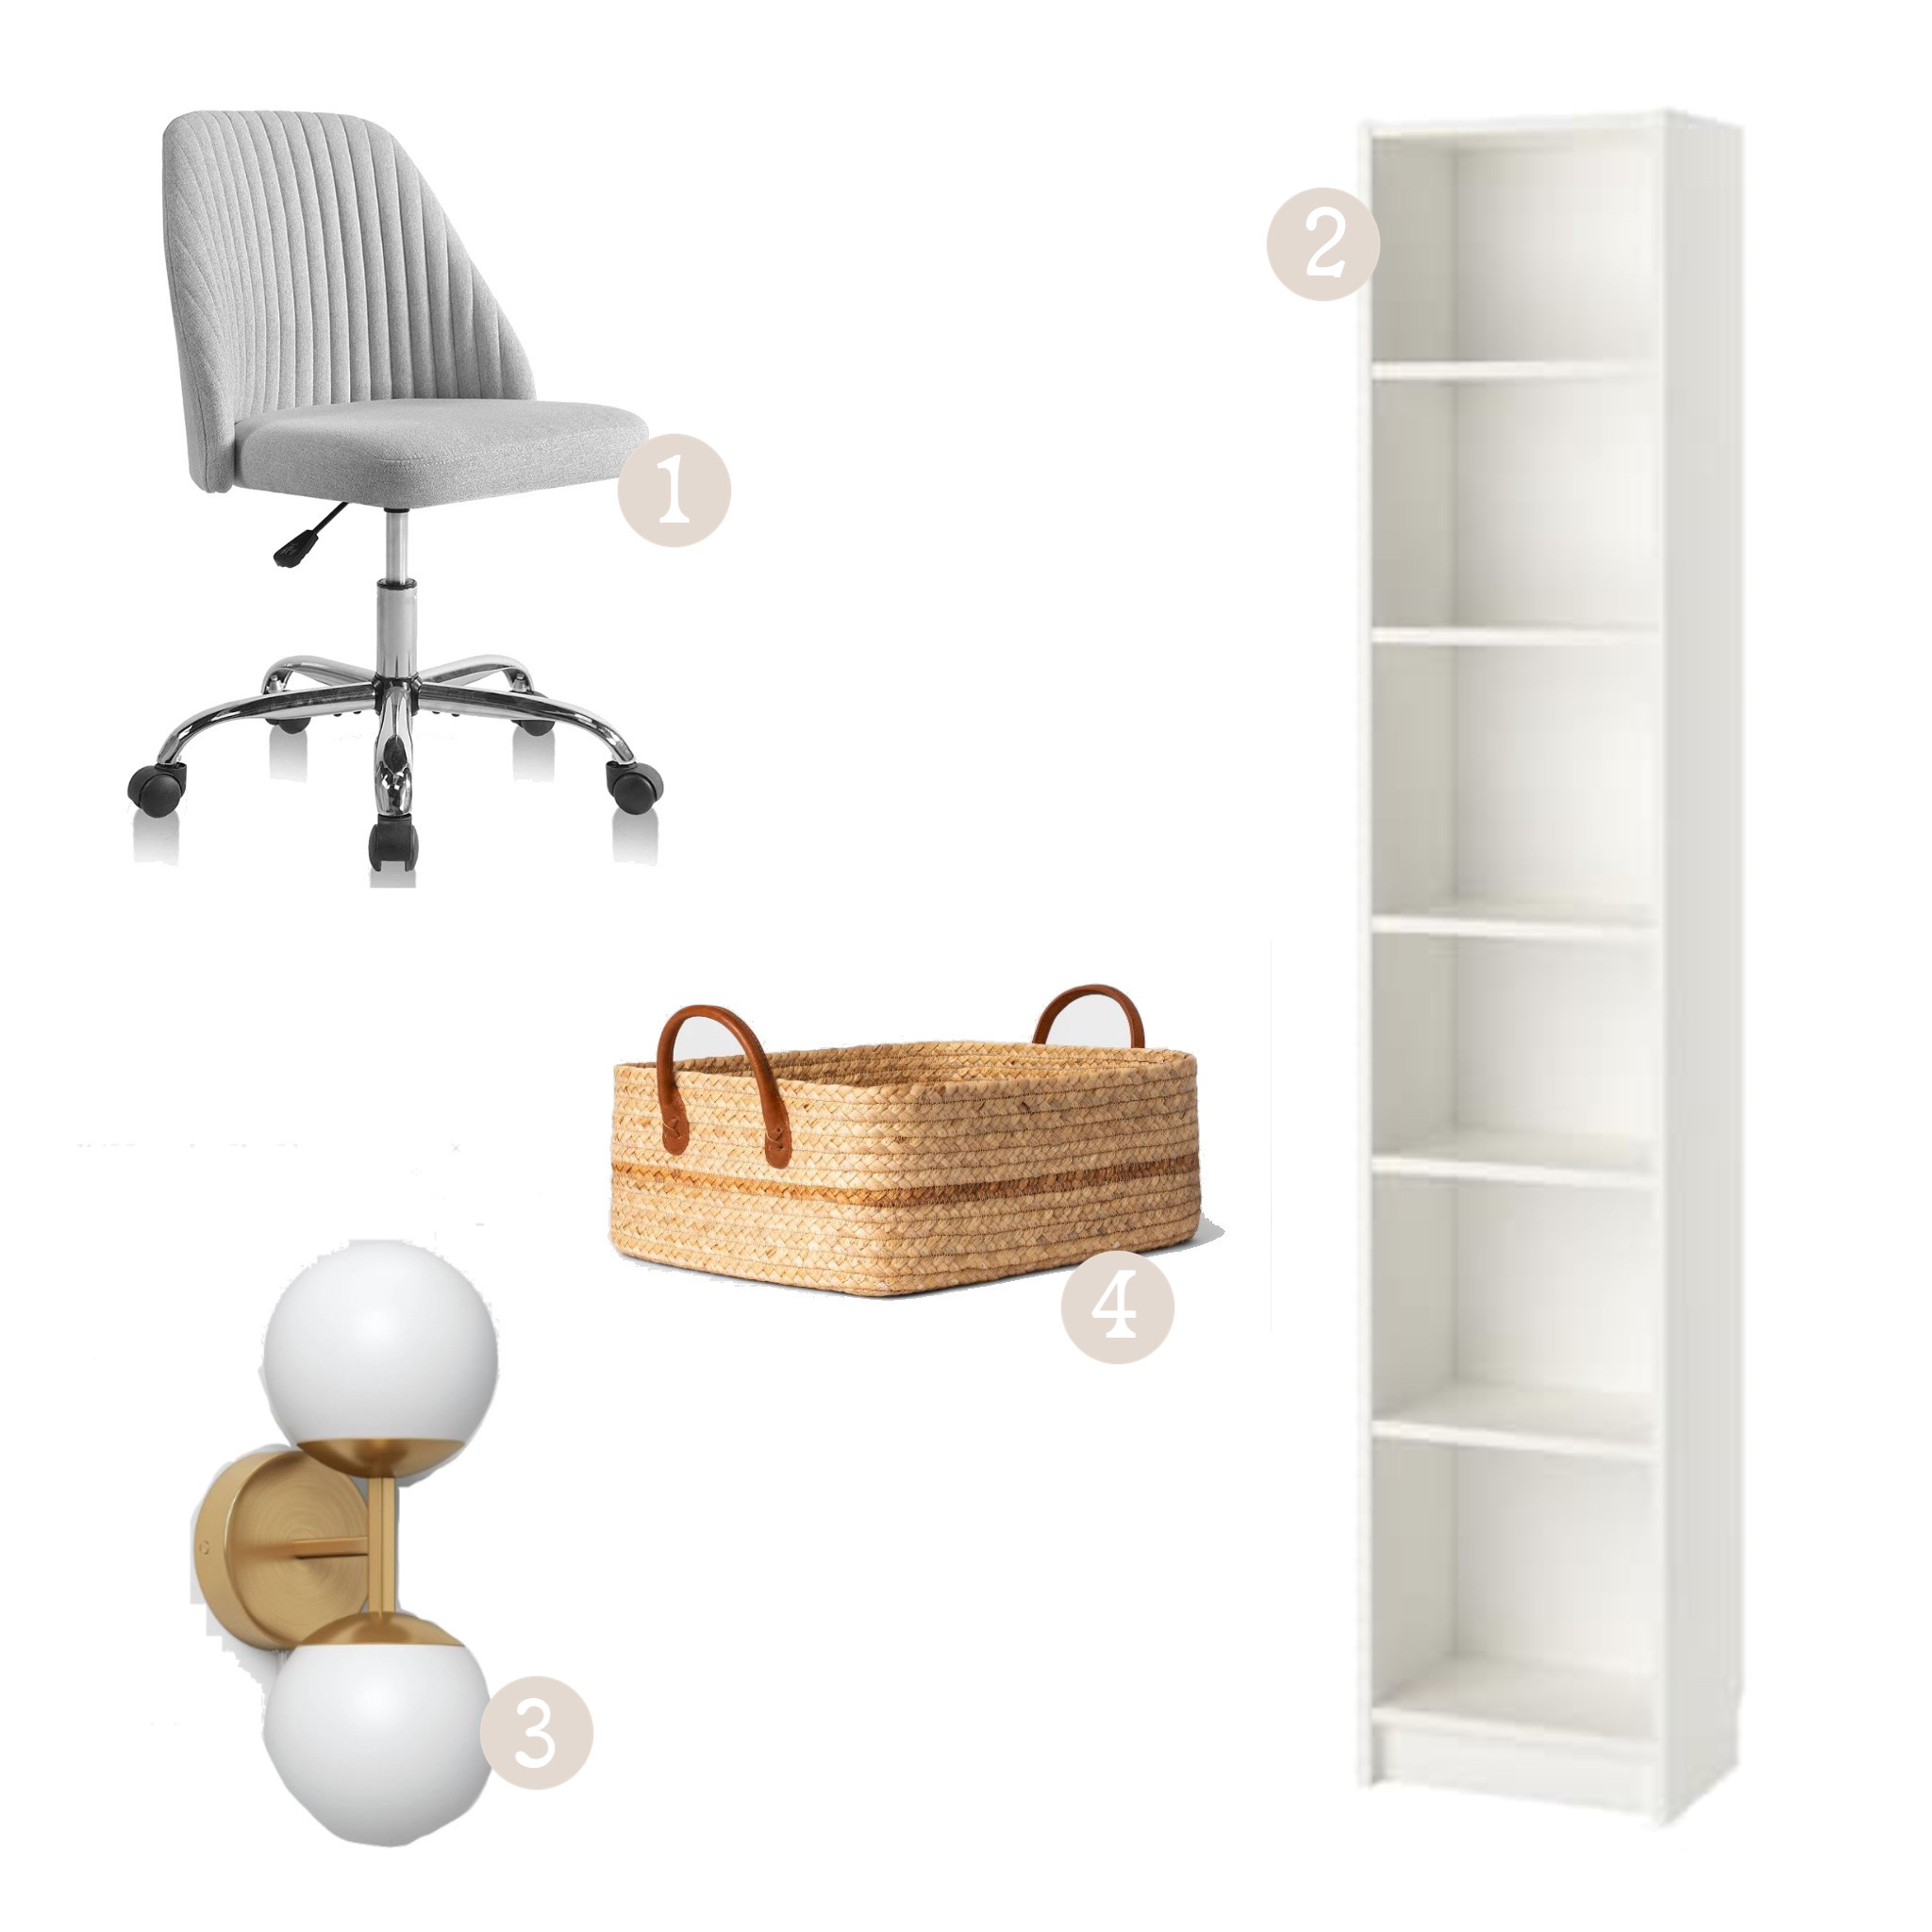
His room is pretty small, and we wanted to have a small desk, and some hidden storage options to organize his coloring books and crayons, board games, etc. I kept seeing this IKEA hack, and thought it would be perfect, with a small desk in between! I know a lot of people were concerned with the desk size, but honestly we needed to use the larger wall for a large dresser, since his closet is so small. This desk works for him, and if he ever needs to spread out more, there’s plenty of other options within our home. I purchased 2 X 15 inch Billie Bookcases, 2 extensions to get them closer to ceiling height, and two Oxberg doors.
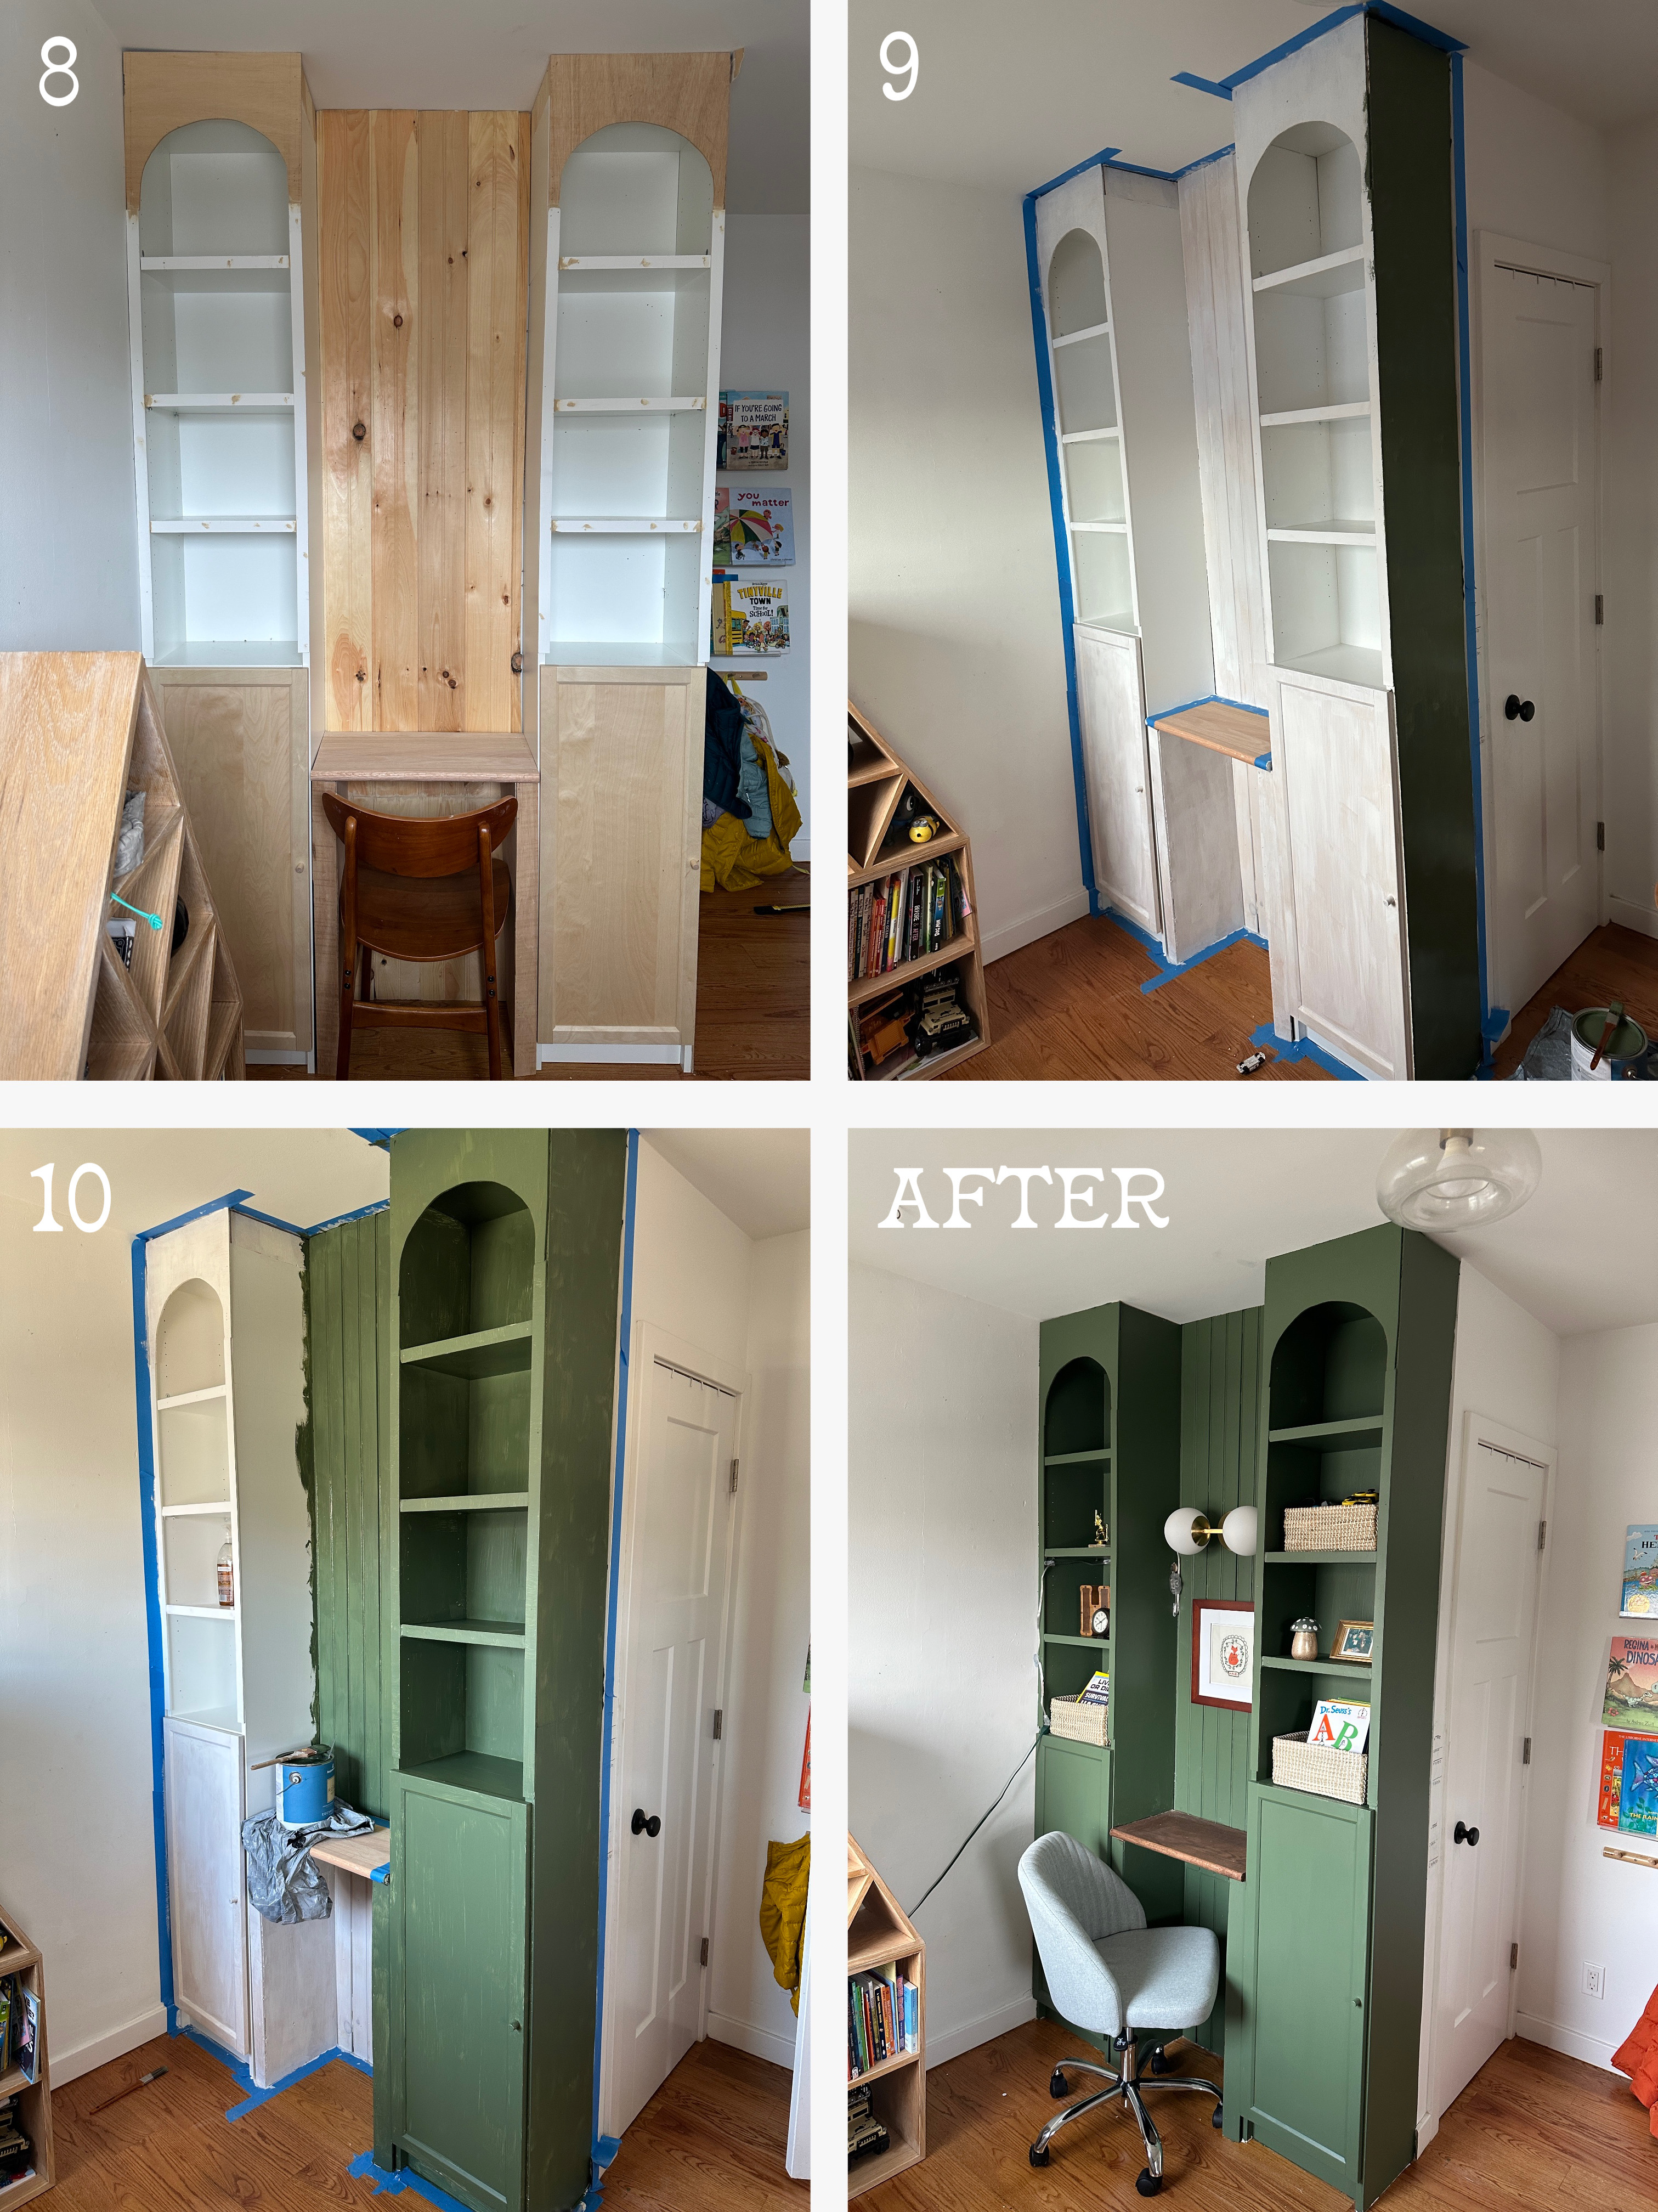
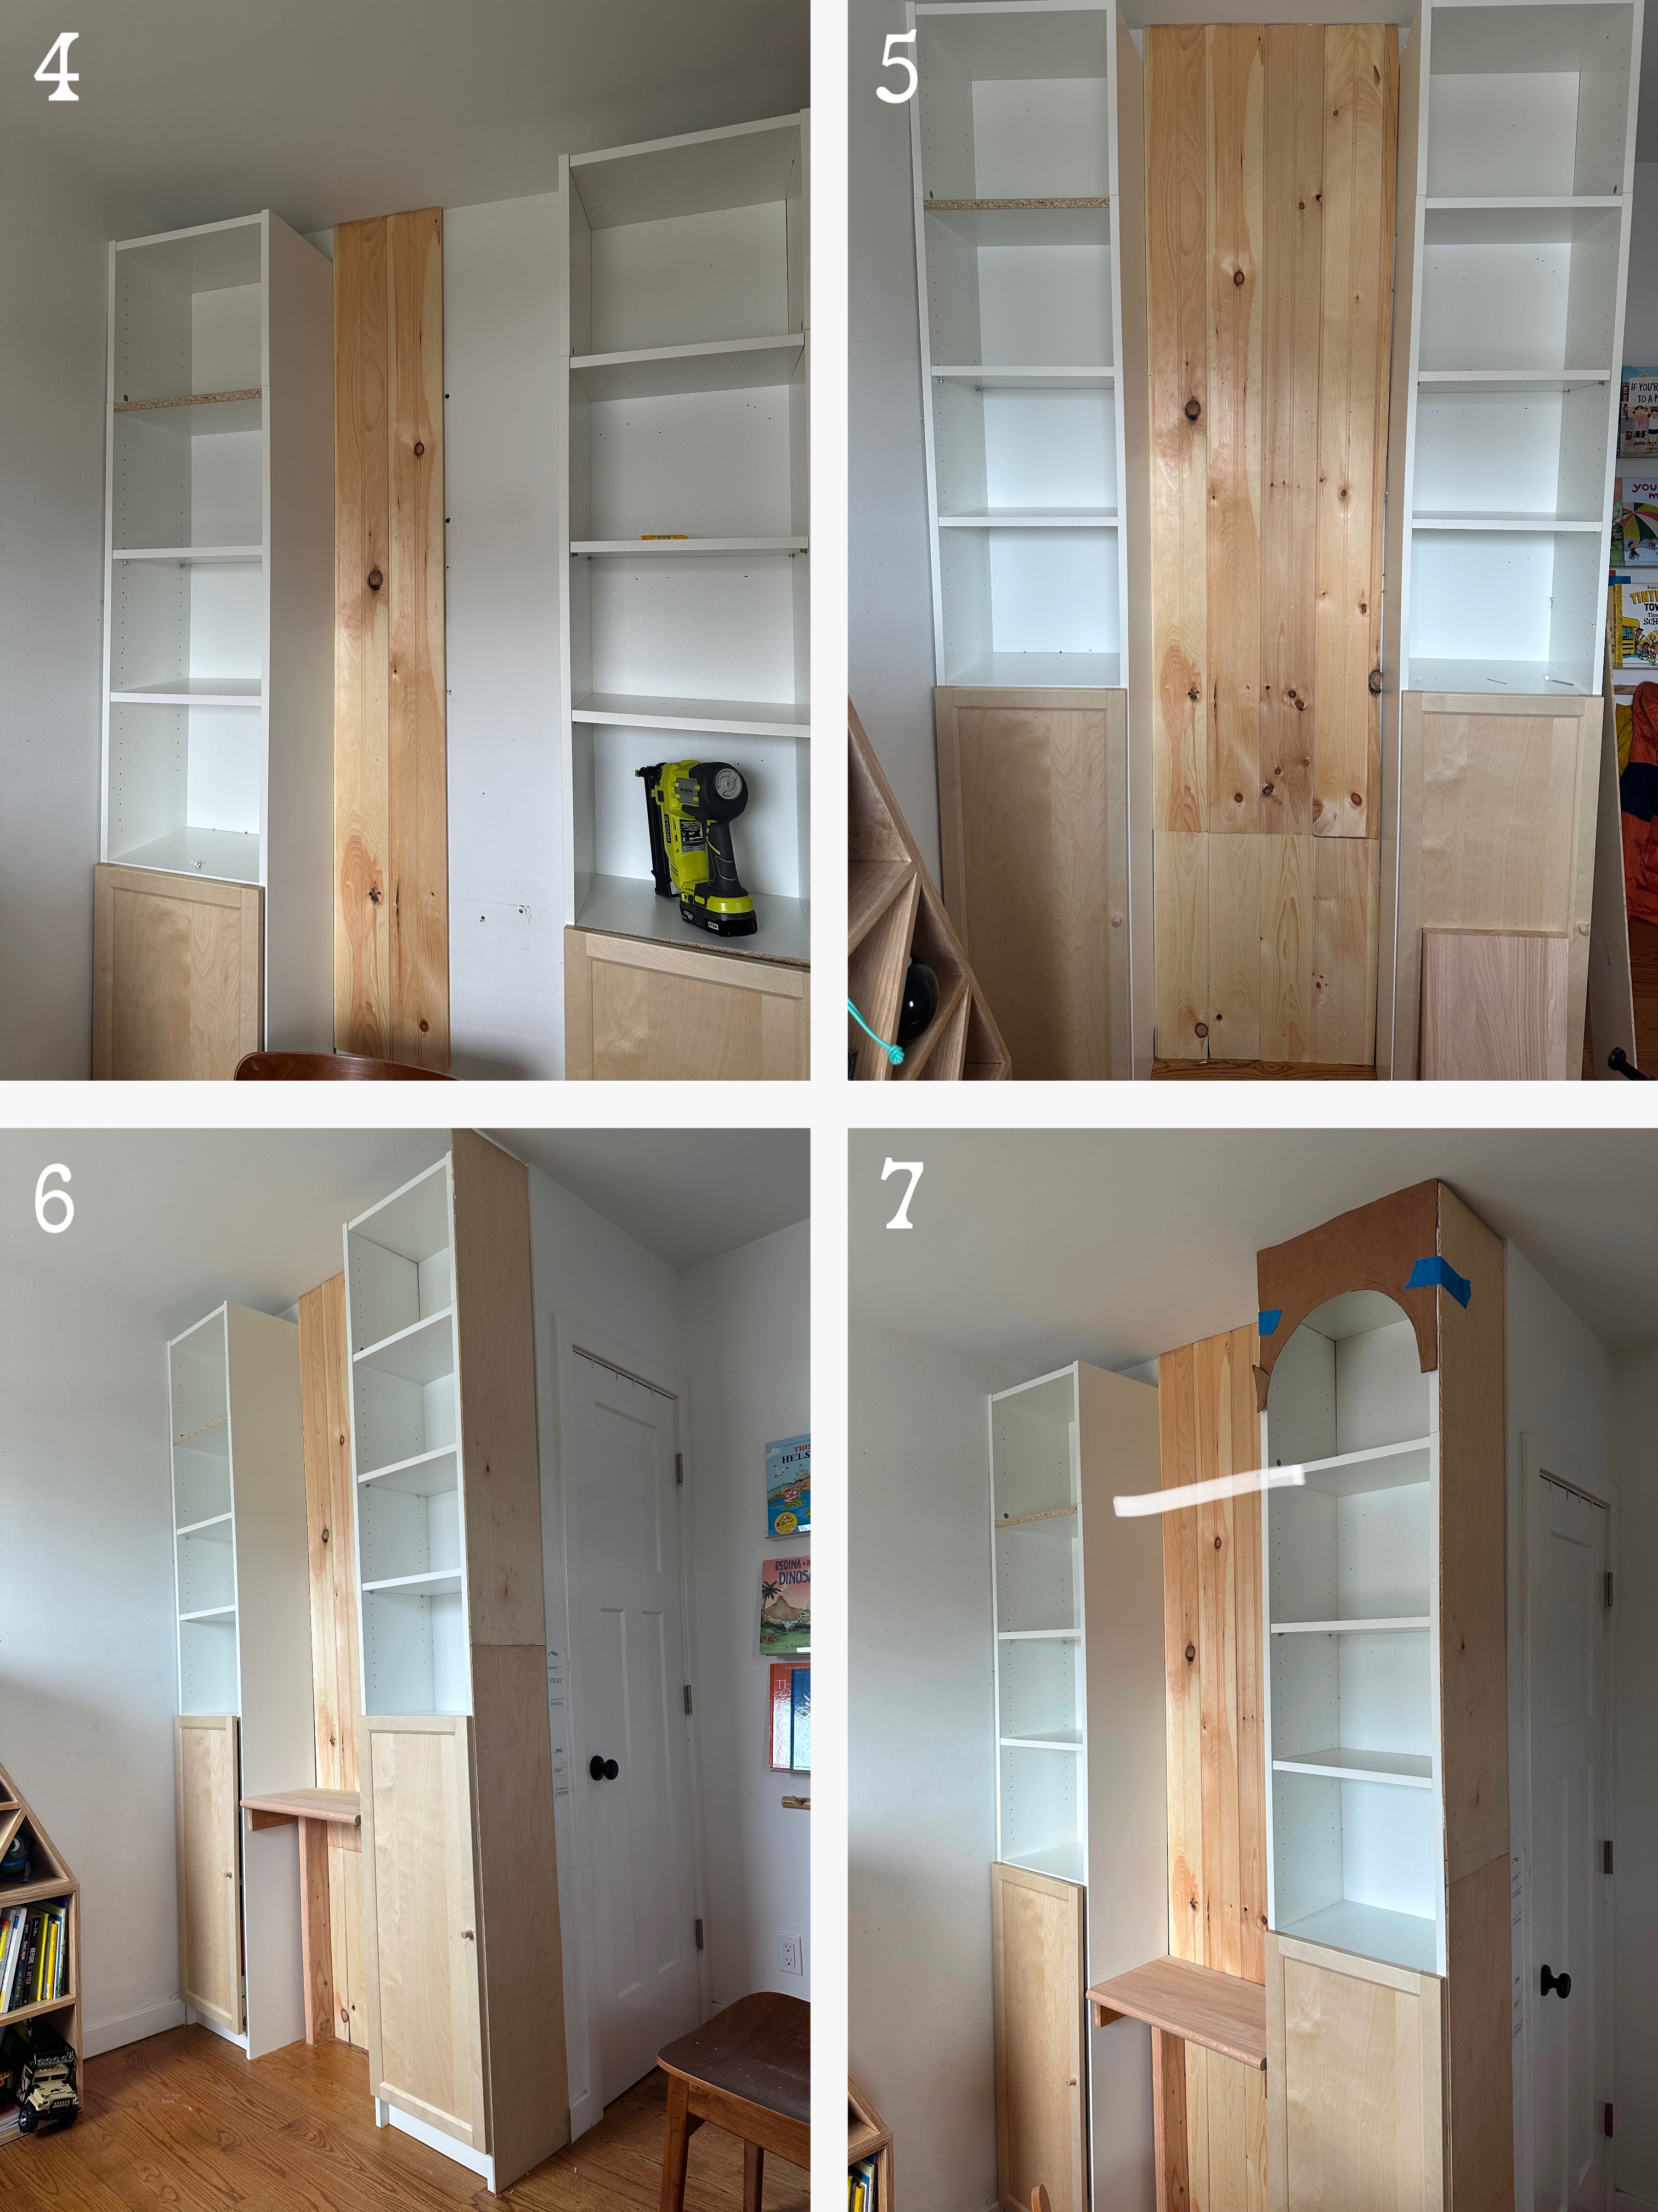
First I disassembled the open shelf situation that we had going on, and I built the Billy Bookcases.

For steps 4-5 I ran to Home Depot and purchased tongue and groove bead board for the space in between the two bookcases. It is fairly simple to install, and I used a Brad nailer for application.
On step 6 I added in the desk portion, using a red oak stair tread that I cut down to size.
To create the arched look in step 7, I first cut the shape out of cardboard to get the sizing and shape correct. I then used my jigsaw to cut the shape out of MDF board. I ripped strips of MDF to run along the sides and front of the shelving as well, to give it a more custom and built in look.
Once the entire thing was built, I went back in with wood filler to fill in any gaps, and I sanded everything down! Then I began to prime, using Zinser primer. The IKEA shelf is pretty shiny, and definitely needs primer to keep the paint from chipping off.
The paint color I used for the shelves is Benjamin Moore Peale Green. In my eyes, it is one of the most perfect shades of green that I’ve laid eyes on, and I’ve painted a lot of various greens!
I am really happy with how everything turned out! There’s of course some flaws, since this was my first time every trying this DIY, but I learned a lot, and have been loving watching Hudson do his homework and color at the desk!