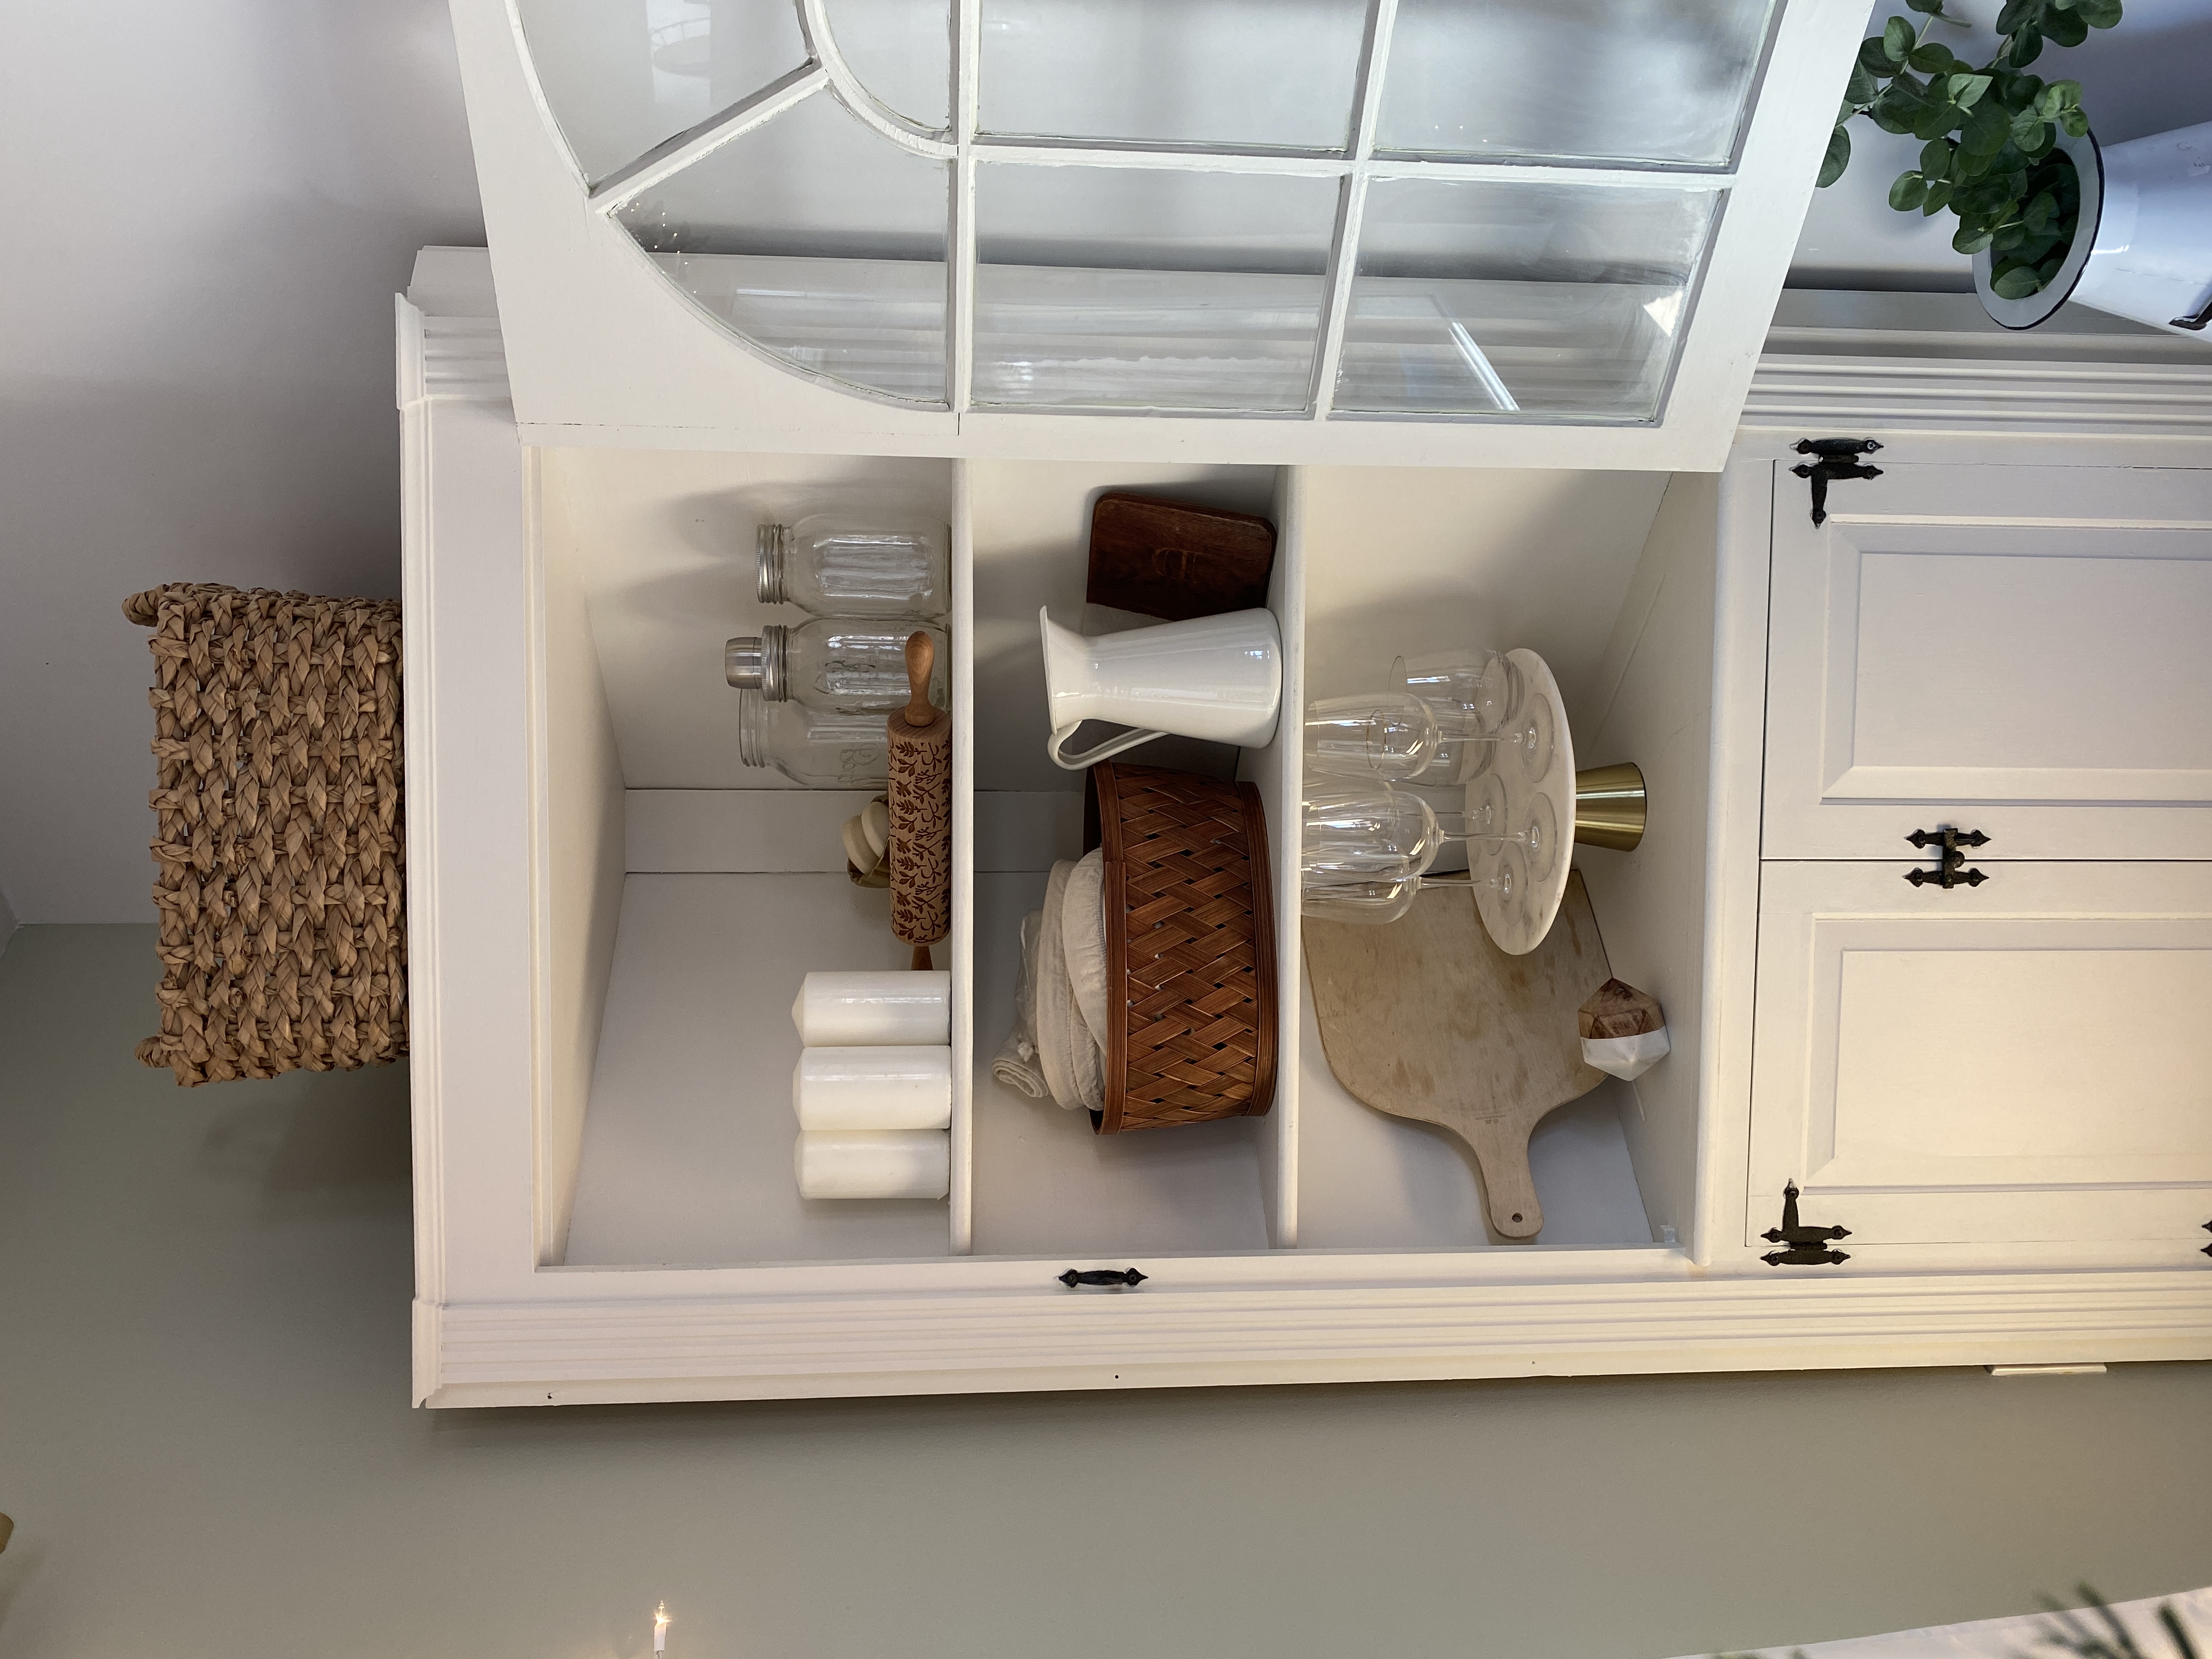
BEFORE:

I picked up this gorgeous corner china cabinet on Facebook Marketplace for $200, but in the photo it looked white. When Matt picked it up and brought it home, I was shocked to find out it was a weird neon-y lime green color! It wasn’t the worst color around, but I didn’t love it, so I decided to paint it!
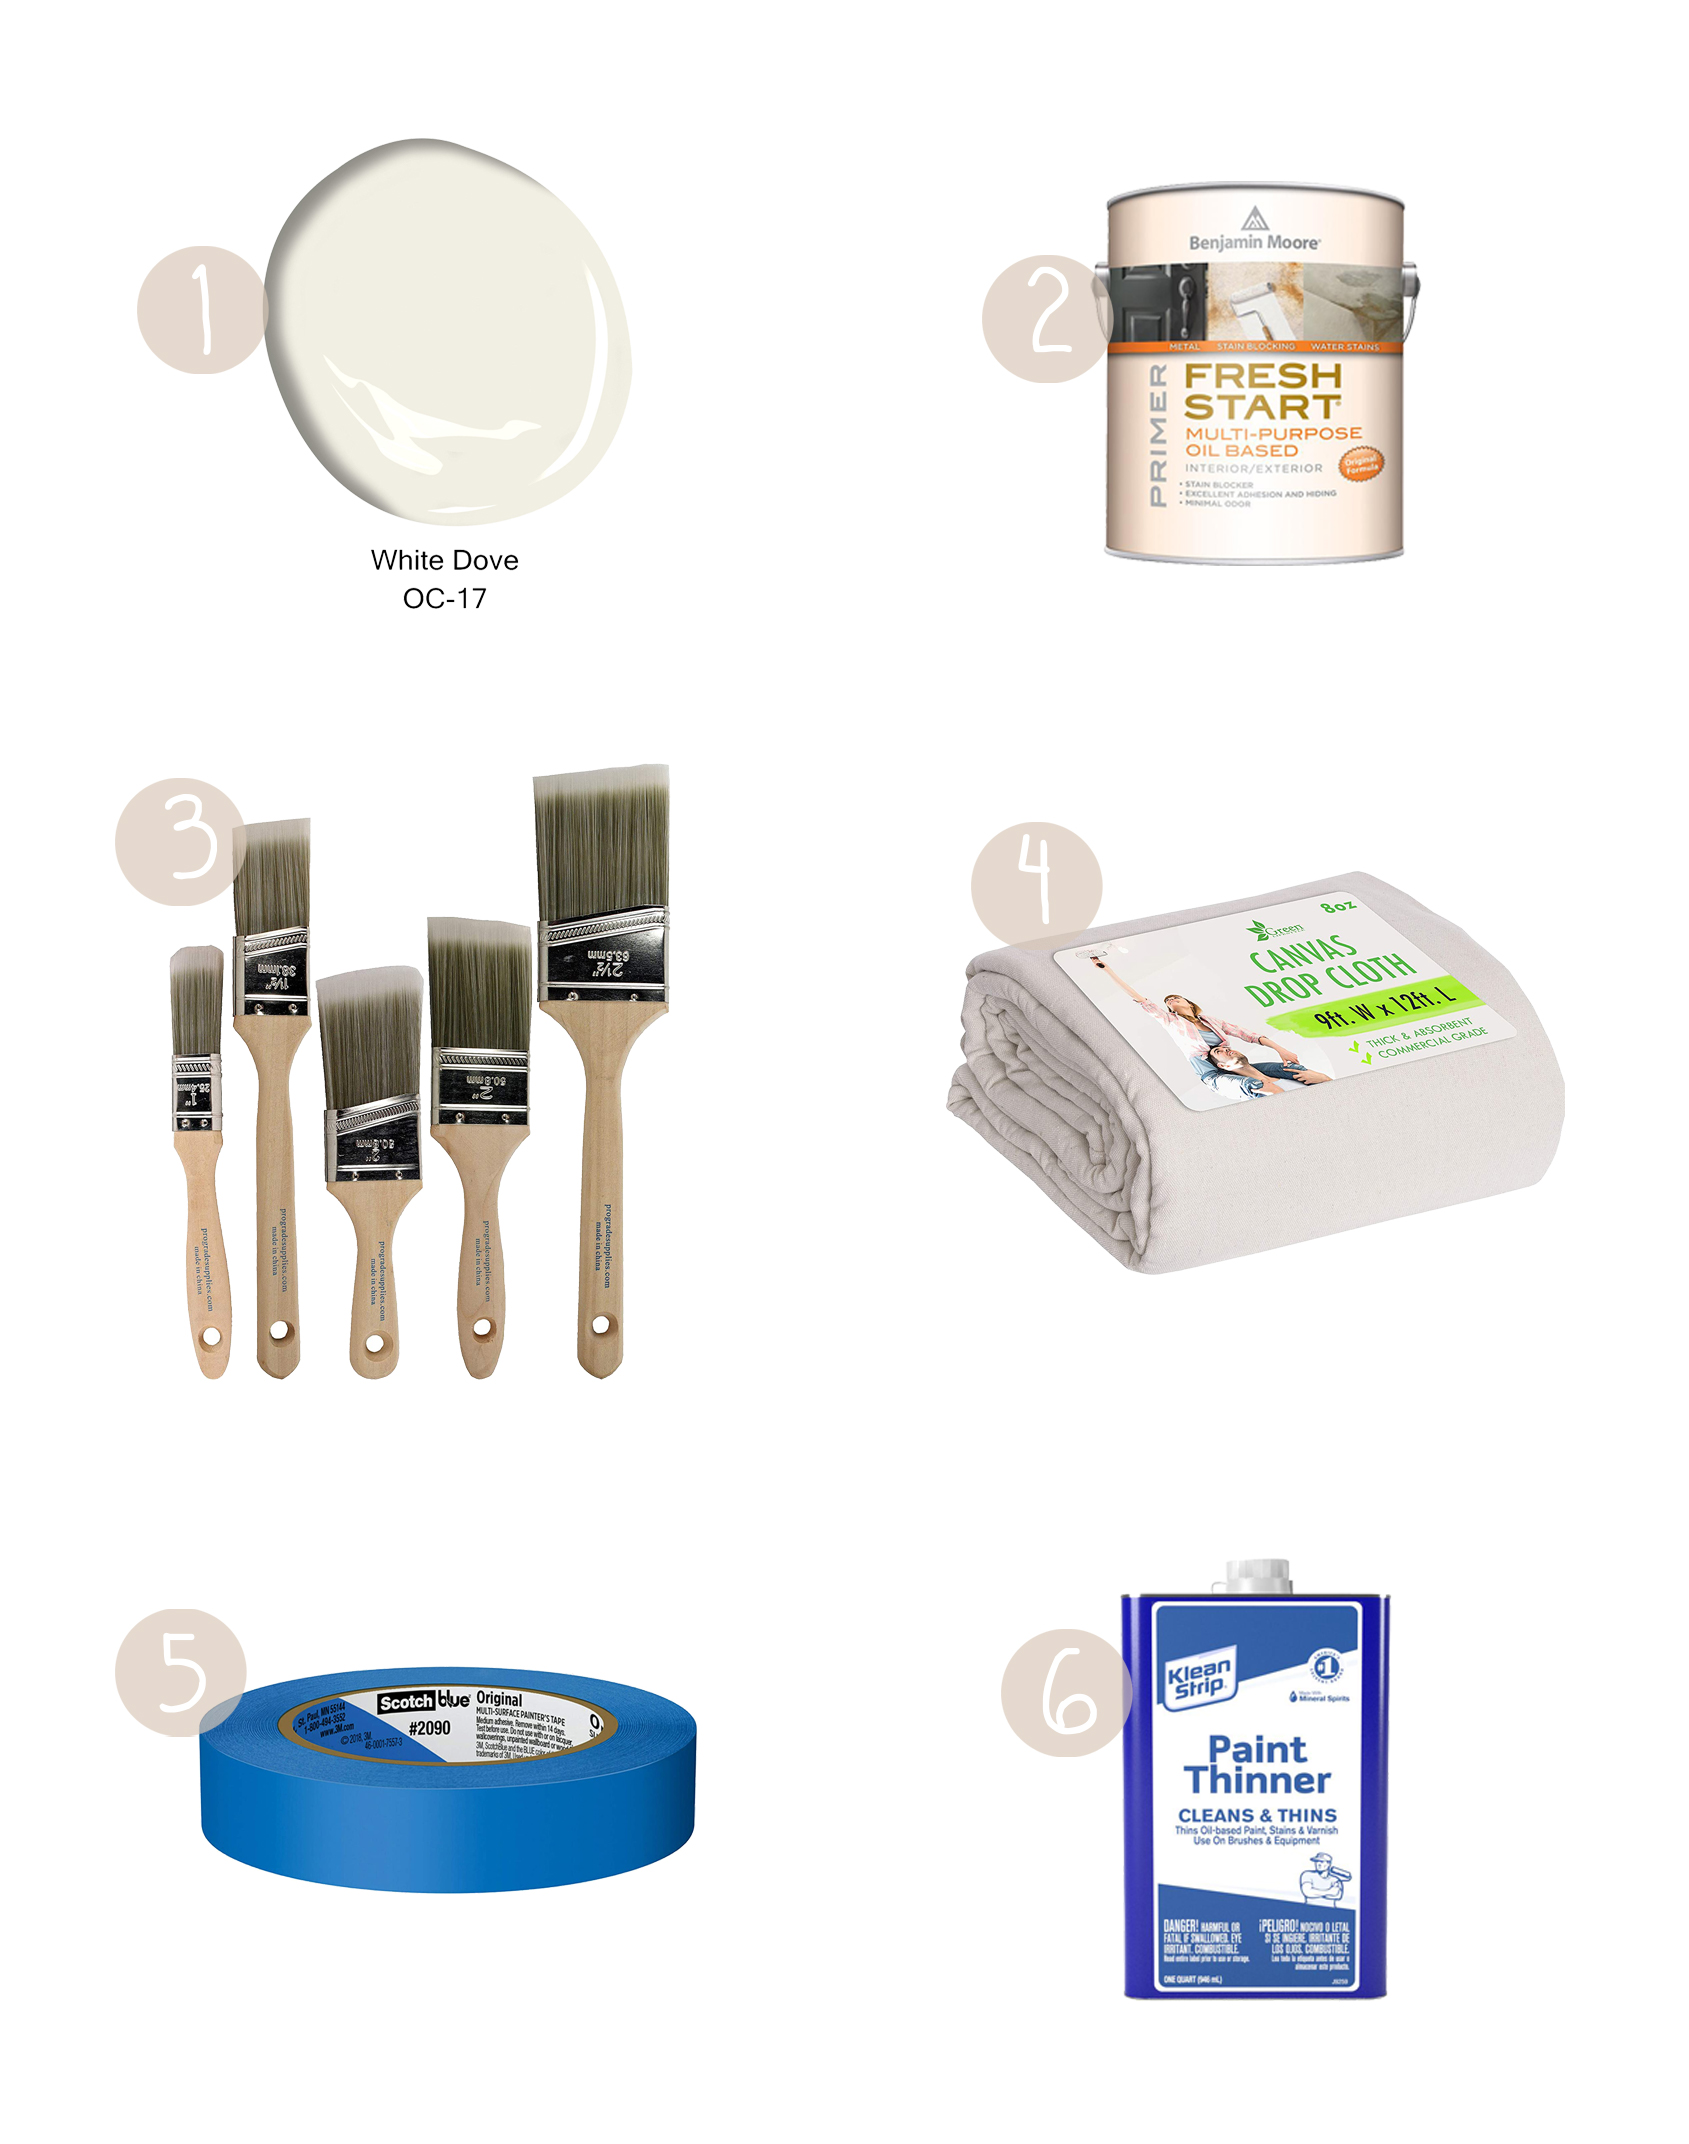
Painting furniture isn’t super complicated, but I figured I would list out what I used, in case anyone else is wondering what kind of paint to pick up, etc.
Step 1: Clean the piece really well and sand (optional). I cleaned mine (it was sooo dirty!) but opted not to sand, because it is super tedious and messy, and I find that a lot of the time it is not completely necessary, unless your surface is rough.
Step 2: Prime! When priming walls I usually use a water-based paint, but for furniture I like oil based. Beware, it can be messy and takes longer to dry! I put two coats on for extra coverage. You will need paint thinner to clean your brushes off FYI! I also opted to not tape while painting this piece, because the shape of the glass required a super tedious and small brush to paint correctly, but I would always recommend taping if theres spots that you don’t want to get painted! Sometimes when theres a lot of curves, taping is more work, though, so just use personal judgement!
Step 3: The fun part – paint the piece! I used the color White Dove by Benjamin Moore because it has a slight creamy warmth to it. I always paint two coats for thicket coverage!
Make sure you let your piece dry really well before putting anything back inside of it! and Voila!