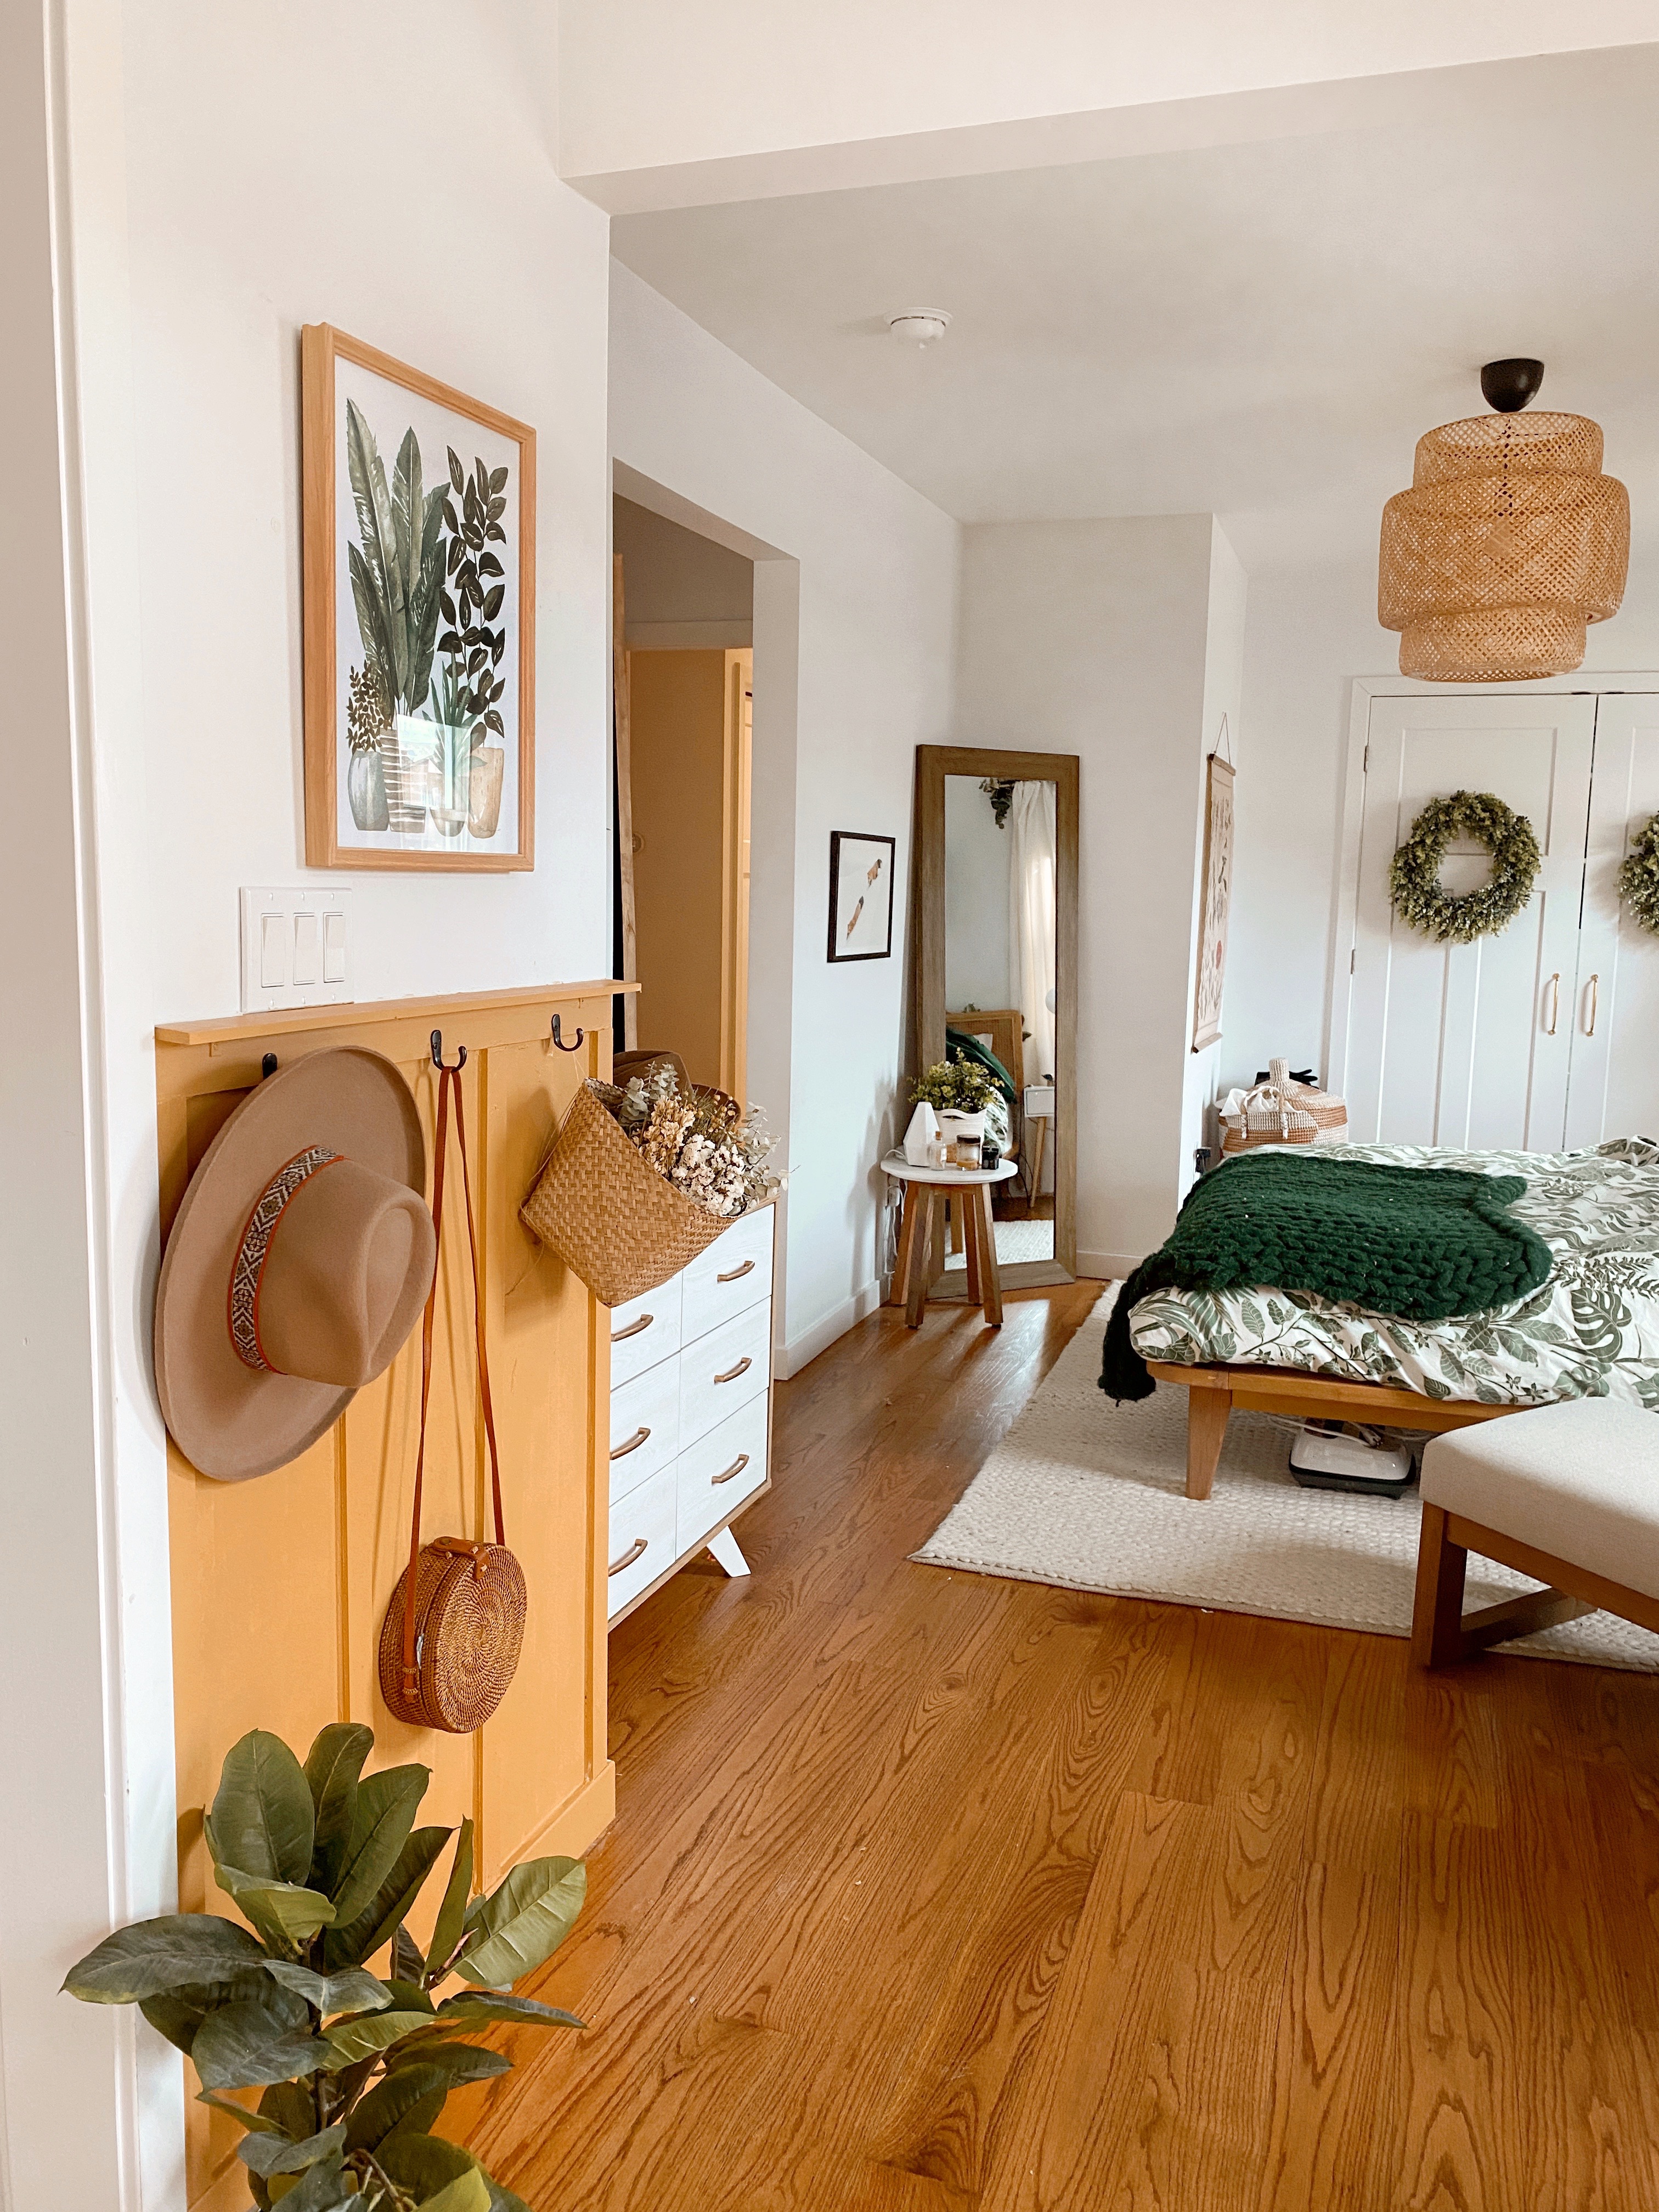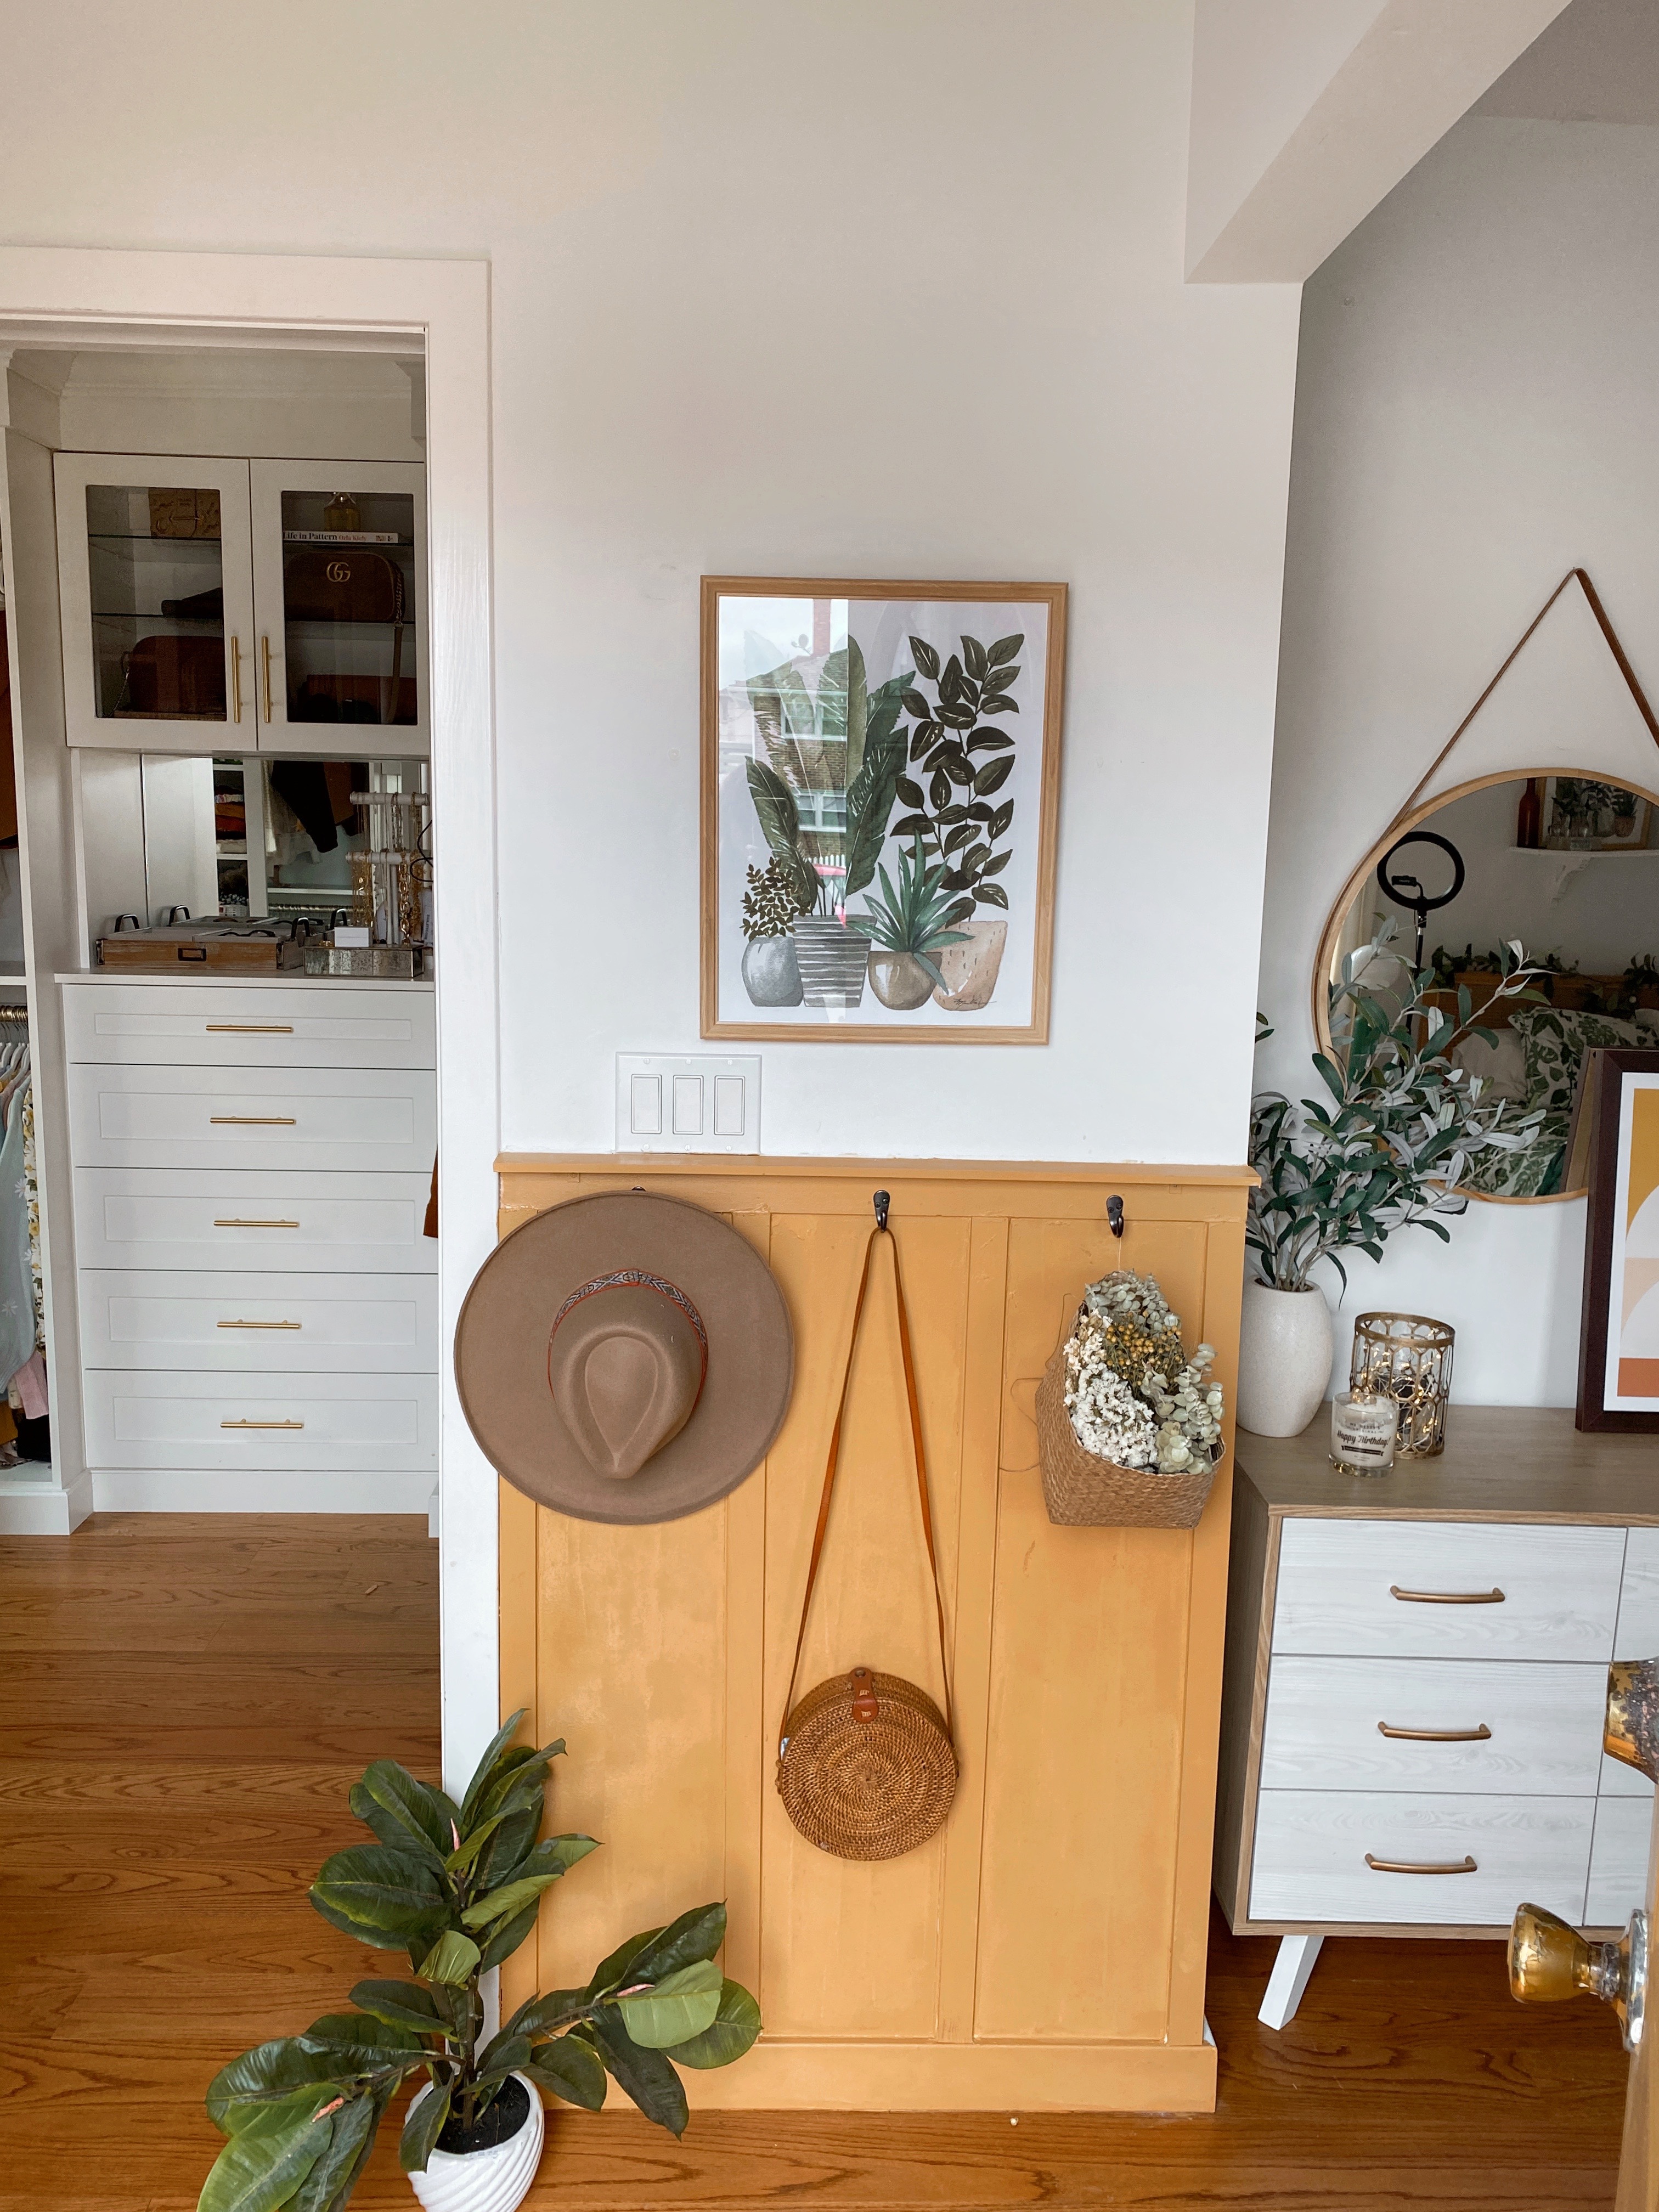
As we approach the two year mark on moving back into our renovated home, I’ve been slowly completing all of the smaller and more time consuming projects that have been on my list. One of them was creating a Board and Batten wall with hooks outside of my closet to store bags, hats, etc. and to add some color to an all-white space. I had seen tons of tutorials on board and batten on tik tok, and finally was feeling up to the challenge! This job did require a few tools, listed below:
Tools you will need:
Ryobi (or brand of choice) Brad Nailer
Supplies Used:
Paint of your choice – I used Chinese New Year by True Value
Pine lattice molding – find the size that suits your needs, but this is the one I went i went with.
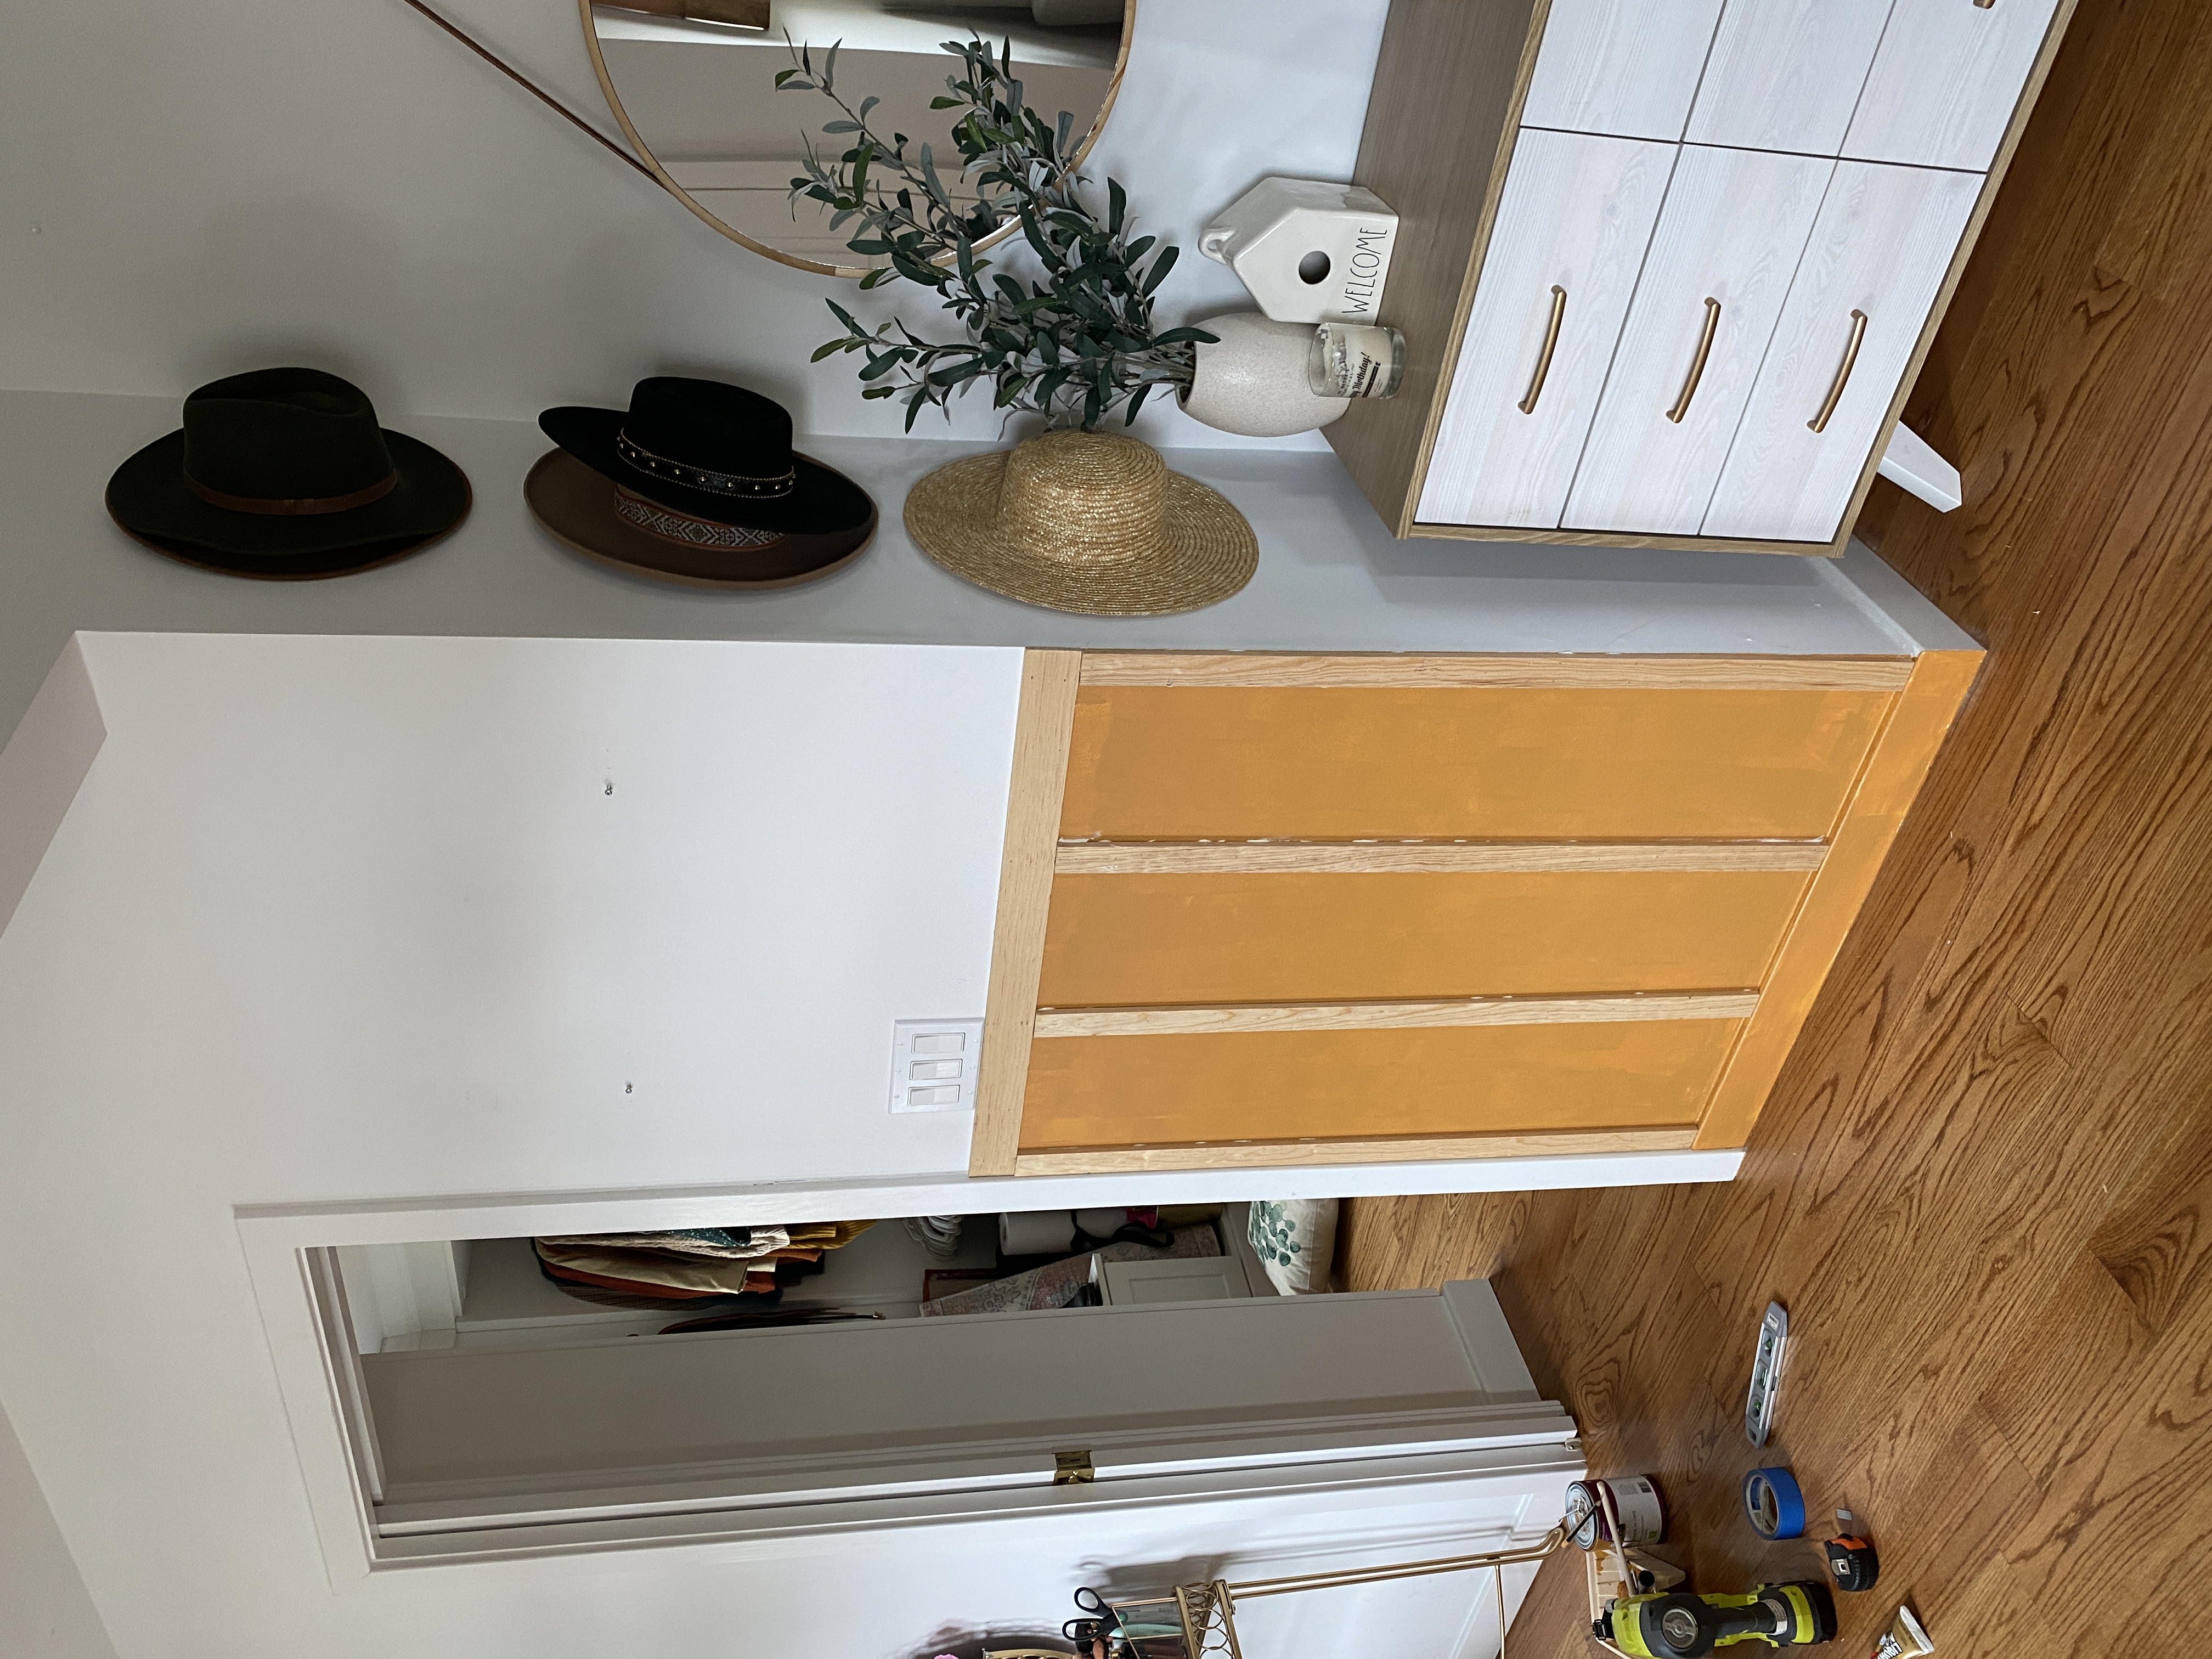
Adding Board and Batten took me about 1 full day in total, between picking up supplies, measuring, making cuts, and installing. I ended up going with this gorgeous Chinese New Year by True Value, and am so happy with the color, and how it turned out!
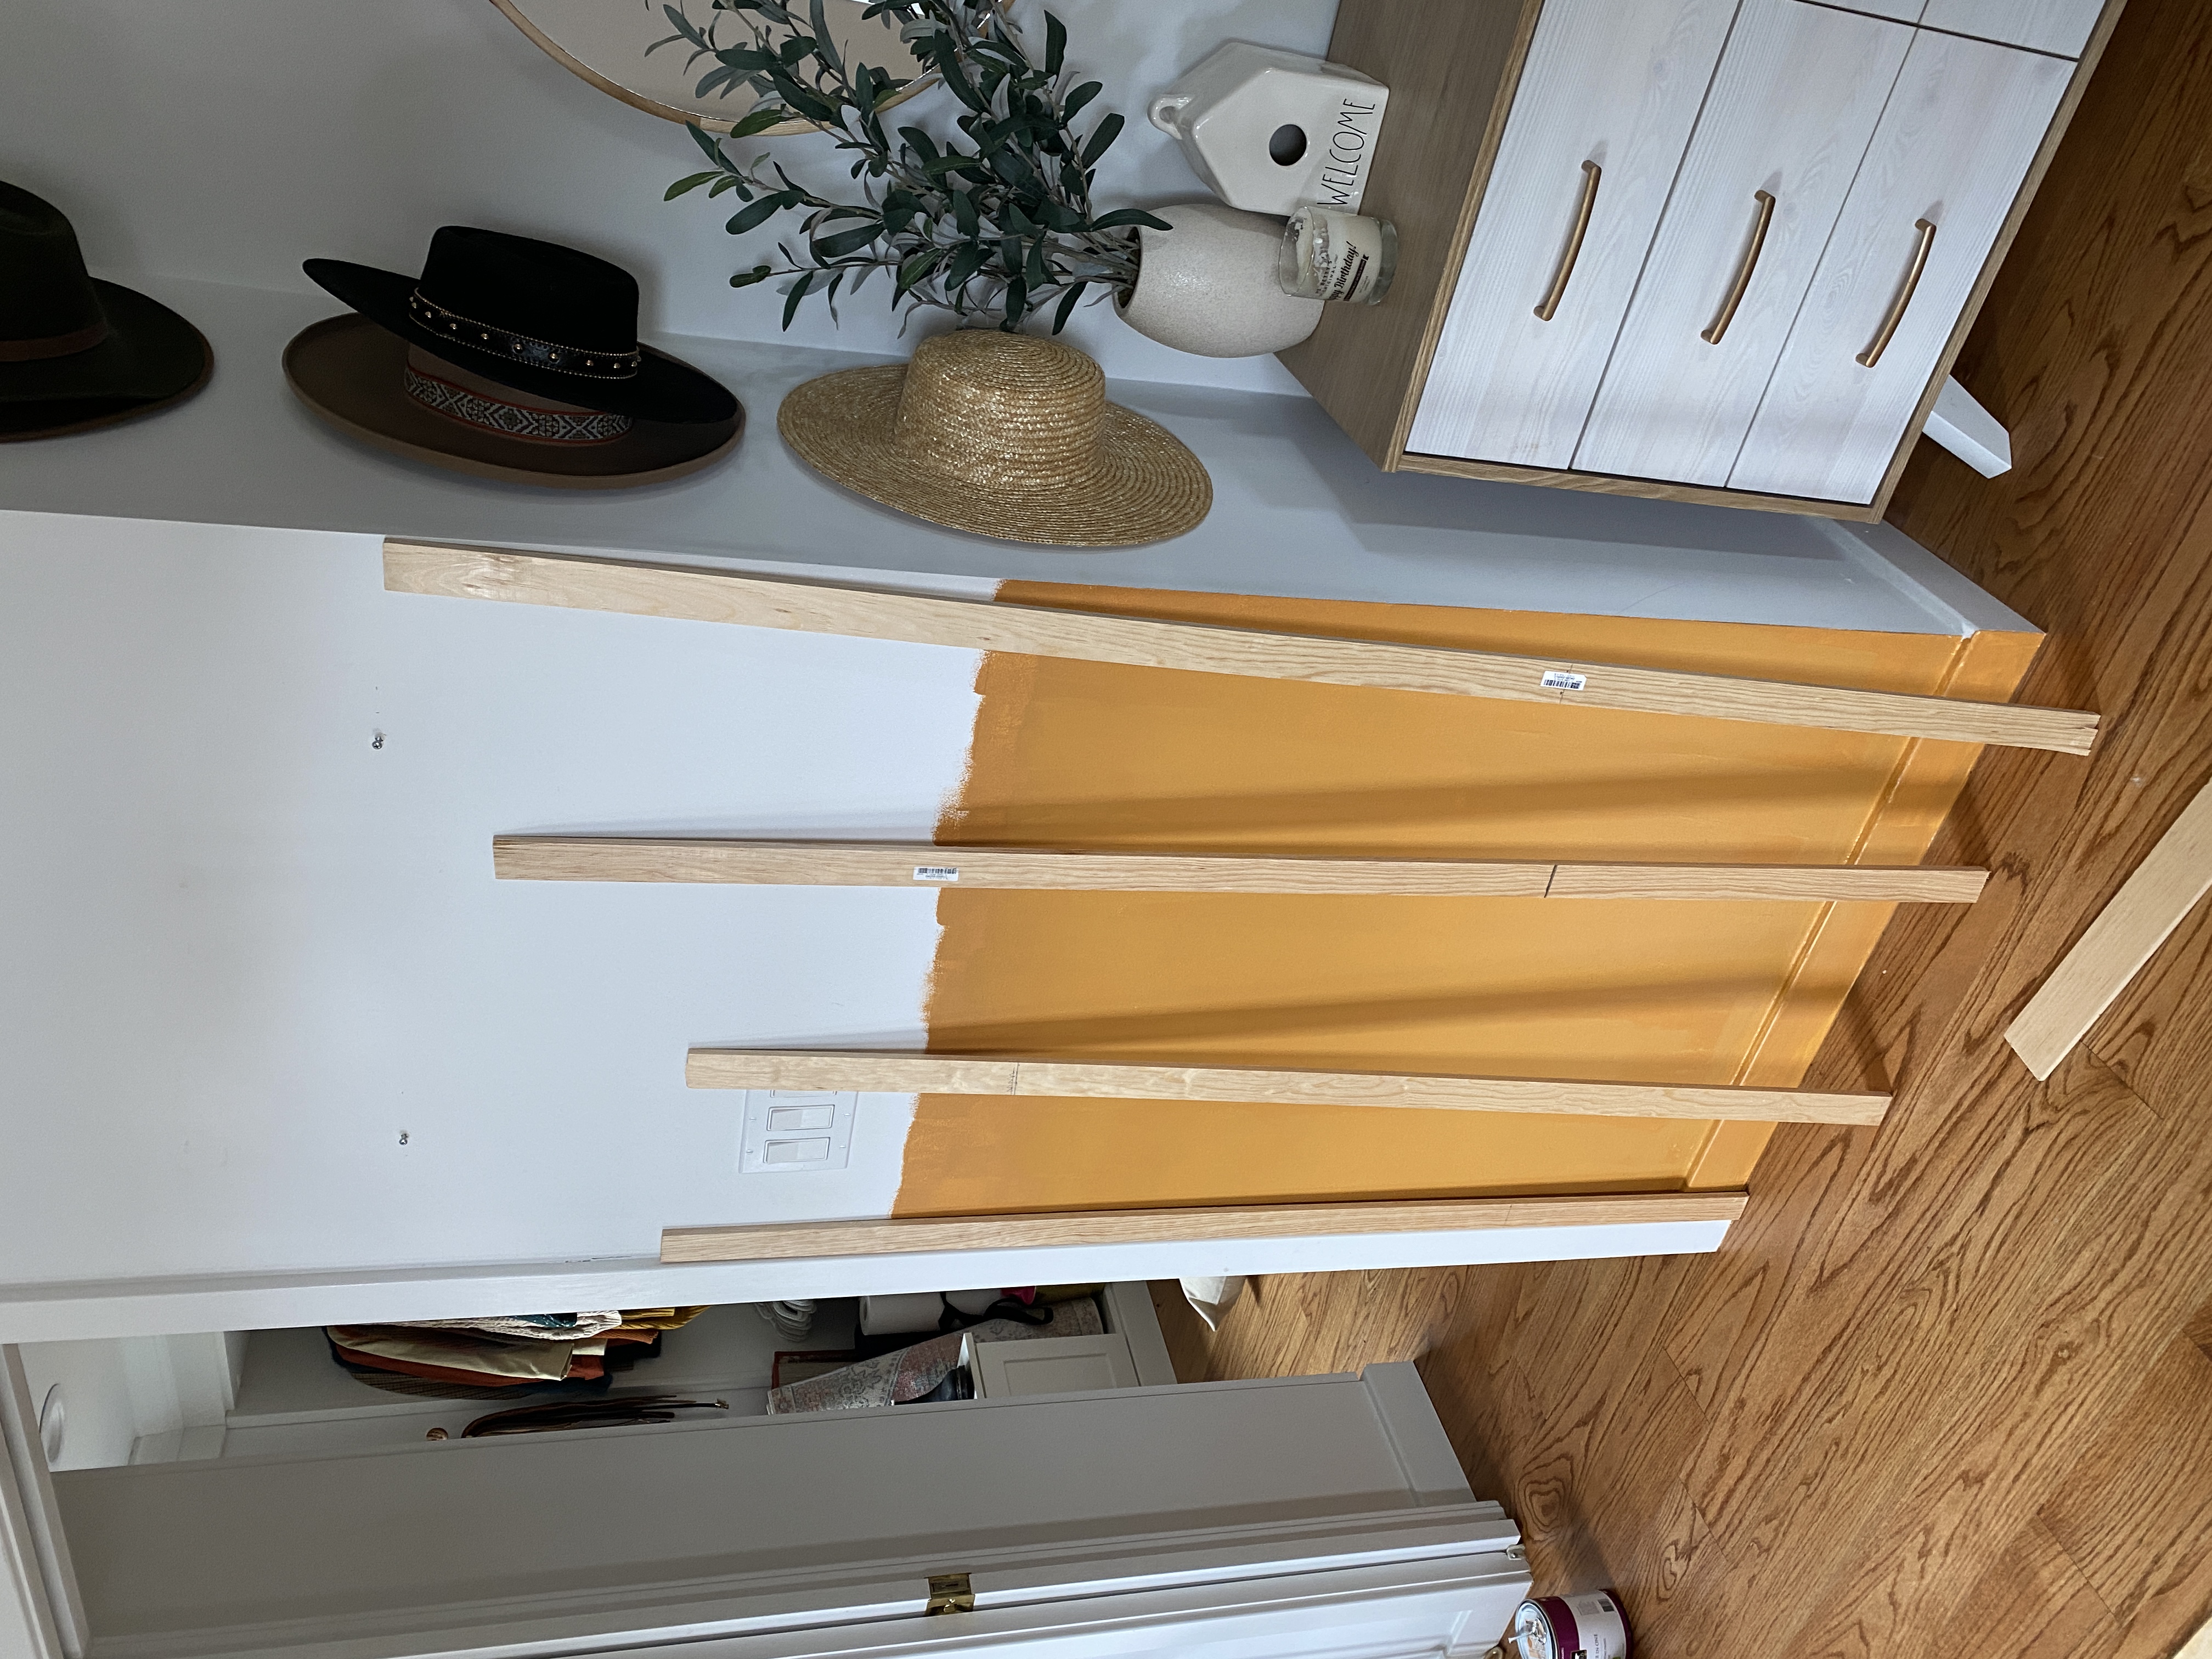
Before getting started, you need to decide how tall on the wall you would like your Board and Batten to hit. I decided on 48 inches, so it sits right below my light switch. If your wall has a light switch, I would suggest doing the same. I started by painting the wall, to make life easier once the wood is installed and I have to paint everything. The paint doesn’t have to be exact, since it is just the first coat.
1.Install the top piece at the height you’d like your Board and Batten to end
Because my walls were smooth and flat, I ended up installing the B&B directly to the walls. I first cut and installed the top piece at 48 inches above the floor line.
2. Figure out spacing & cut our your vertical pieces
Once your top piece is installed, you’ll need to cut your vertical pieces. I spaced mine 8.5 inches apart. I laid the two end pieces, and then figured out how many pieces I wanted to fit in between them for my desired look.
3. Begin attaching the vertical boards
I began attaching the vertical boards from right to left. In order to attach, I first glued each board with liquid nails for extra security, and then I nailed the pieces in with a Brad Nailer. I highly recommend using a brad nailer, so the nails are almost invisible and it has a more seamless and high-quality look to it. I used 2 inch brad nails.
4. Attach moulding on top of chair rail
Ideally the decorative top would go above the chair rail, and nail right into it, but because mine hits right up against the light switch, I used a corner brace to screw it into the chair rail itself.
5. Caulk all gaps
This step makes a huge difference in the end – I took caulk and caulked all of the gaps between the wood and the wall to make it look more seamless. Once this dries, you can paint! I painted 2 coats so the color is extremely rich!
The entire project cost about $150, not including the Brad Nailer! Such a big change, and so affordable!