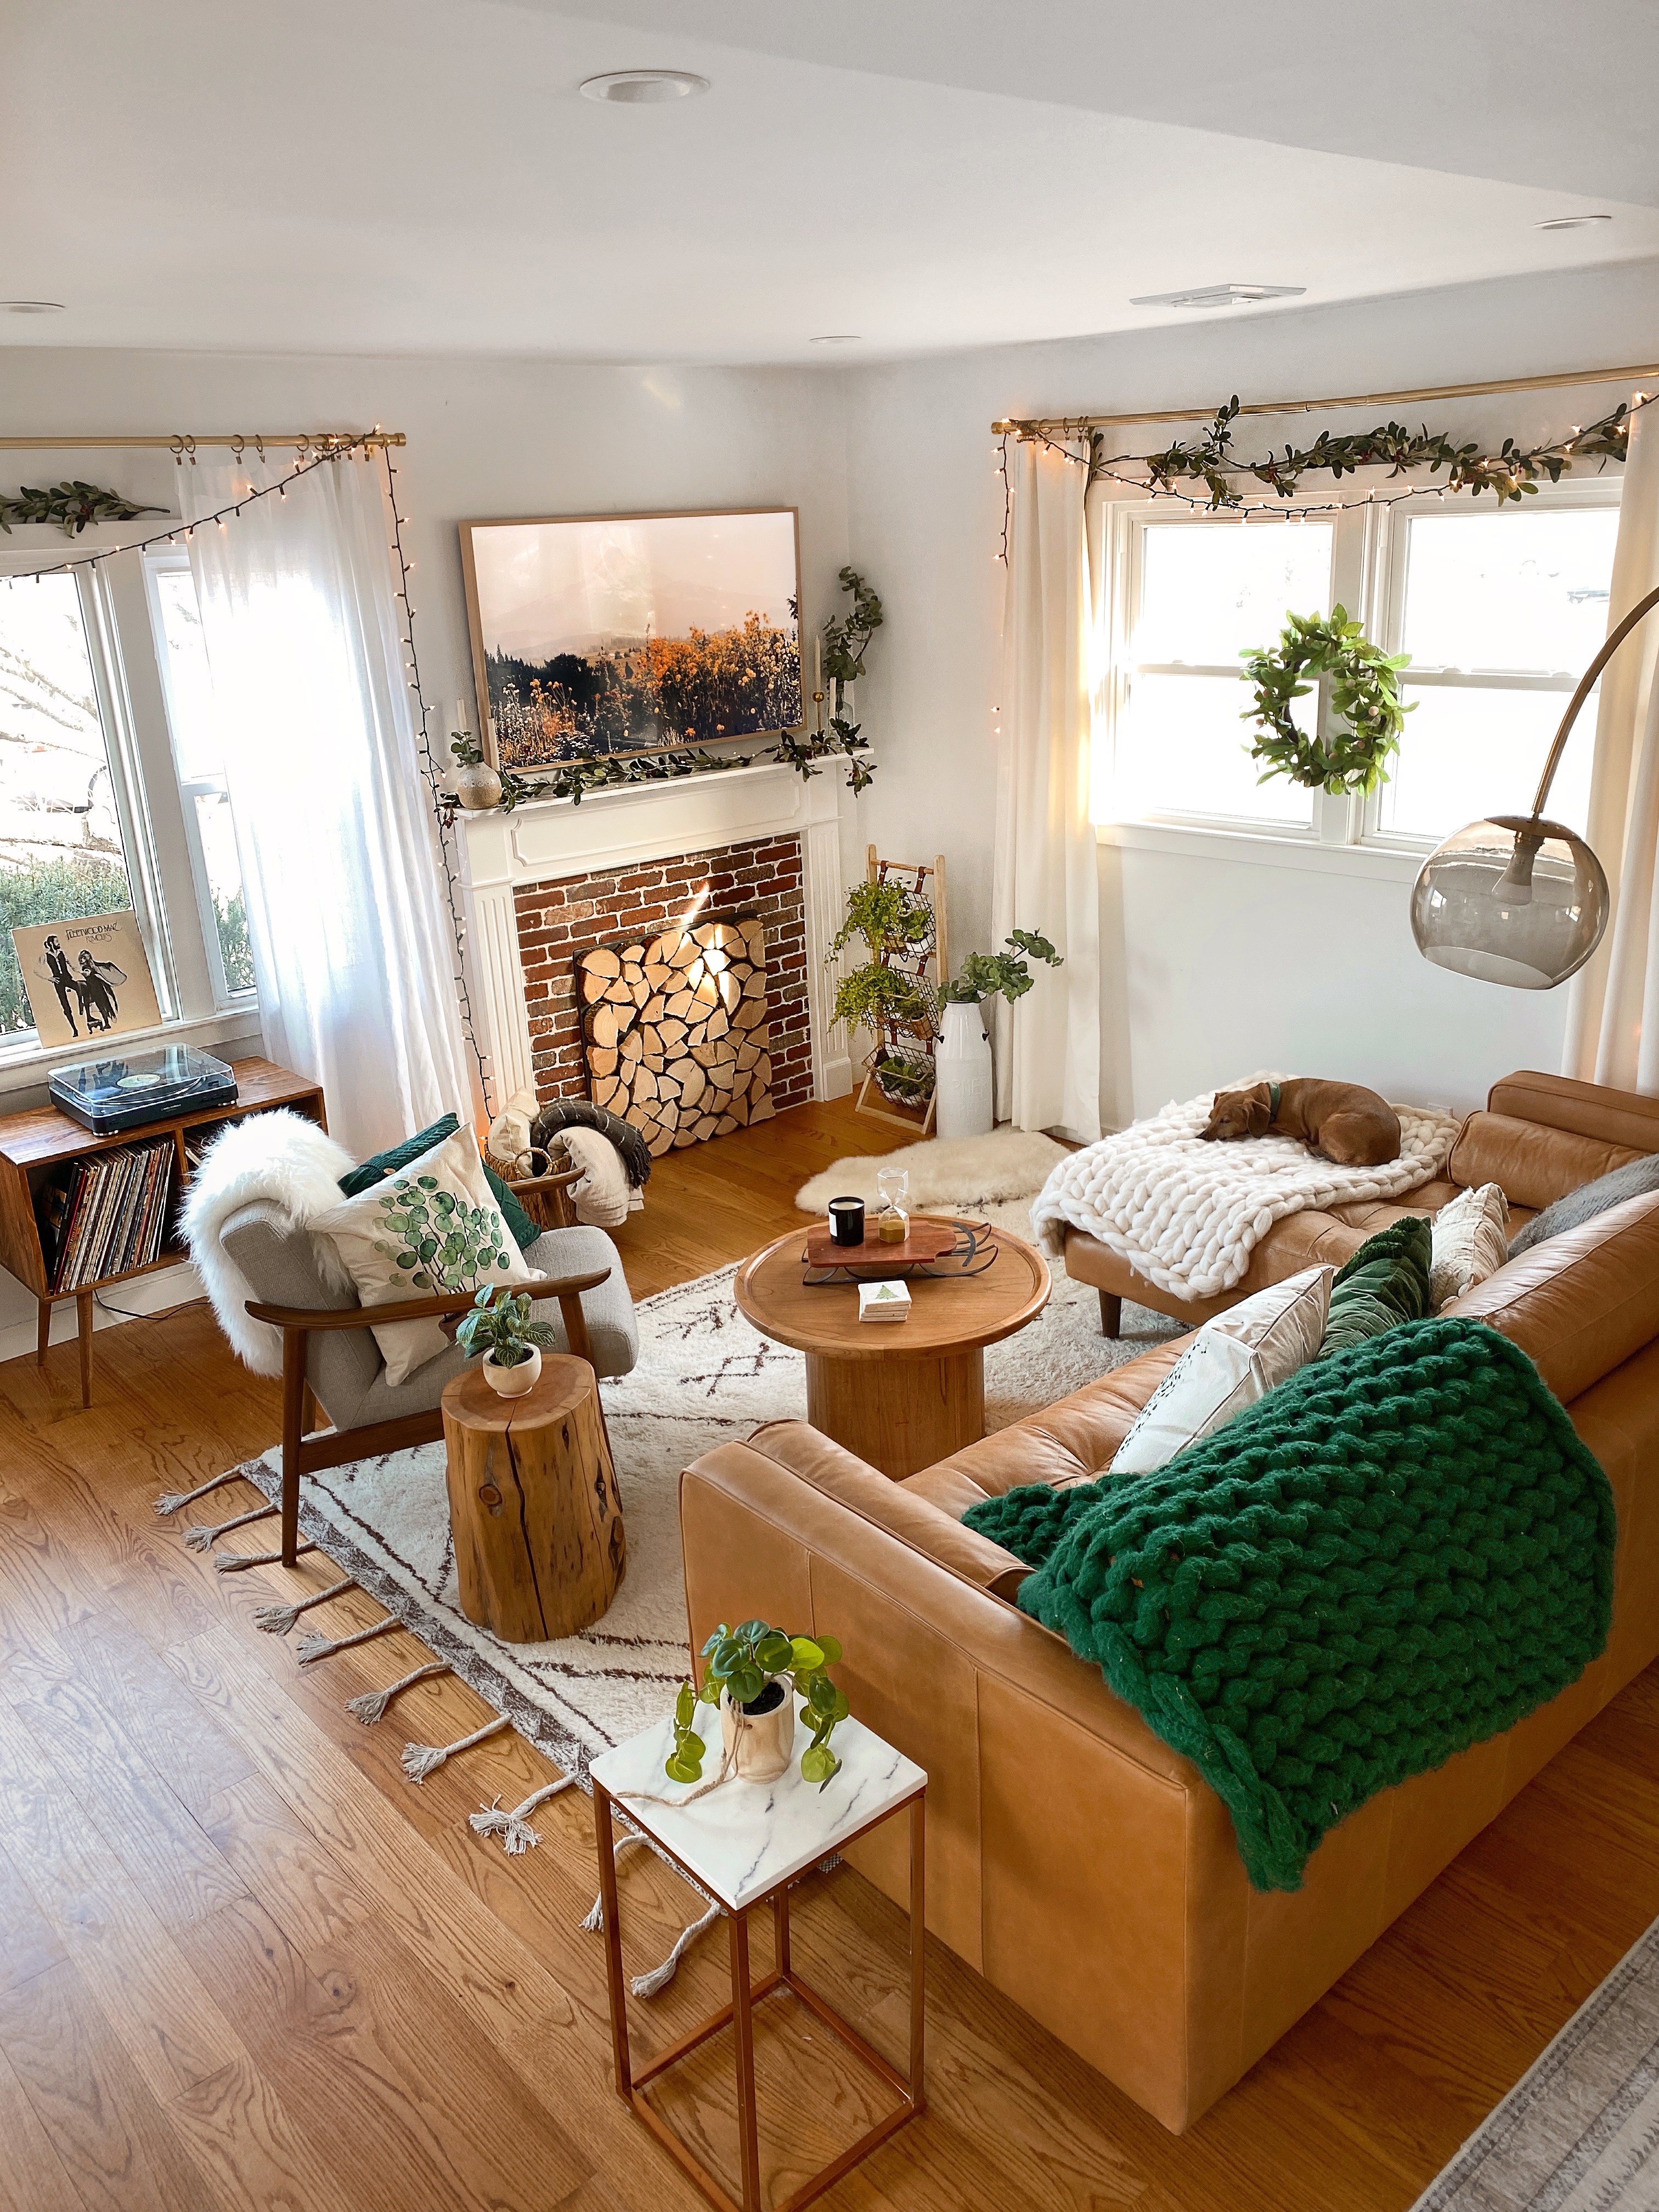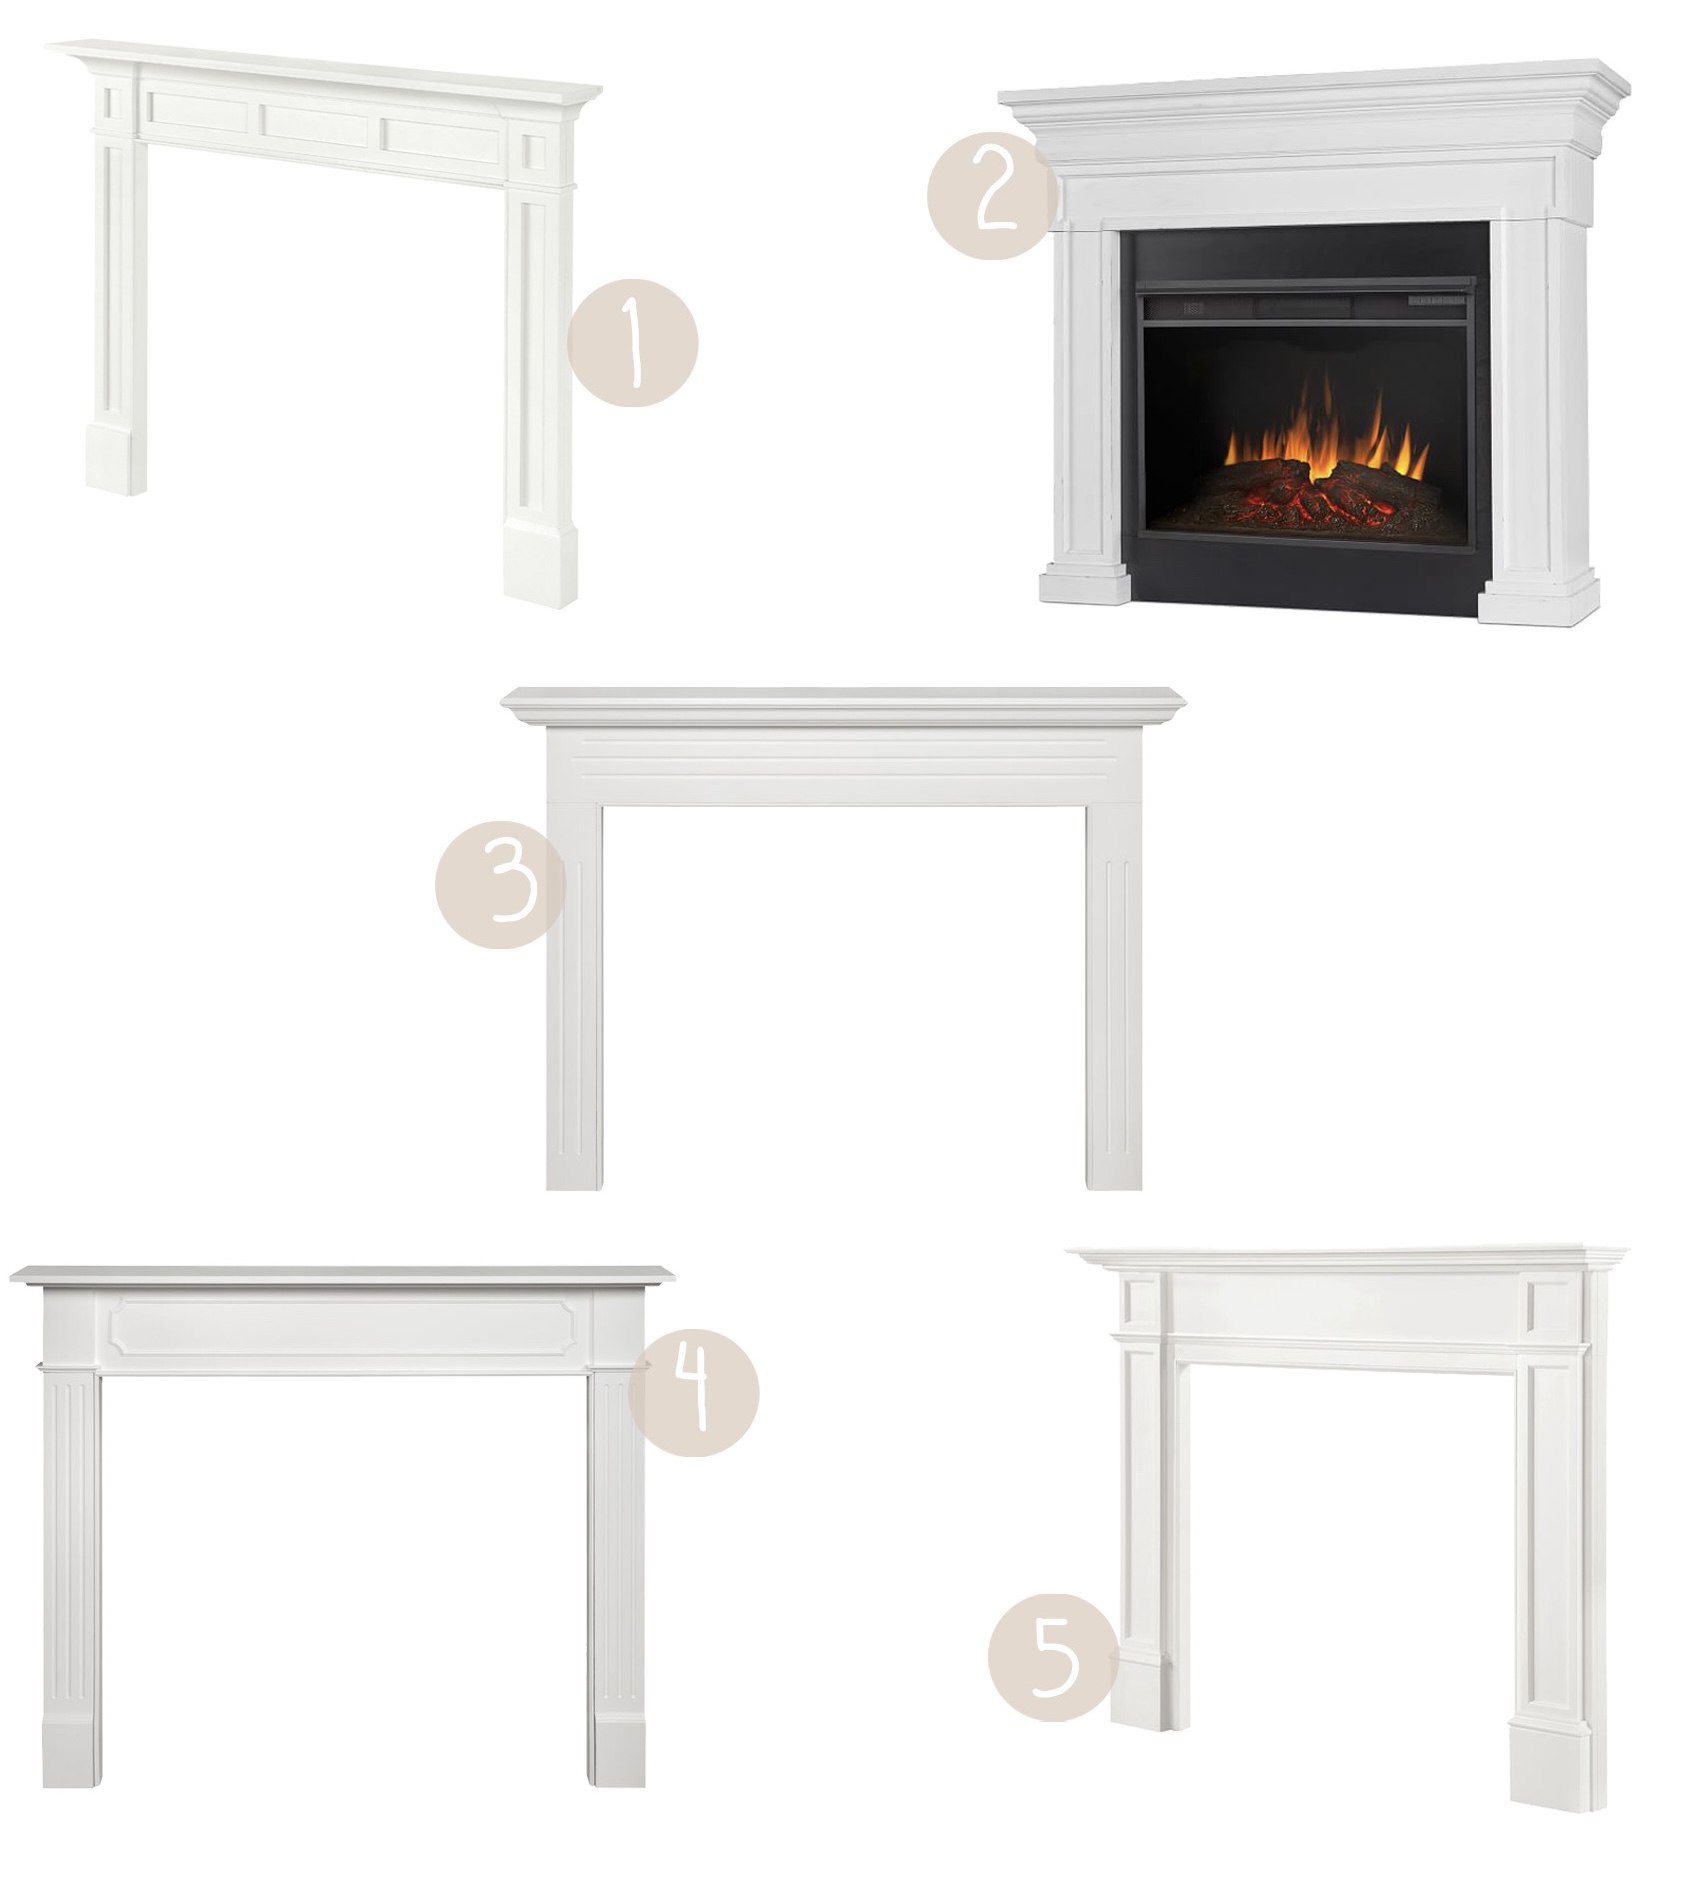
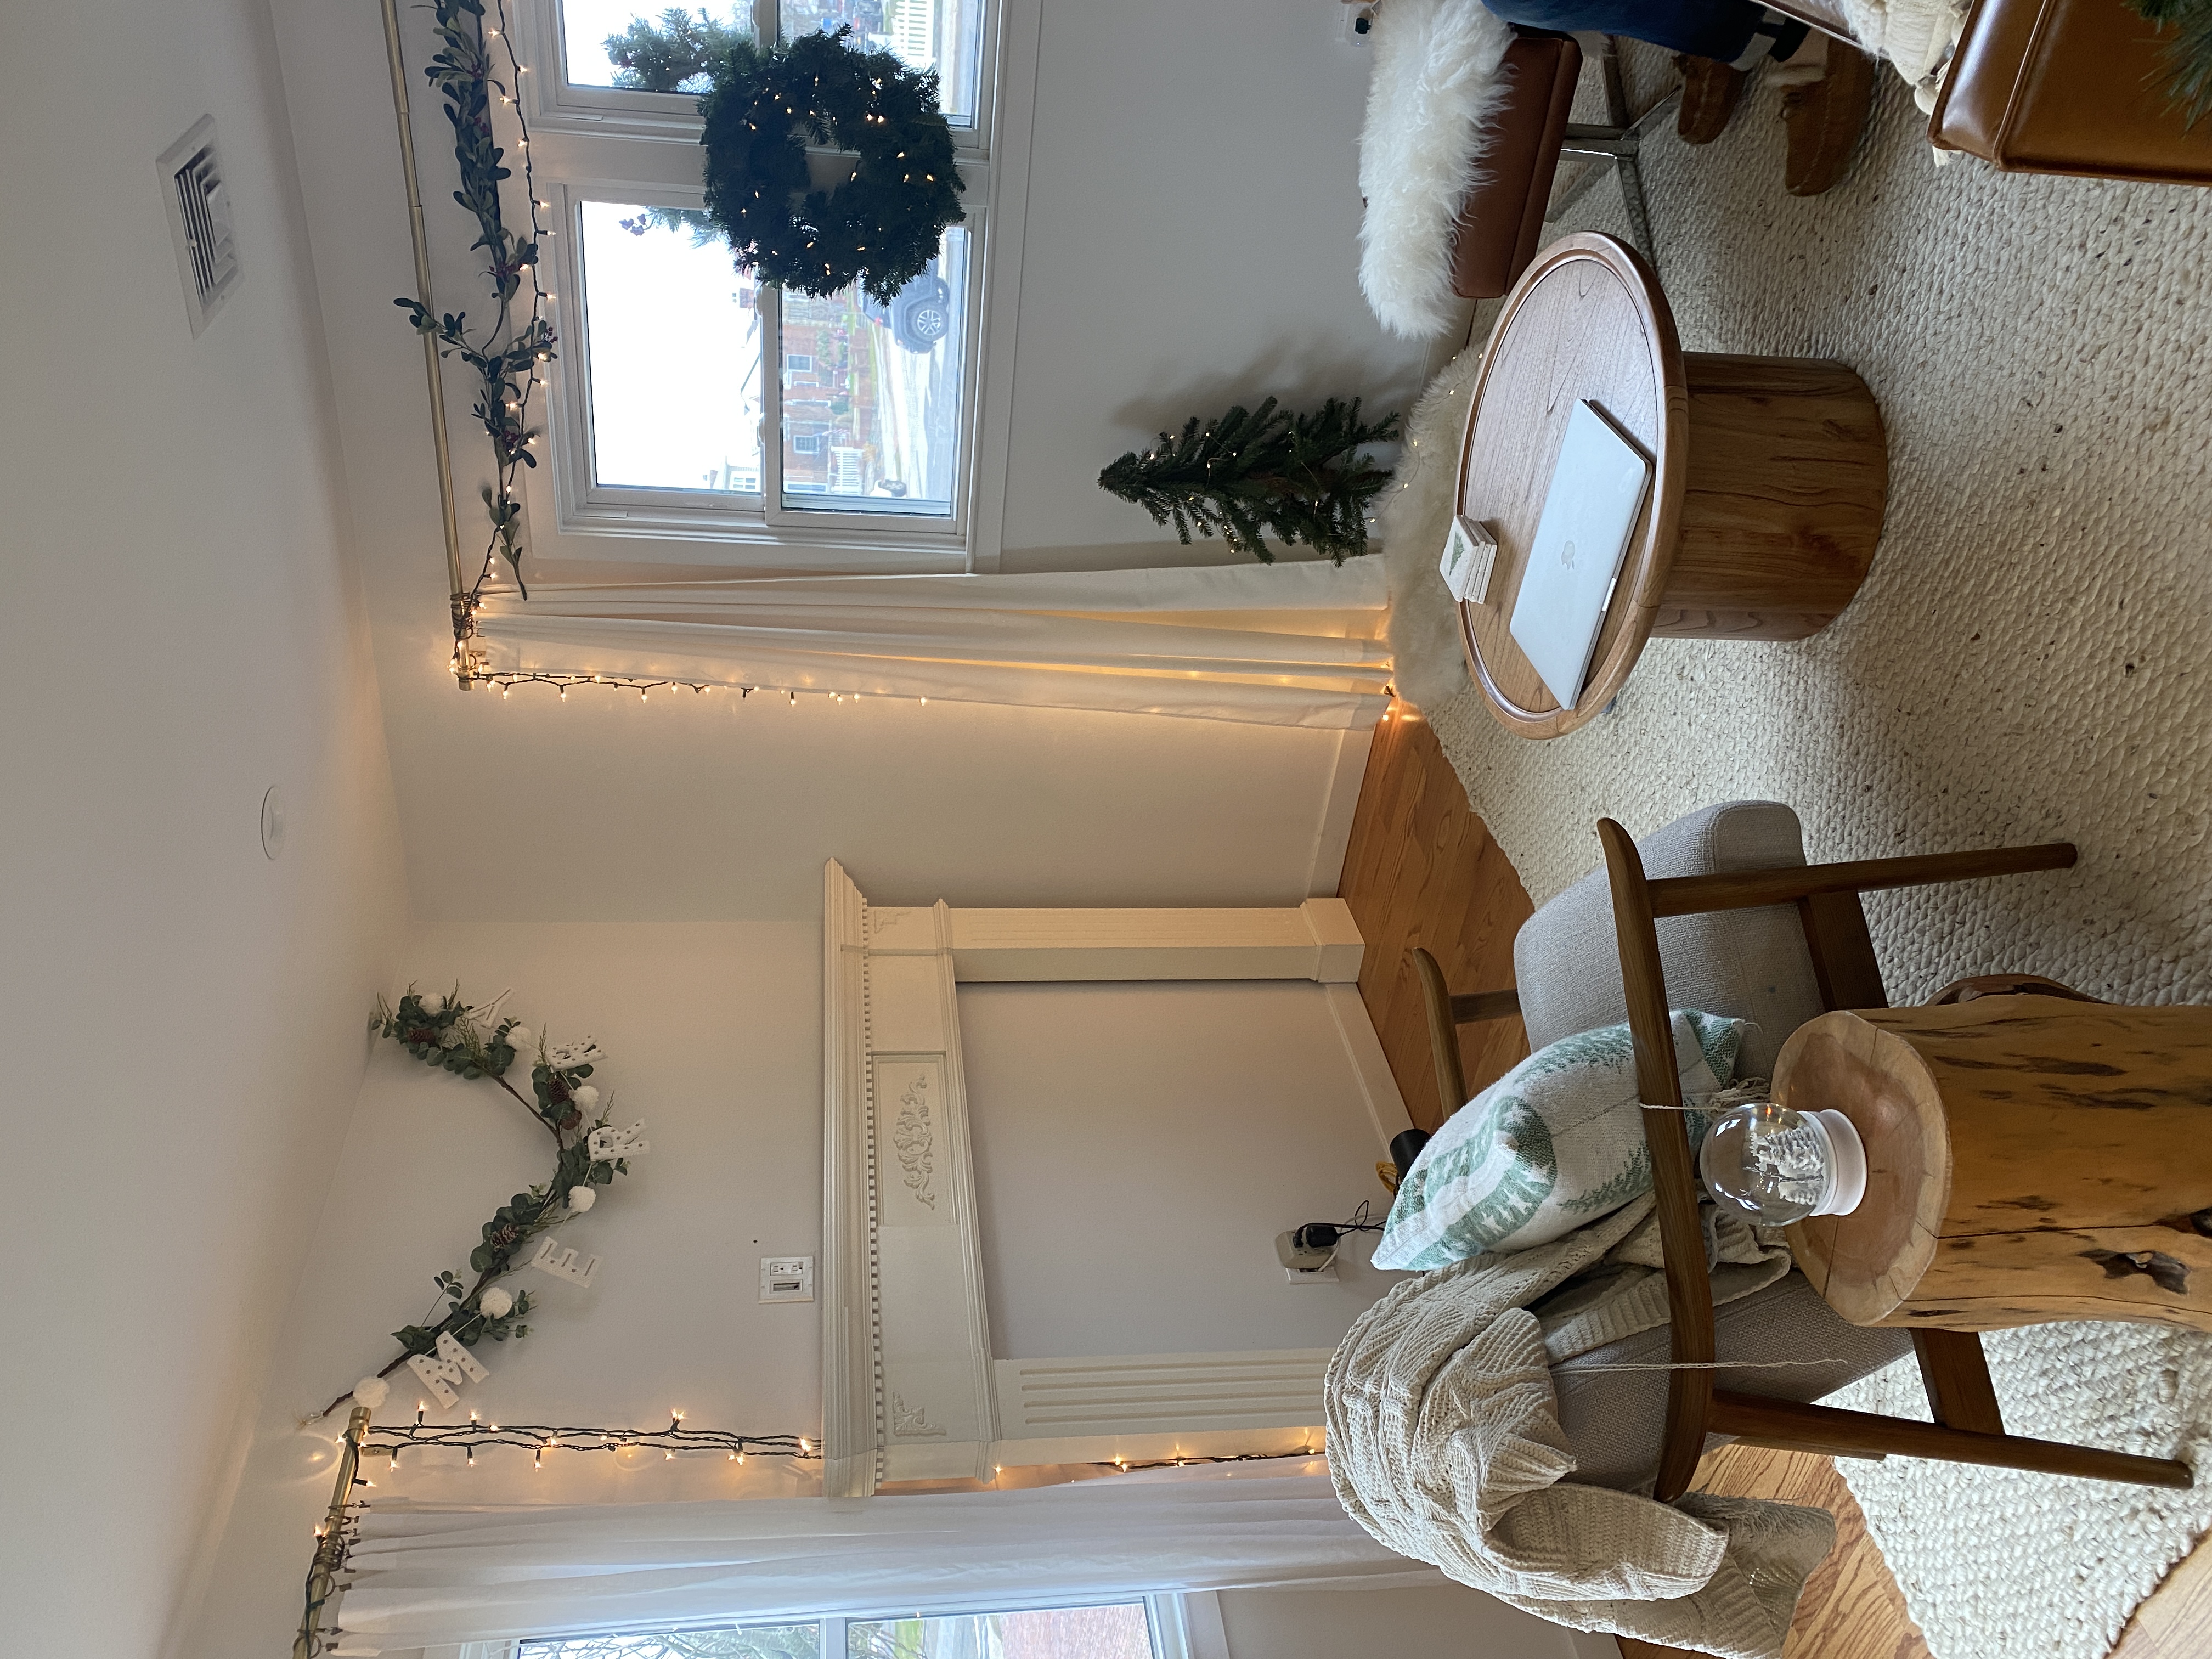
At the end of December, I couldn’t sleep one night, and somehow landed on the idea of adding a faux fireplace into our living room. I loved that the concept would give us more space by removing our media console, I loved that it wasn’t too expensive and I of course loved the idea of decorating a mantel! The next morning I set out to figure out how I could make my idea come to life, and I researched by watching other various instagram accounts and Youtubers who had done the same thing. It seemed like some built the entire fireplace out with either plaster, cement, or wood, and others installed a pre-fabricated one. I liked how classic the prefabricated ones looked, and didn’t feel like we needed to build something custom, so I ended up finding one on Craigslist. I drove the next day to pick it up, it cost $250, only to realize it was too large for our space. It was too high up, because we wanted to place our TV above it, and the sides were also touching our window frames. So, I sold it, and started at square one!
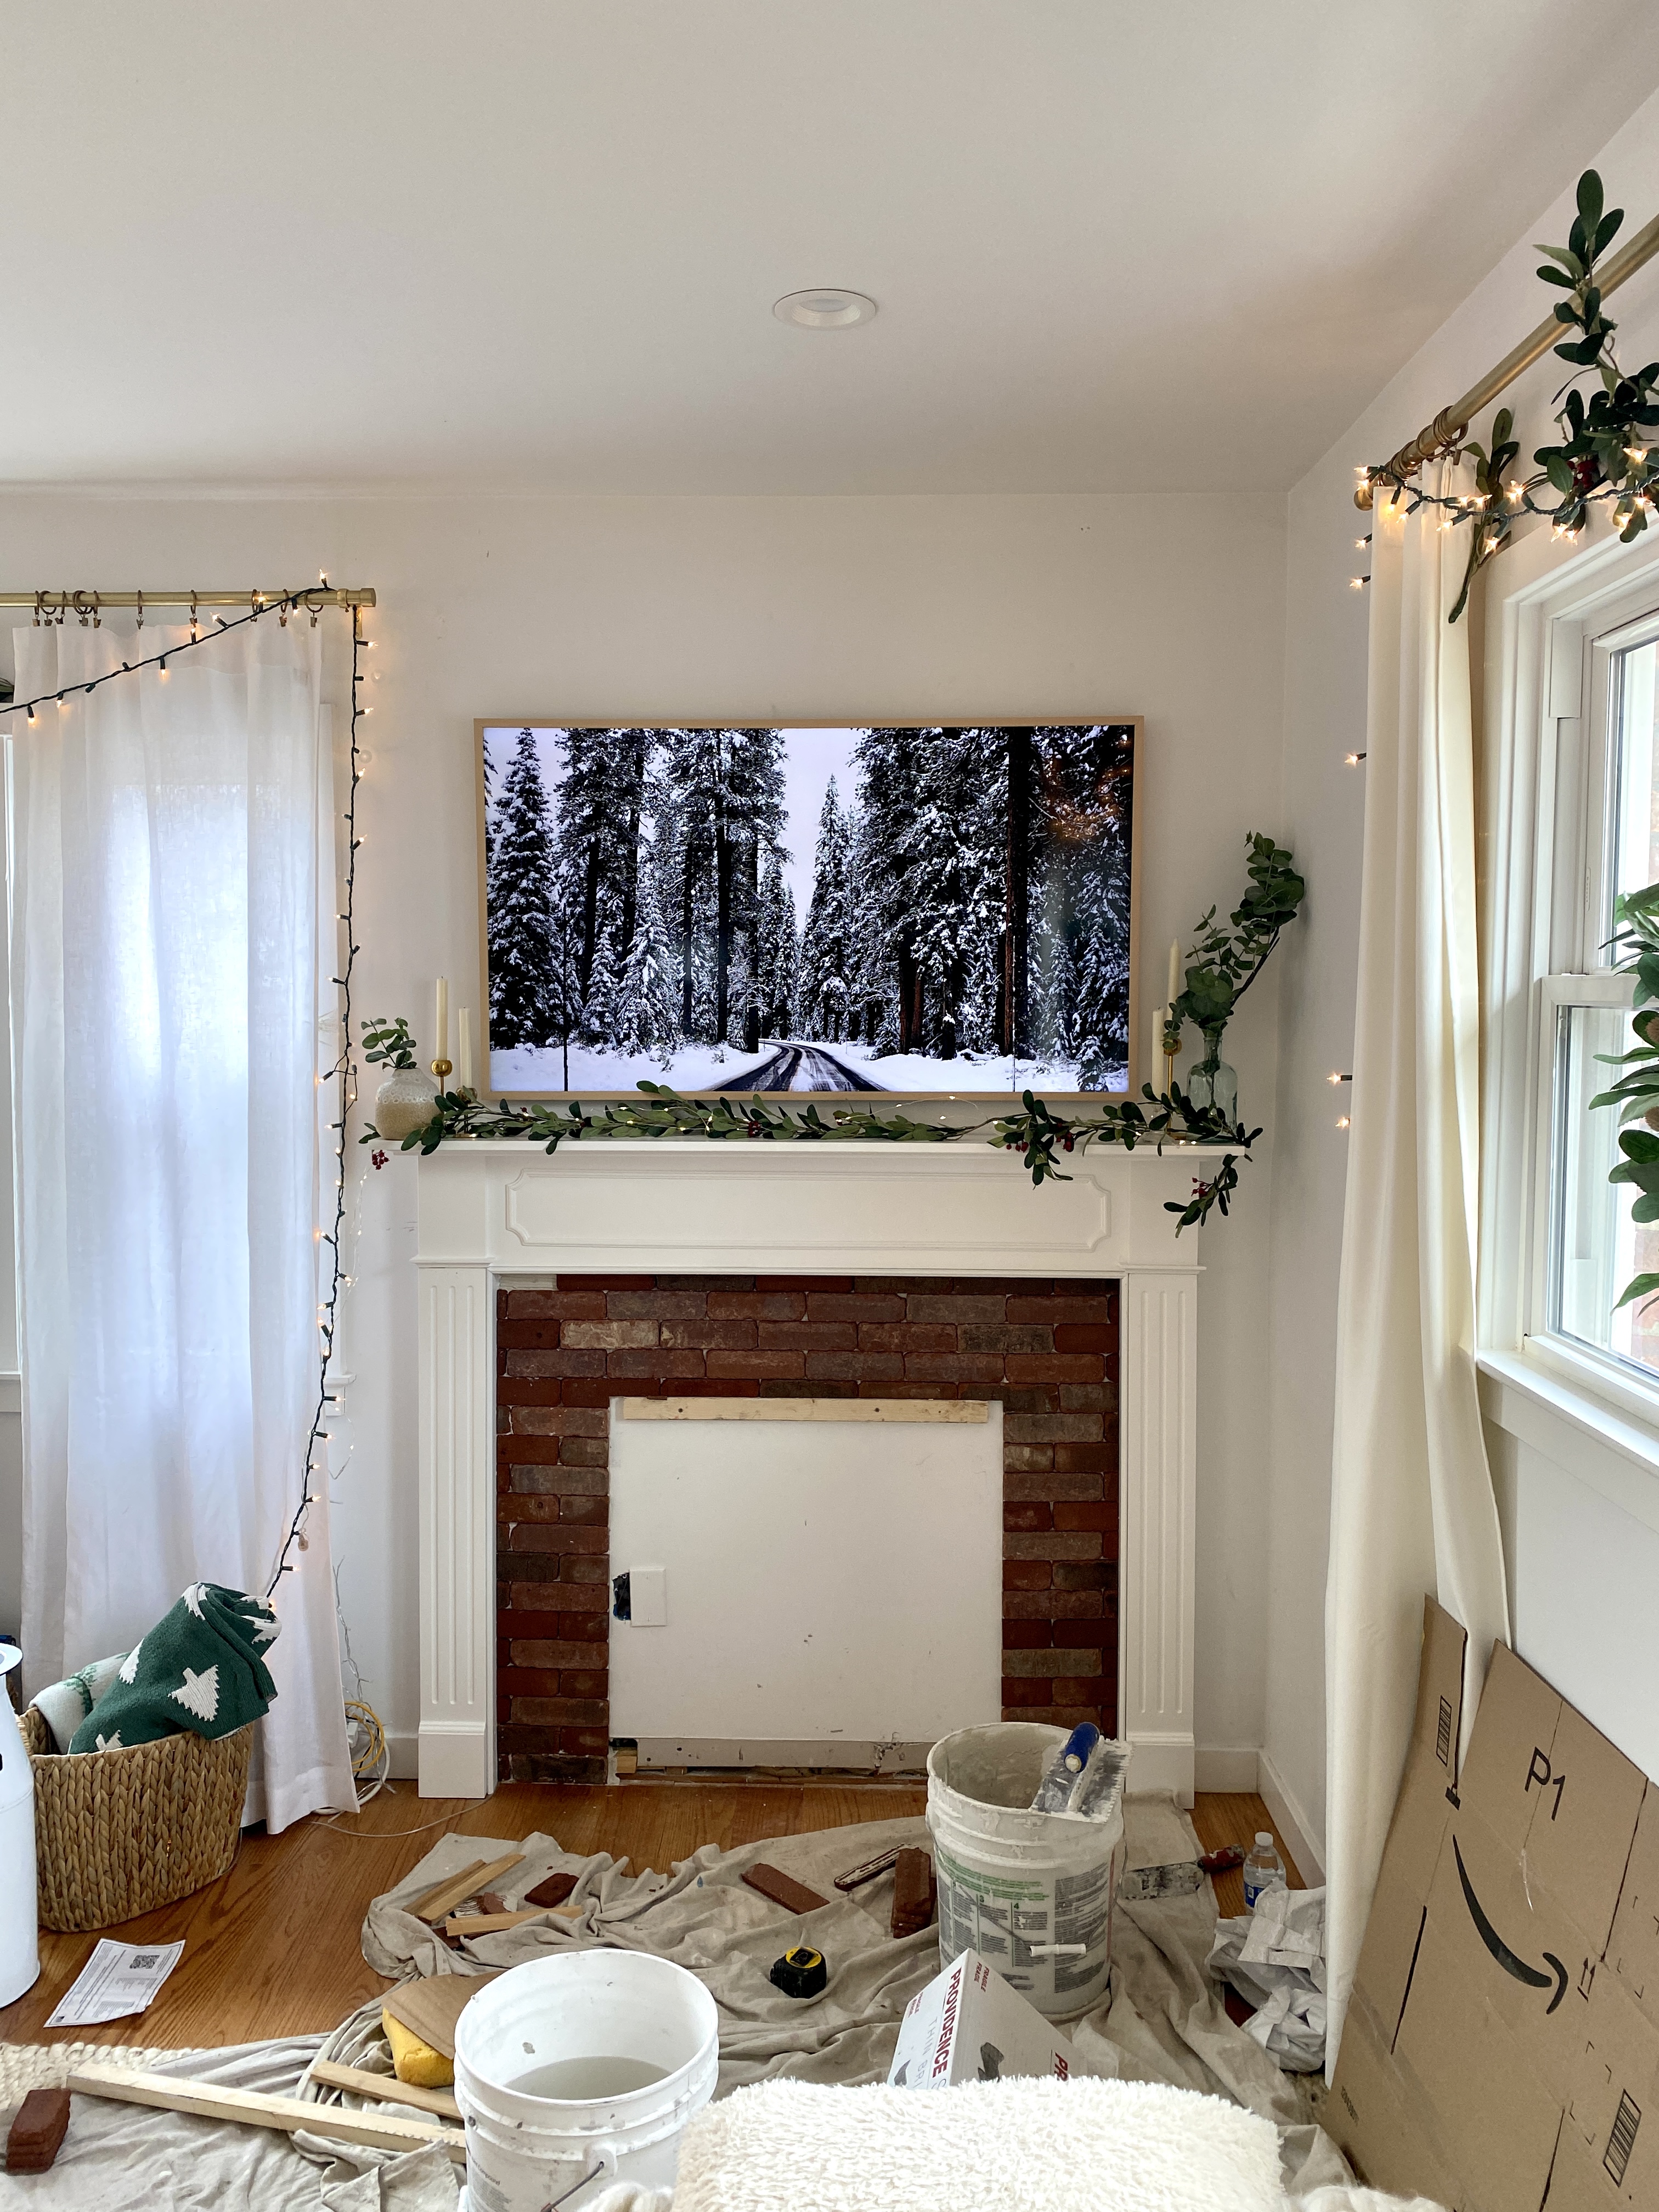
I started to click around, and ended up finding the fireplace surround (that is what it is called, if you’re looking to google it) that fit our space for almost the exact same cost as the first one. It arrived in about 2 days, and we got to work. We hired a contractor (my uncle owns a contracting business, Pat Gordon contracting, so we have an advantage with projects like these) and Jimmy Bush attached the surround to the wall, cut down the legs by a few inches, and helped us hide all of our TV wires in the wall.
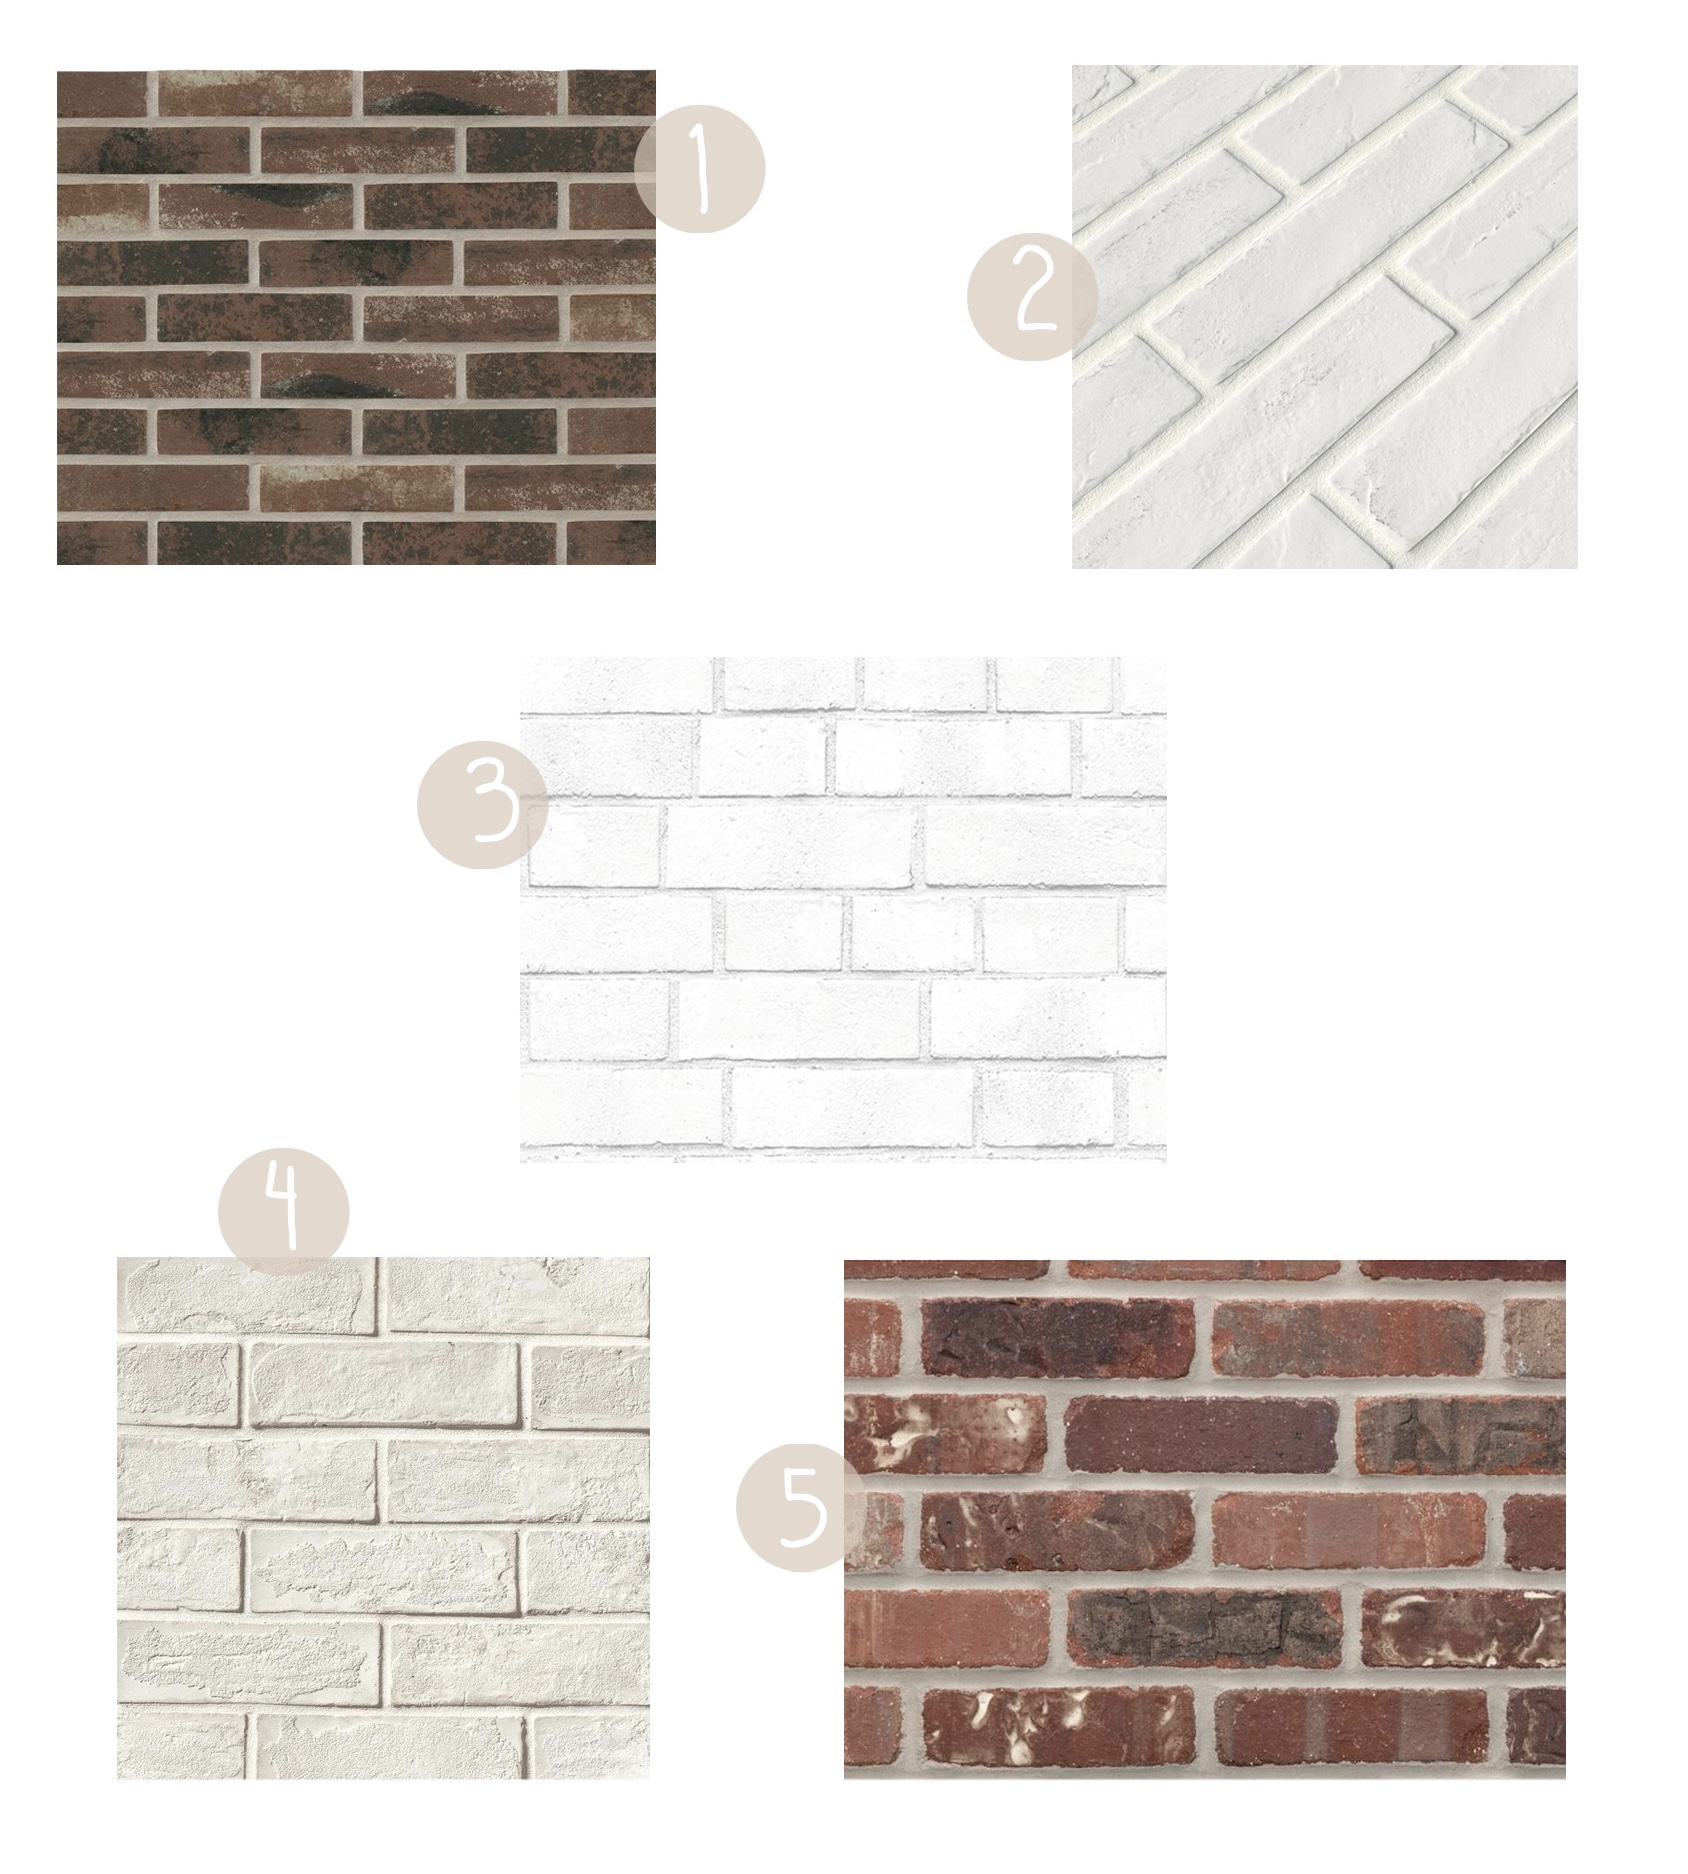
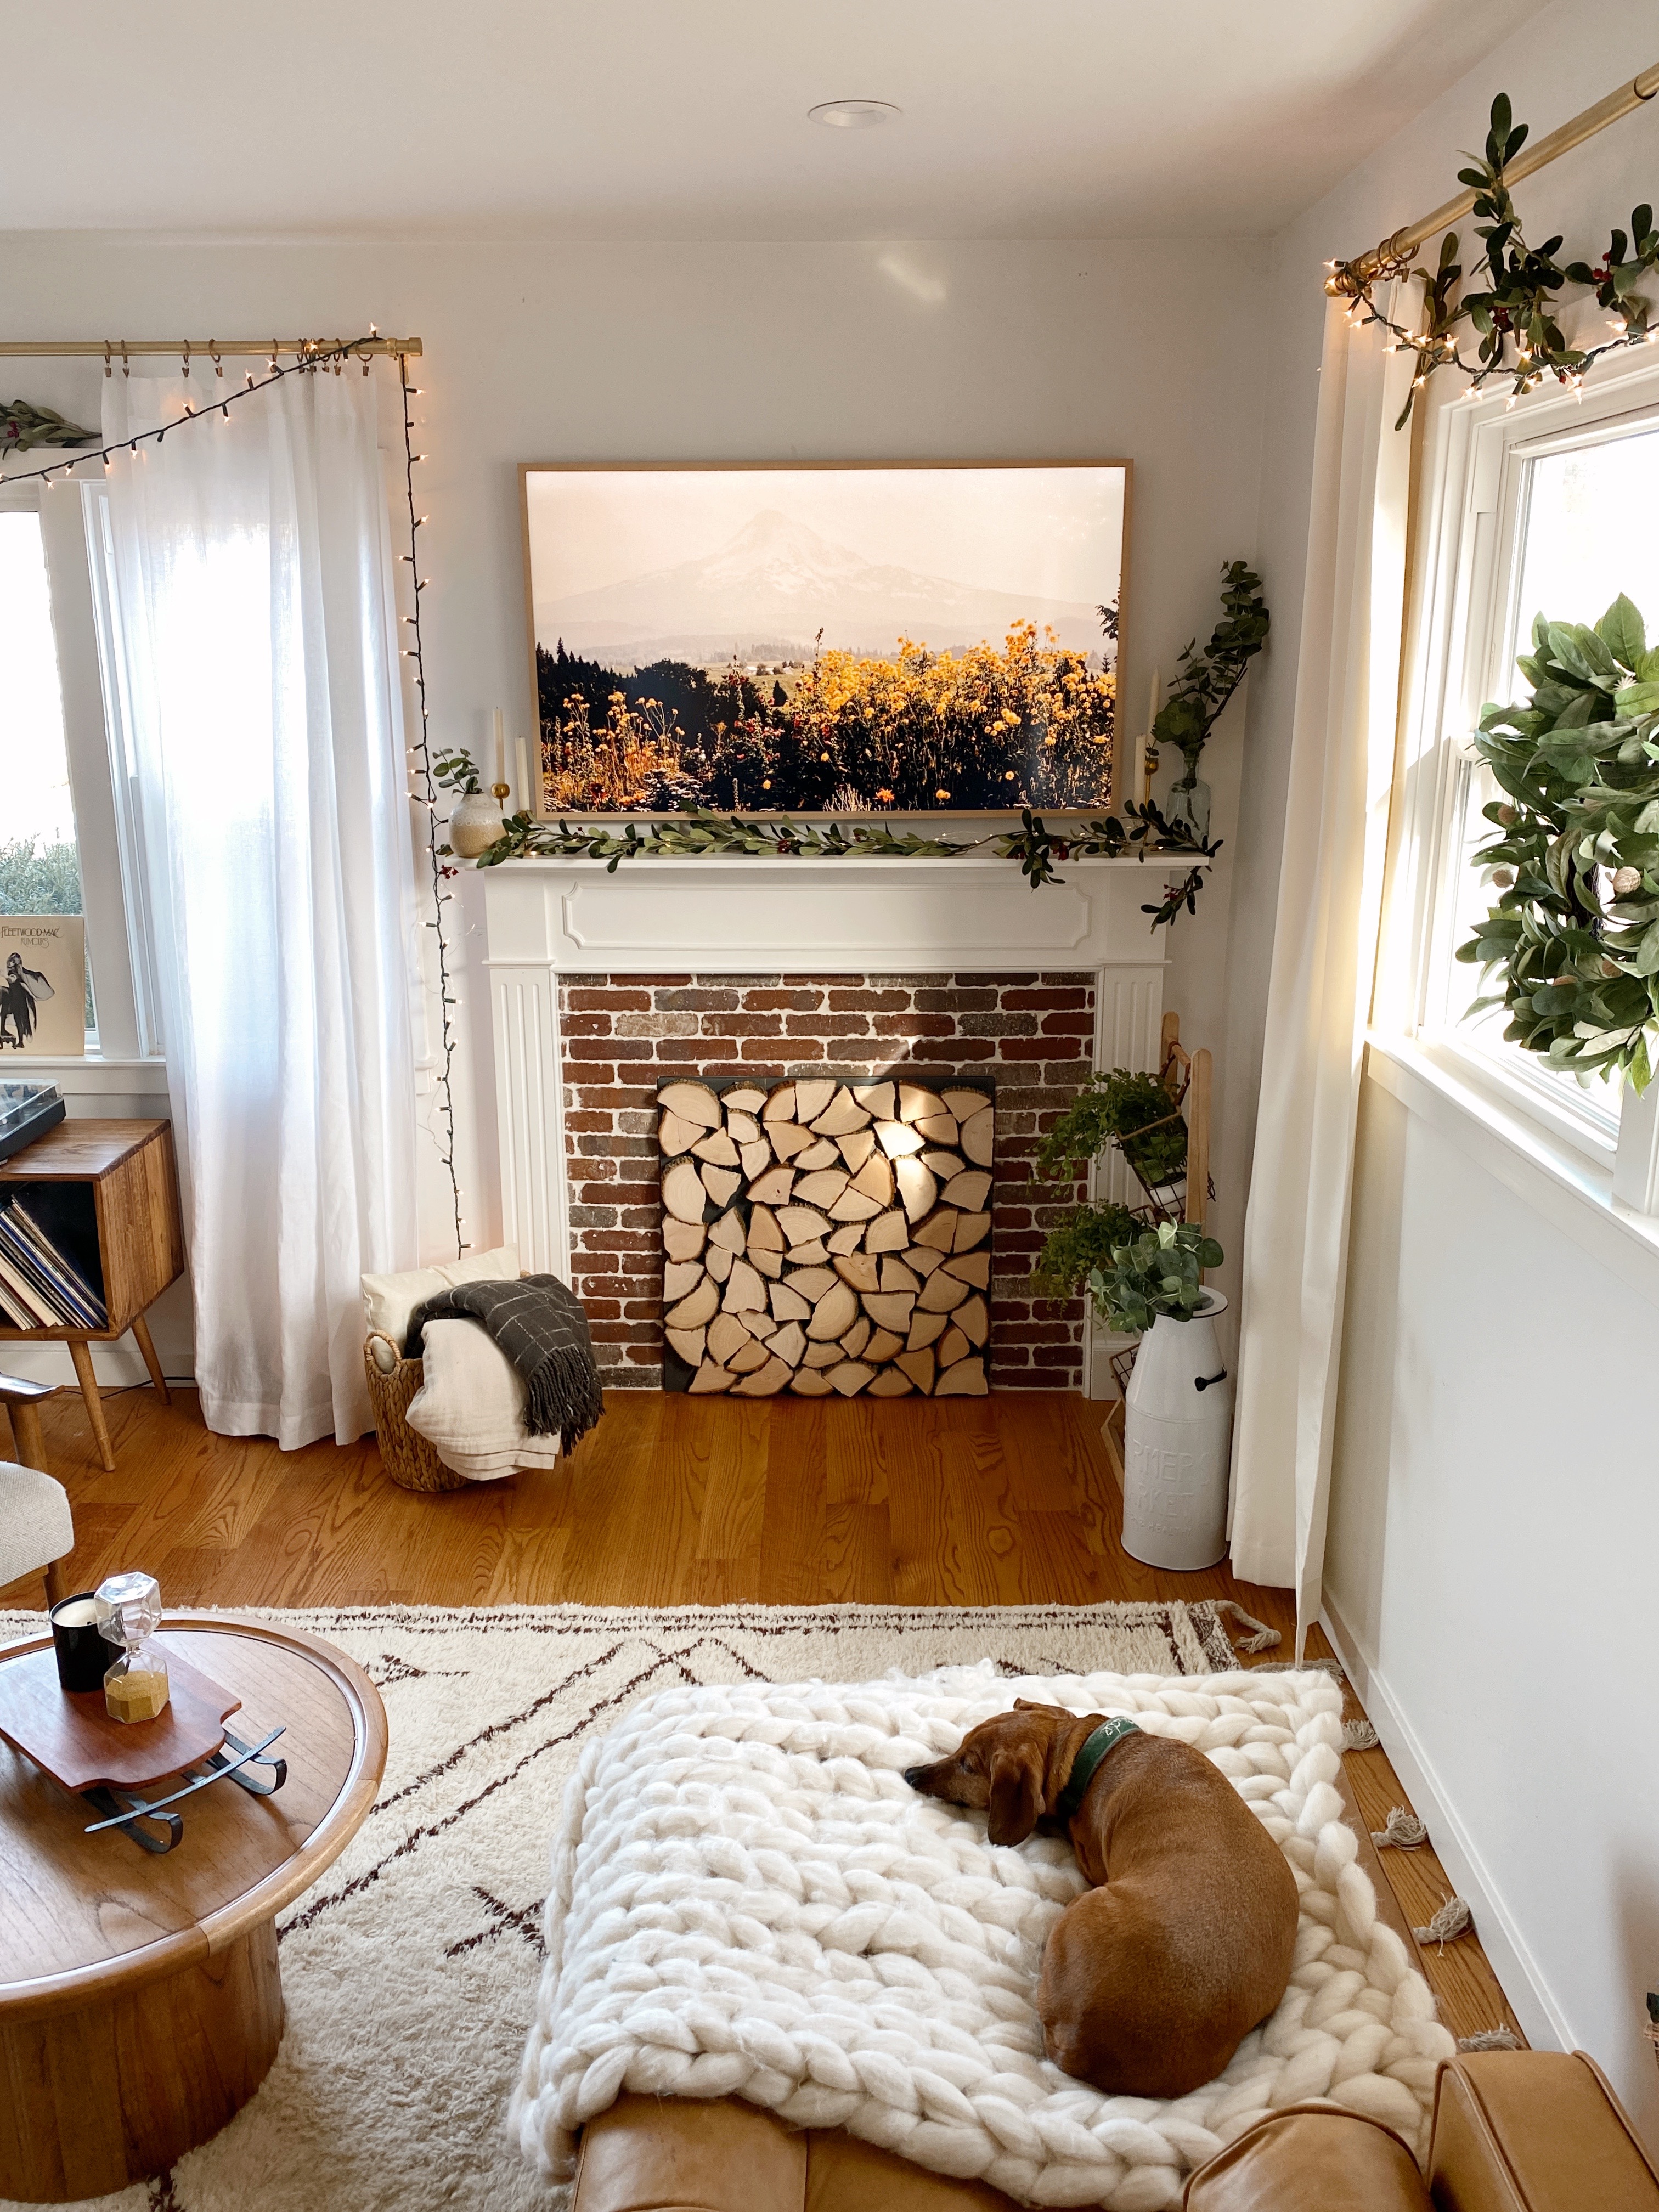
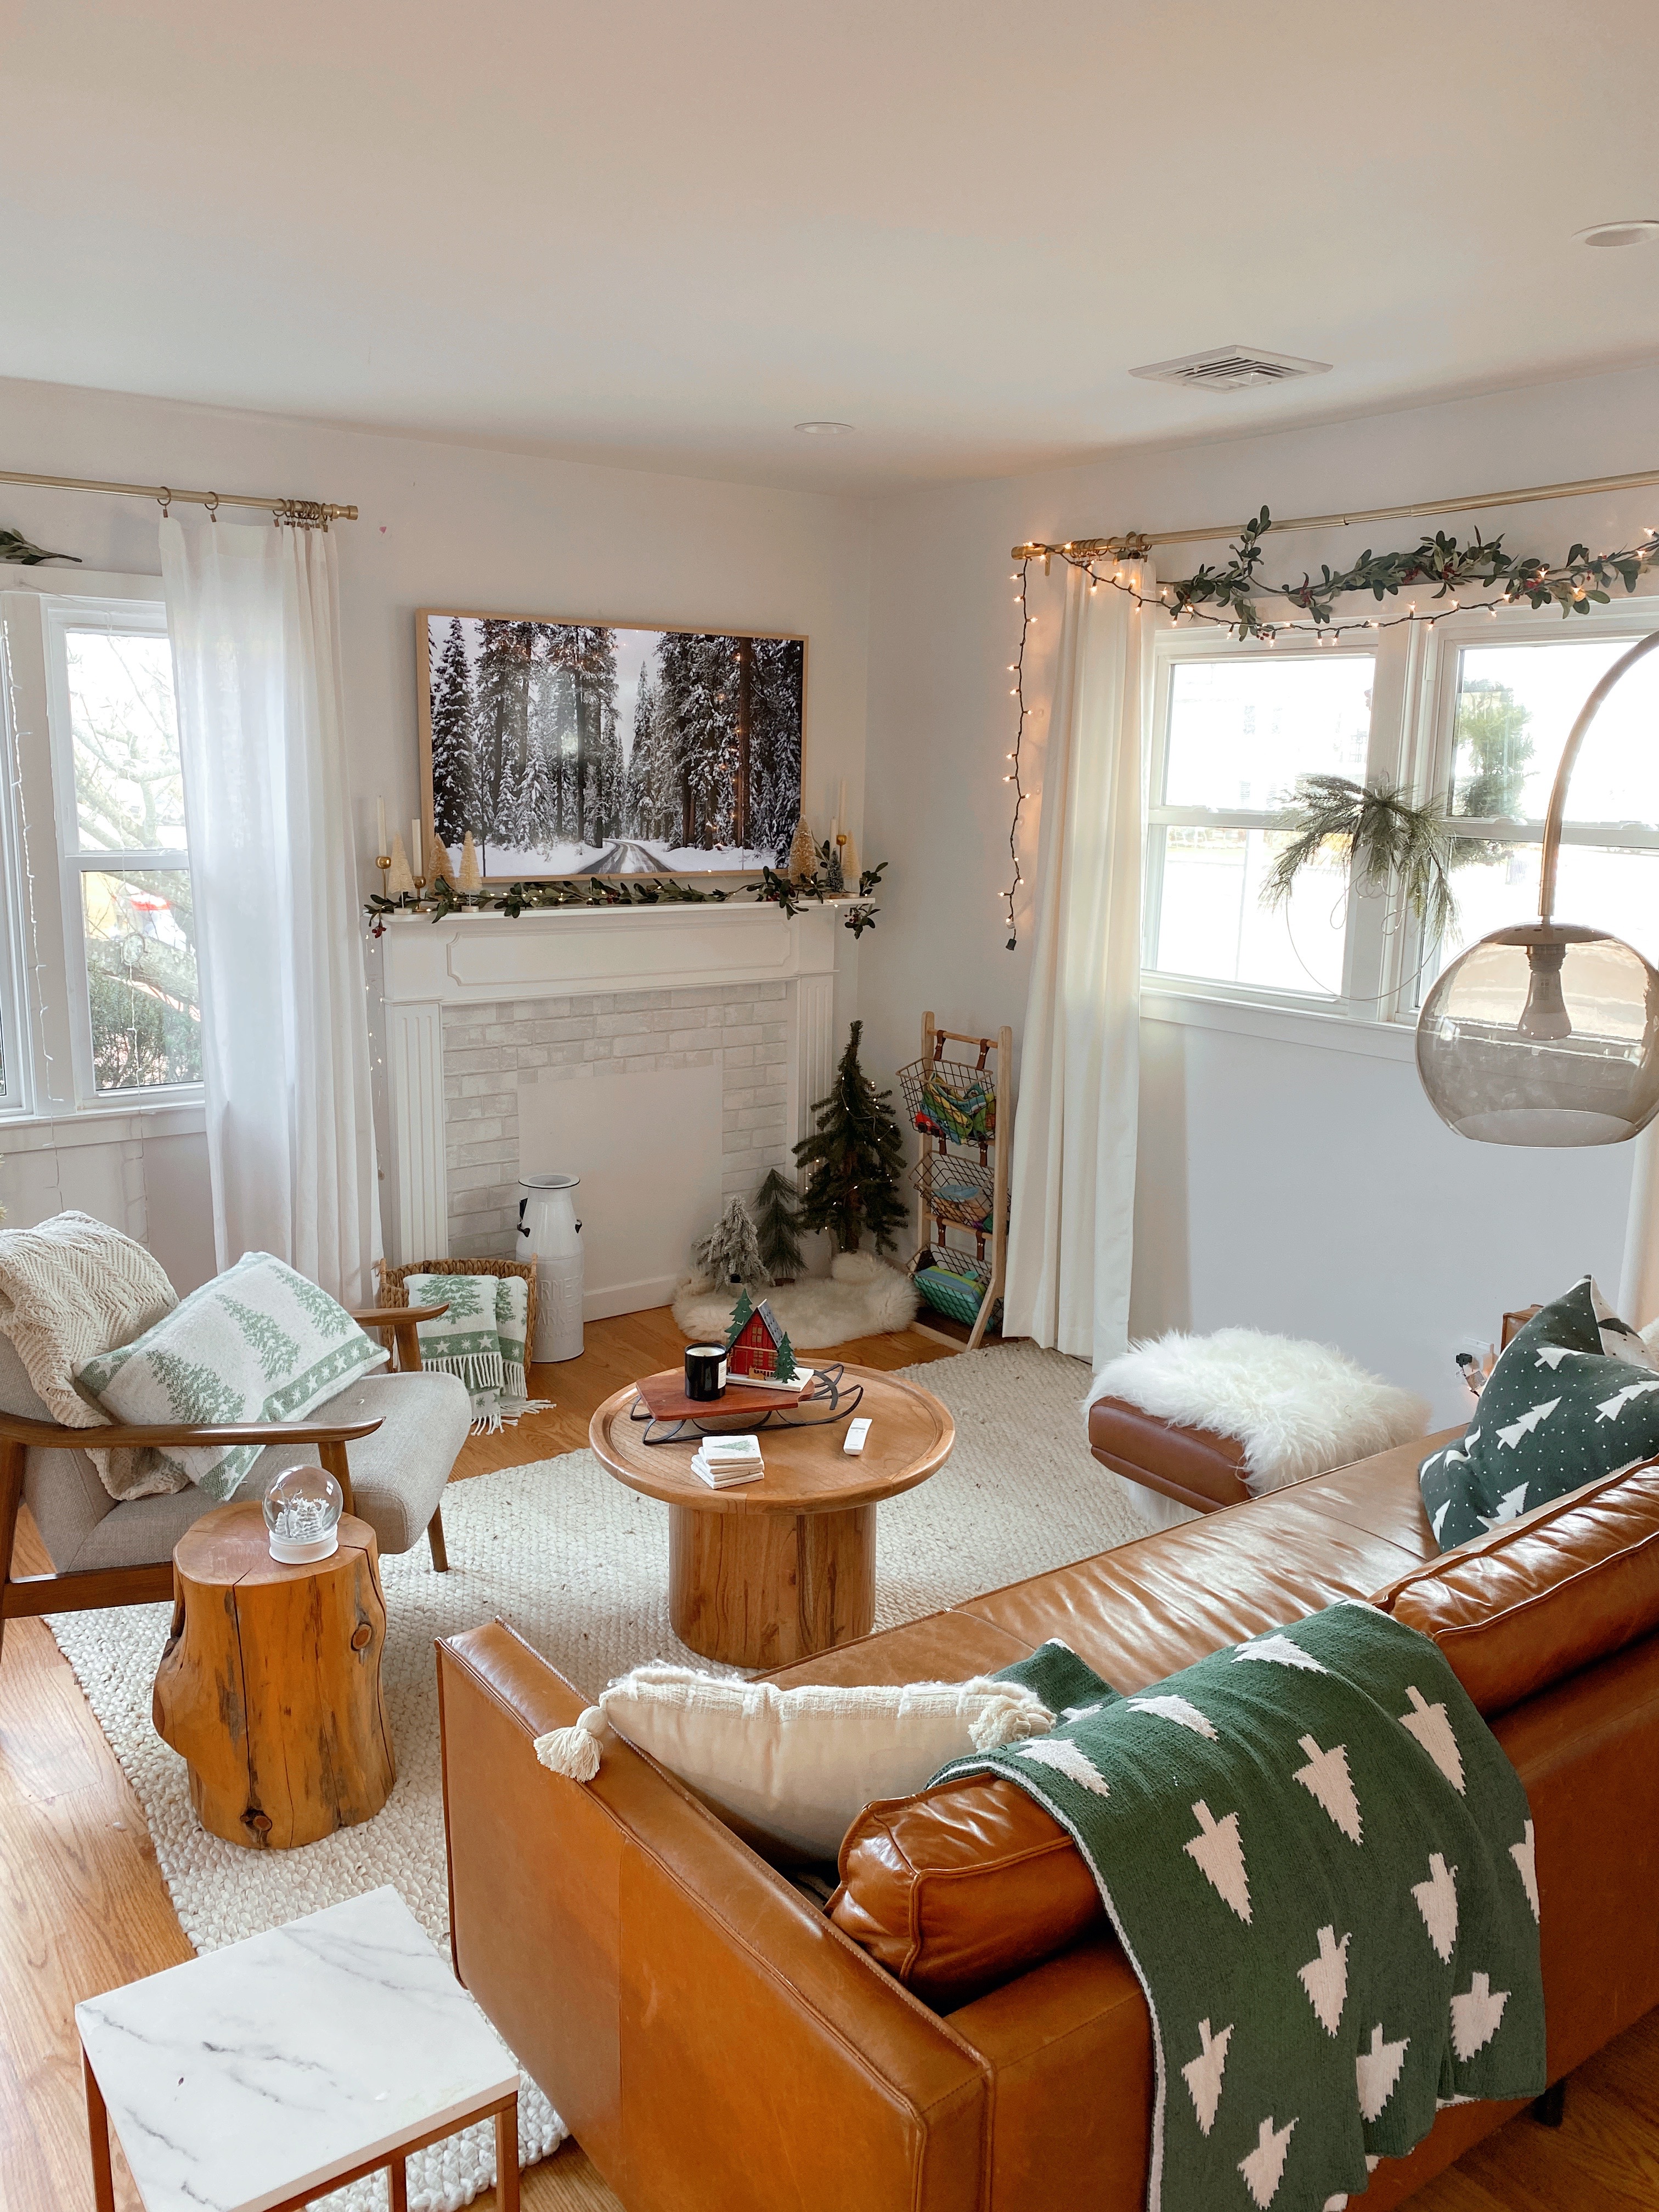
Once the fireplace surround and the TV were hung (we picked a Samsung Frame TV so it would look like artwork above our mantel) I lived with it for a bit and looked around Pinterest before deciding what my next moves were. First I tested out some peel and stick textured brick within the fireplace to test whether I liked white brick in our space, and if I felt like we needed to install real brick tiles. Ultimately I felt like the stick on brick looked too impermanent, and decided to purchase brick tiles and hire a tiler to install the bricks and grout. I used a white grout for contrast. Tiling the space cost $200. The tile cost about $100. It took two days, a total of about 4 hours for the tile work to be done, because first they had to lay the tile, and then the next day they came back to grout.
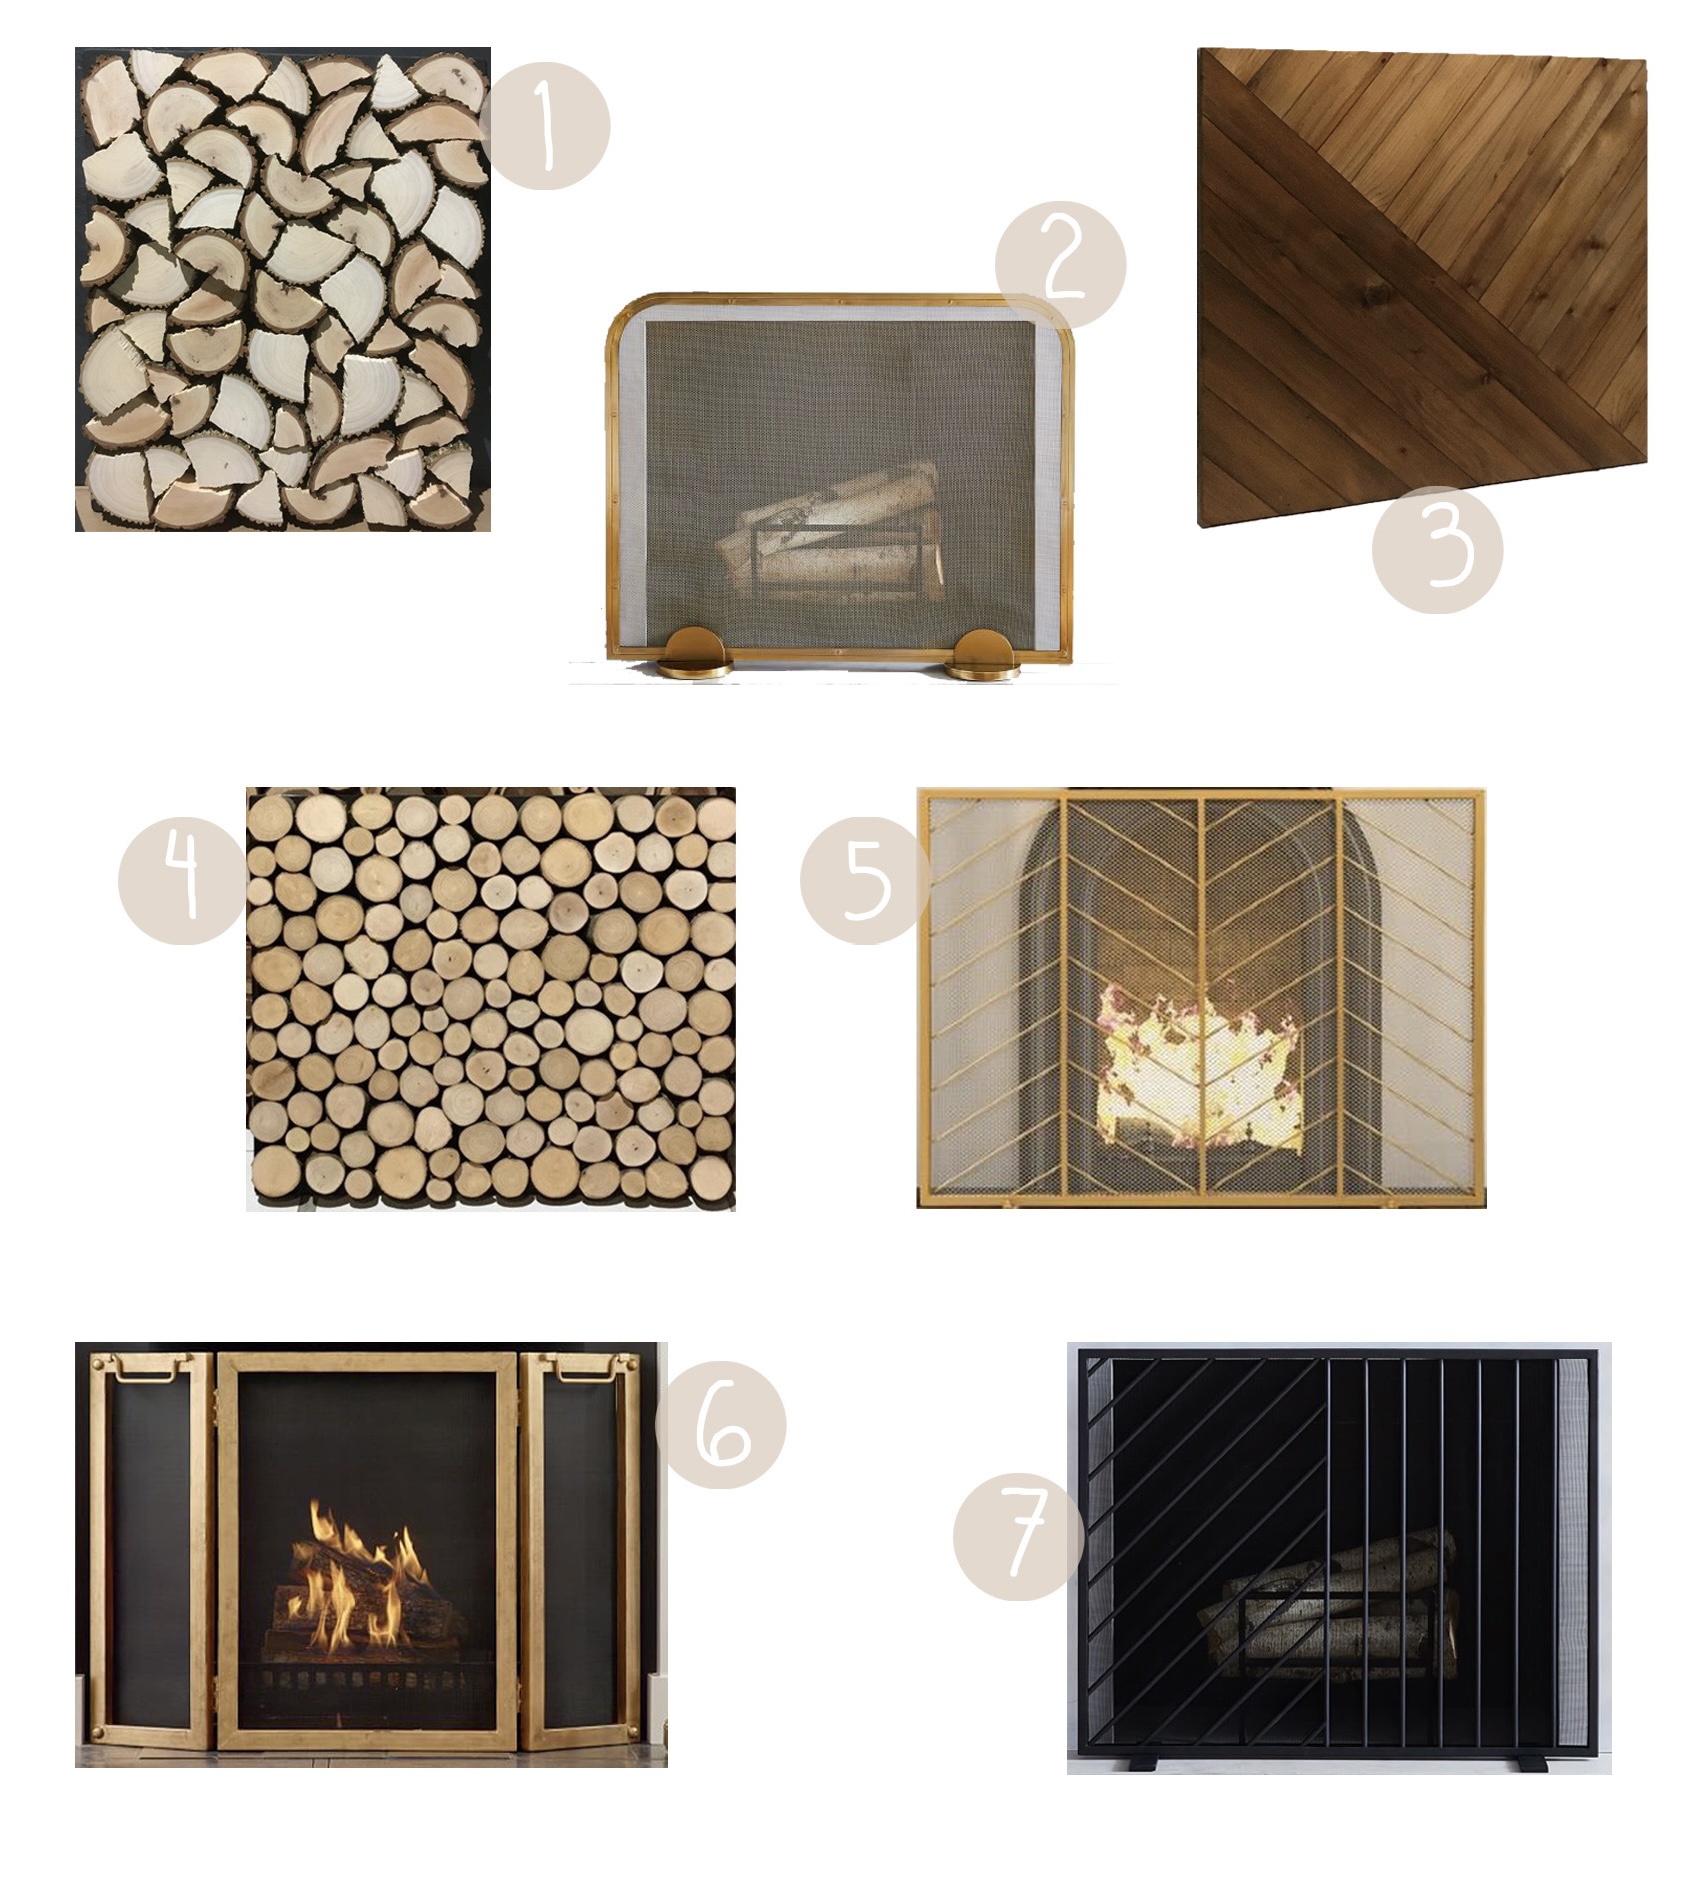
The last step was choosing how to fill the 30X30 inch space inside the bricks. We contemplated installing an electric fireplace that puts off a bit of heat, but with Charlie crawling around, and our heating system working fine in our home, we decided to go with something more decorative. I found an Etsy shop that creates a cover screen insert that looks like logs, and I loved the look of it! I really feel like the faux logs completed the space.
I know that a non-functioning fireplace isn’t for everyone, but for our space we felt like it was the right move. It really centers the open floor plan in our smaller living room, and also gives us the feeling of being in a cozy home with a fireplace, even if it’s faux! The total cost of this was about $700 without the TV. I linked a ton of options below for fireplaces, tiles and inserts in case you’ve been thinking about adding one in to your space as well!