
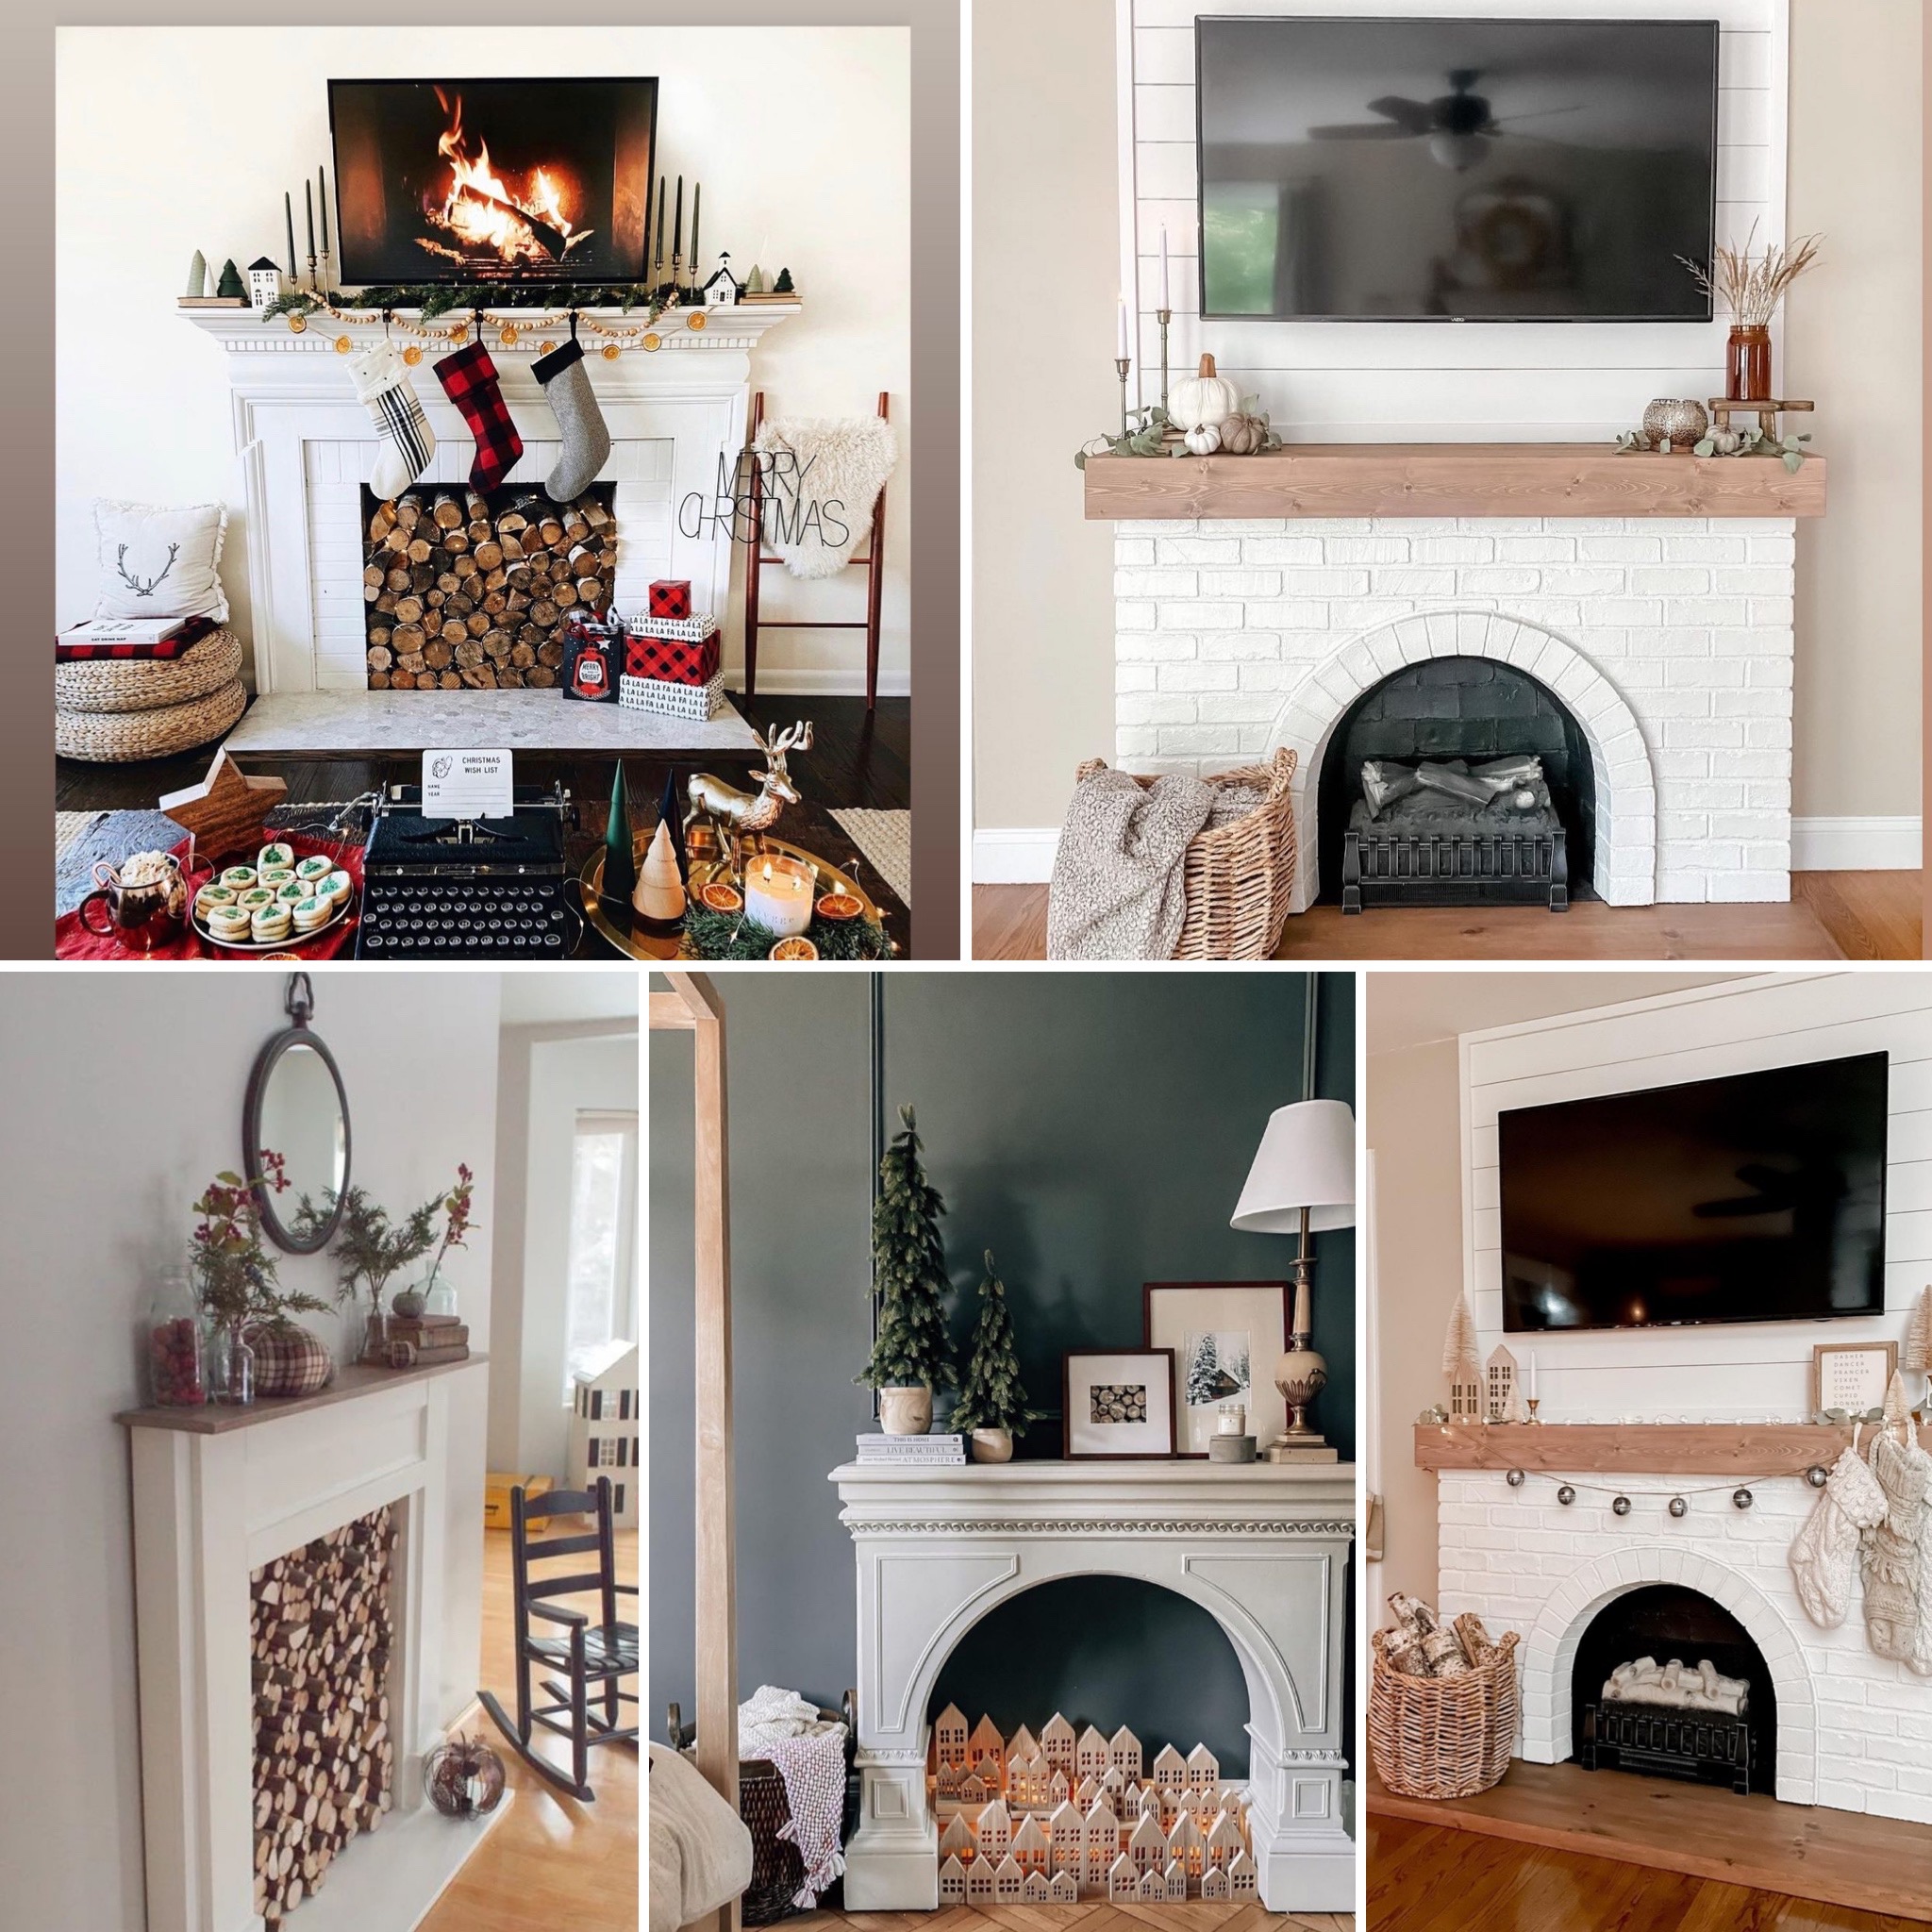
Inspiration photos:
SHOP THE POST:

If you’ve been following along on stories, you have seen that I’ve been knee deep in a faux fireplace project. When we renovated our home a little over a year and a half ago, we never redesigned our living room decor. Before renovations, the living room space was extraordinarily large, as our current dining room space was also a part of the living room. At the end of the renovation, we lost half of the space we once had, but we never adjusted our furniture, so we were basically trying to fit items into a space that no longer really worked. When I came up with the idea to install a faux mantel in the middle of the night, I finally felt ready to dive in to a living room refresh and part ways with our current furniture, and readjust the room. The funny (or not so funny) part of it all is that I thought a faux fireplace was an easy thing to add, but quickly realized that is not the case. There were a few mishaps along the way that were my own fault as well!
BEEFORE:
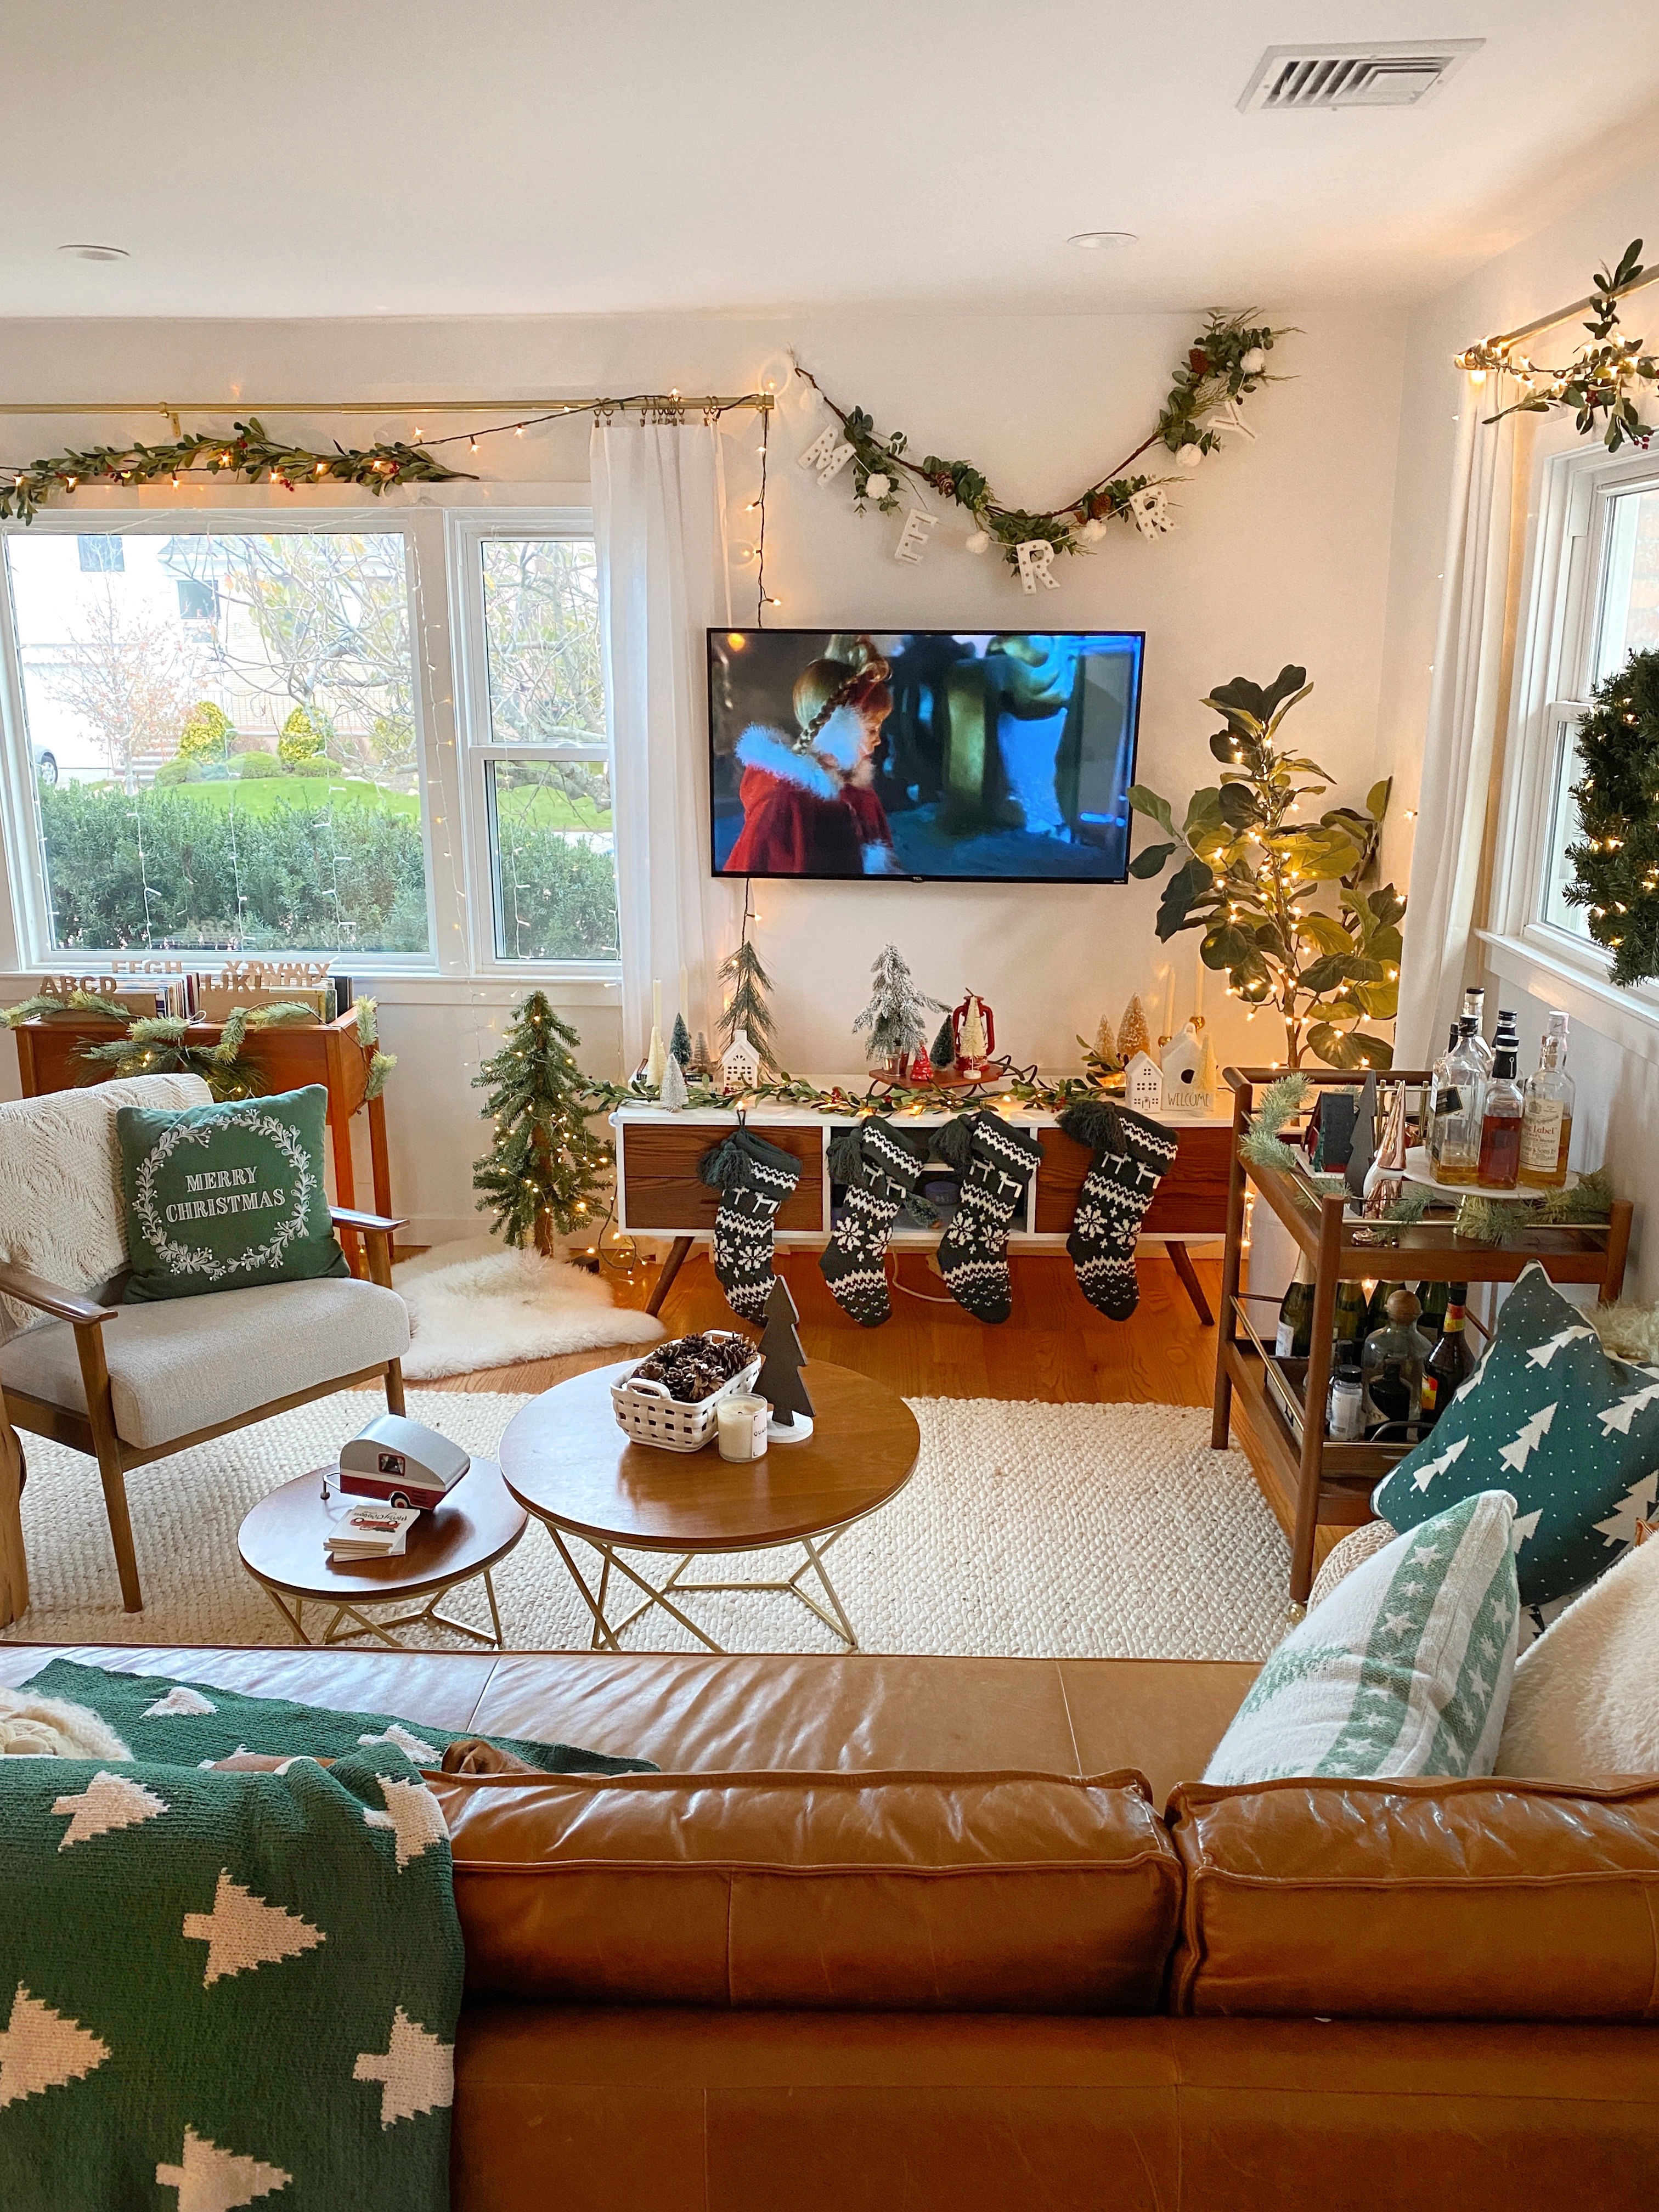
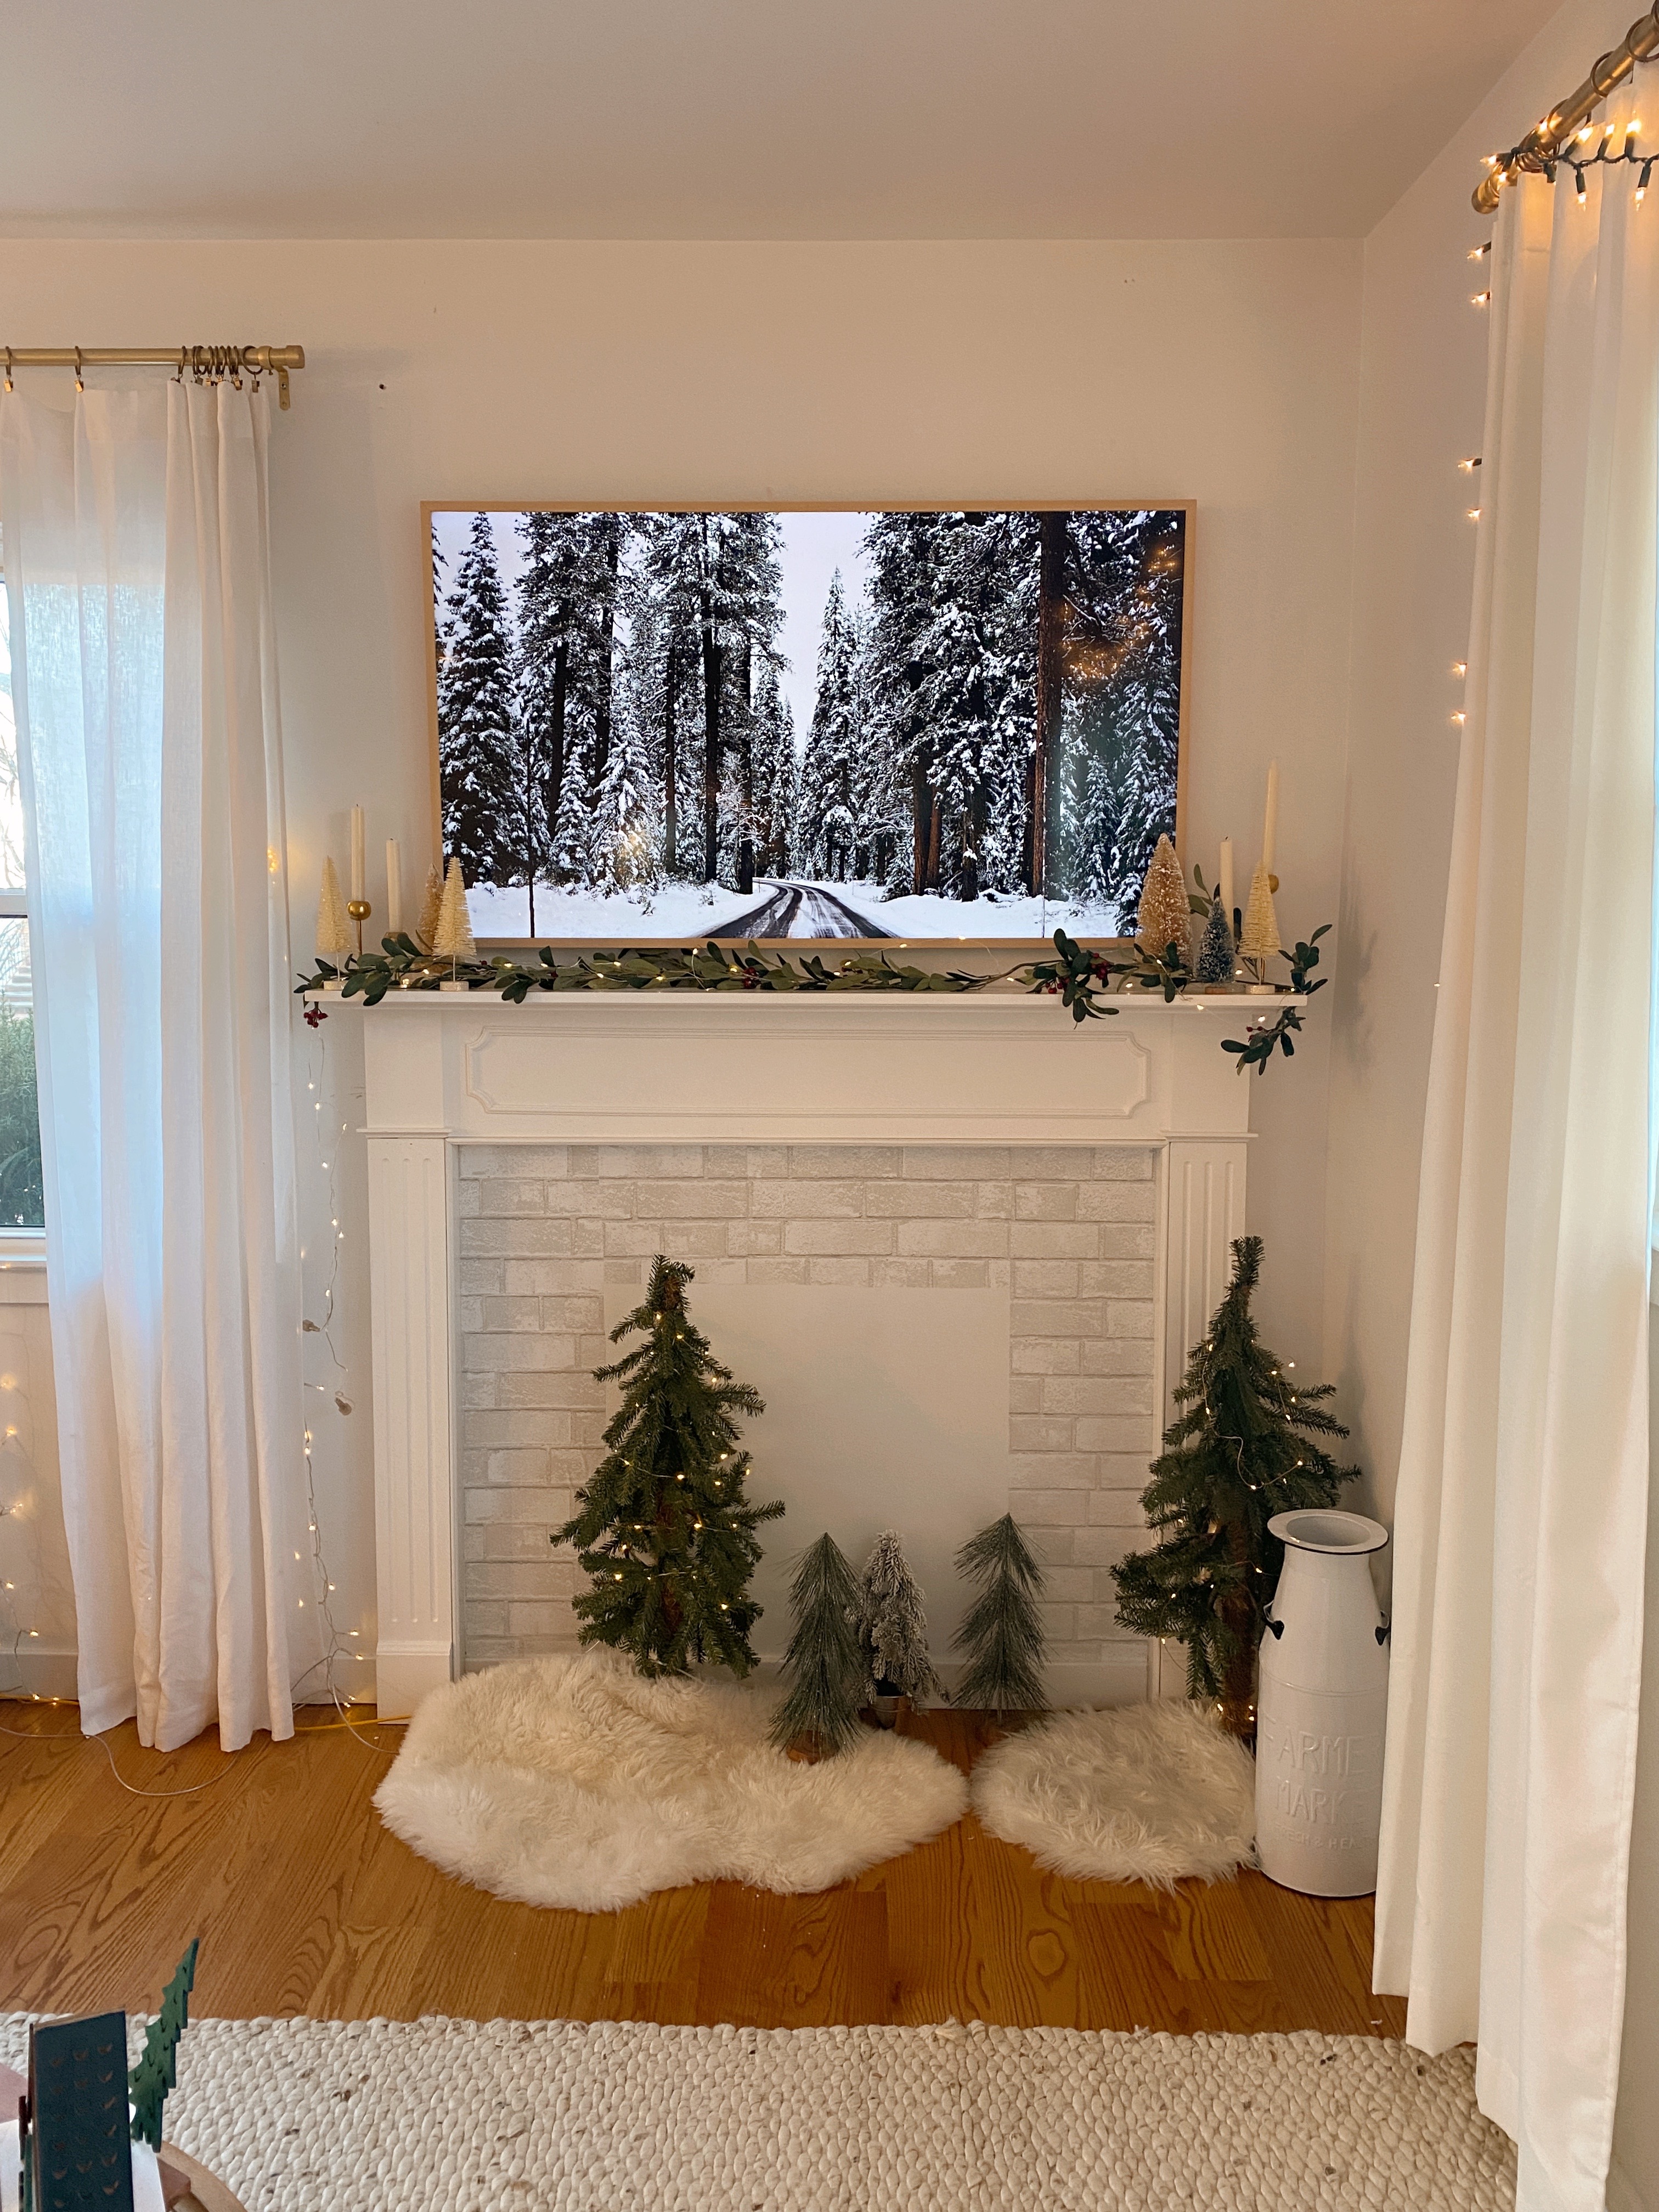
Some of our main concerns with our “before” space were the comfort level of our couch (it looks beautiful, but isn’t super comfy), our TV was never centered because we hung it on the stud which was off-centered, and the media console extended beyond the curtains. The curtain rod was also hung too far over. Basically, the room overall looked nice, and I loved the aesthetic aspect of it, but when I looked a little closer there were a lot of things slightly off that needed to be fixed. Step 1 was giving away our media console on free craigslist. Someone actually came and picked it up in the middle of a blizzard, it was something I will never forget. She must have really liked it! haha. Then after saving up, we ordered the Frame TV, as we really wanted something that would sit flush above the mantel. This TV is definitely a splurge, but I would say it’s completely worth it if you care about aesthetics but also want a really high quality television. I love the art mode, and that when the TV sits idle, there’s a gorgeous photo of snowy upstate instead of a black screen. The remote is also extremely easy to use, and the box is easy to hide off to the side, with the connectivity still functioning fine.
I then found a fireplace surround on Craigslist for $250. I made a huge mistake and did not measure it upon picking it up, only to discover that it didn’t fit our space. womp womp. Learn from me and always measure twice and cut once, as my dad says! The sides were too wide, and then mantel itself was too tall to house the TV above it. It was gorgeous though! A local photographer ended up picking it up from me, so at least it found a great home!

After that debacle, I ended up ordering a fireplace surround that arrived in a few days. It just felt more sure than trying to find another piece on craigslist, and the pricing ended up being around the same. The one I picked has a gorgeous traditional feeling to it, and it is secured to the wall itself. I’d say the quality is mediocre, but now that it has been installed it is safe, secure, and I love that it isn’t too large for our space. We also trimmed about 3 inches off of the legs, so that it sits a bit lower and the TV can easily fit above it. It took a few hours to install it, as we had to remove our base molding, so it sat flush with the wall.


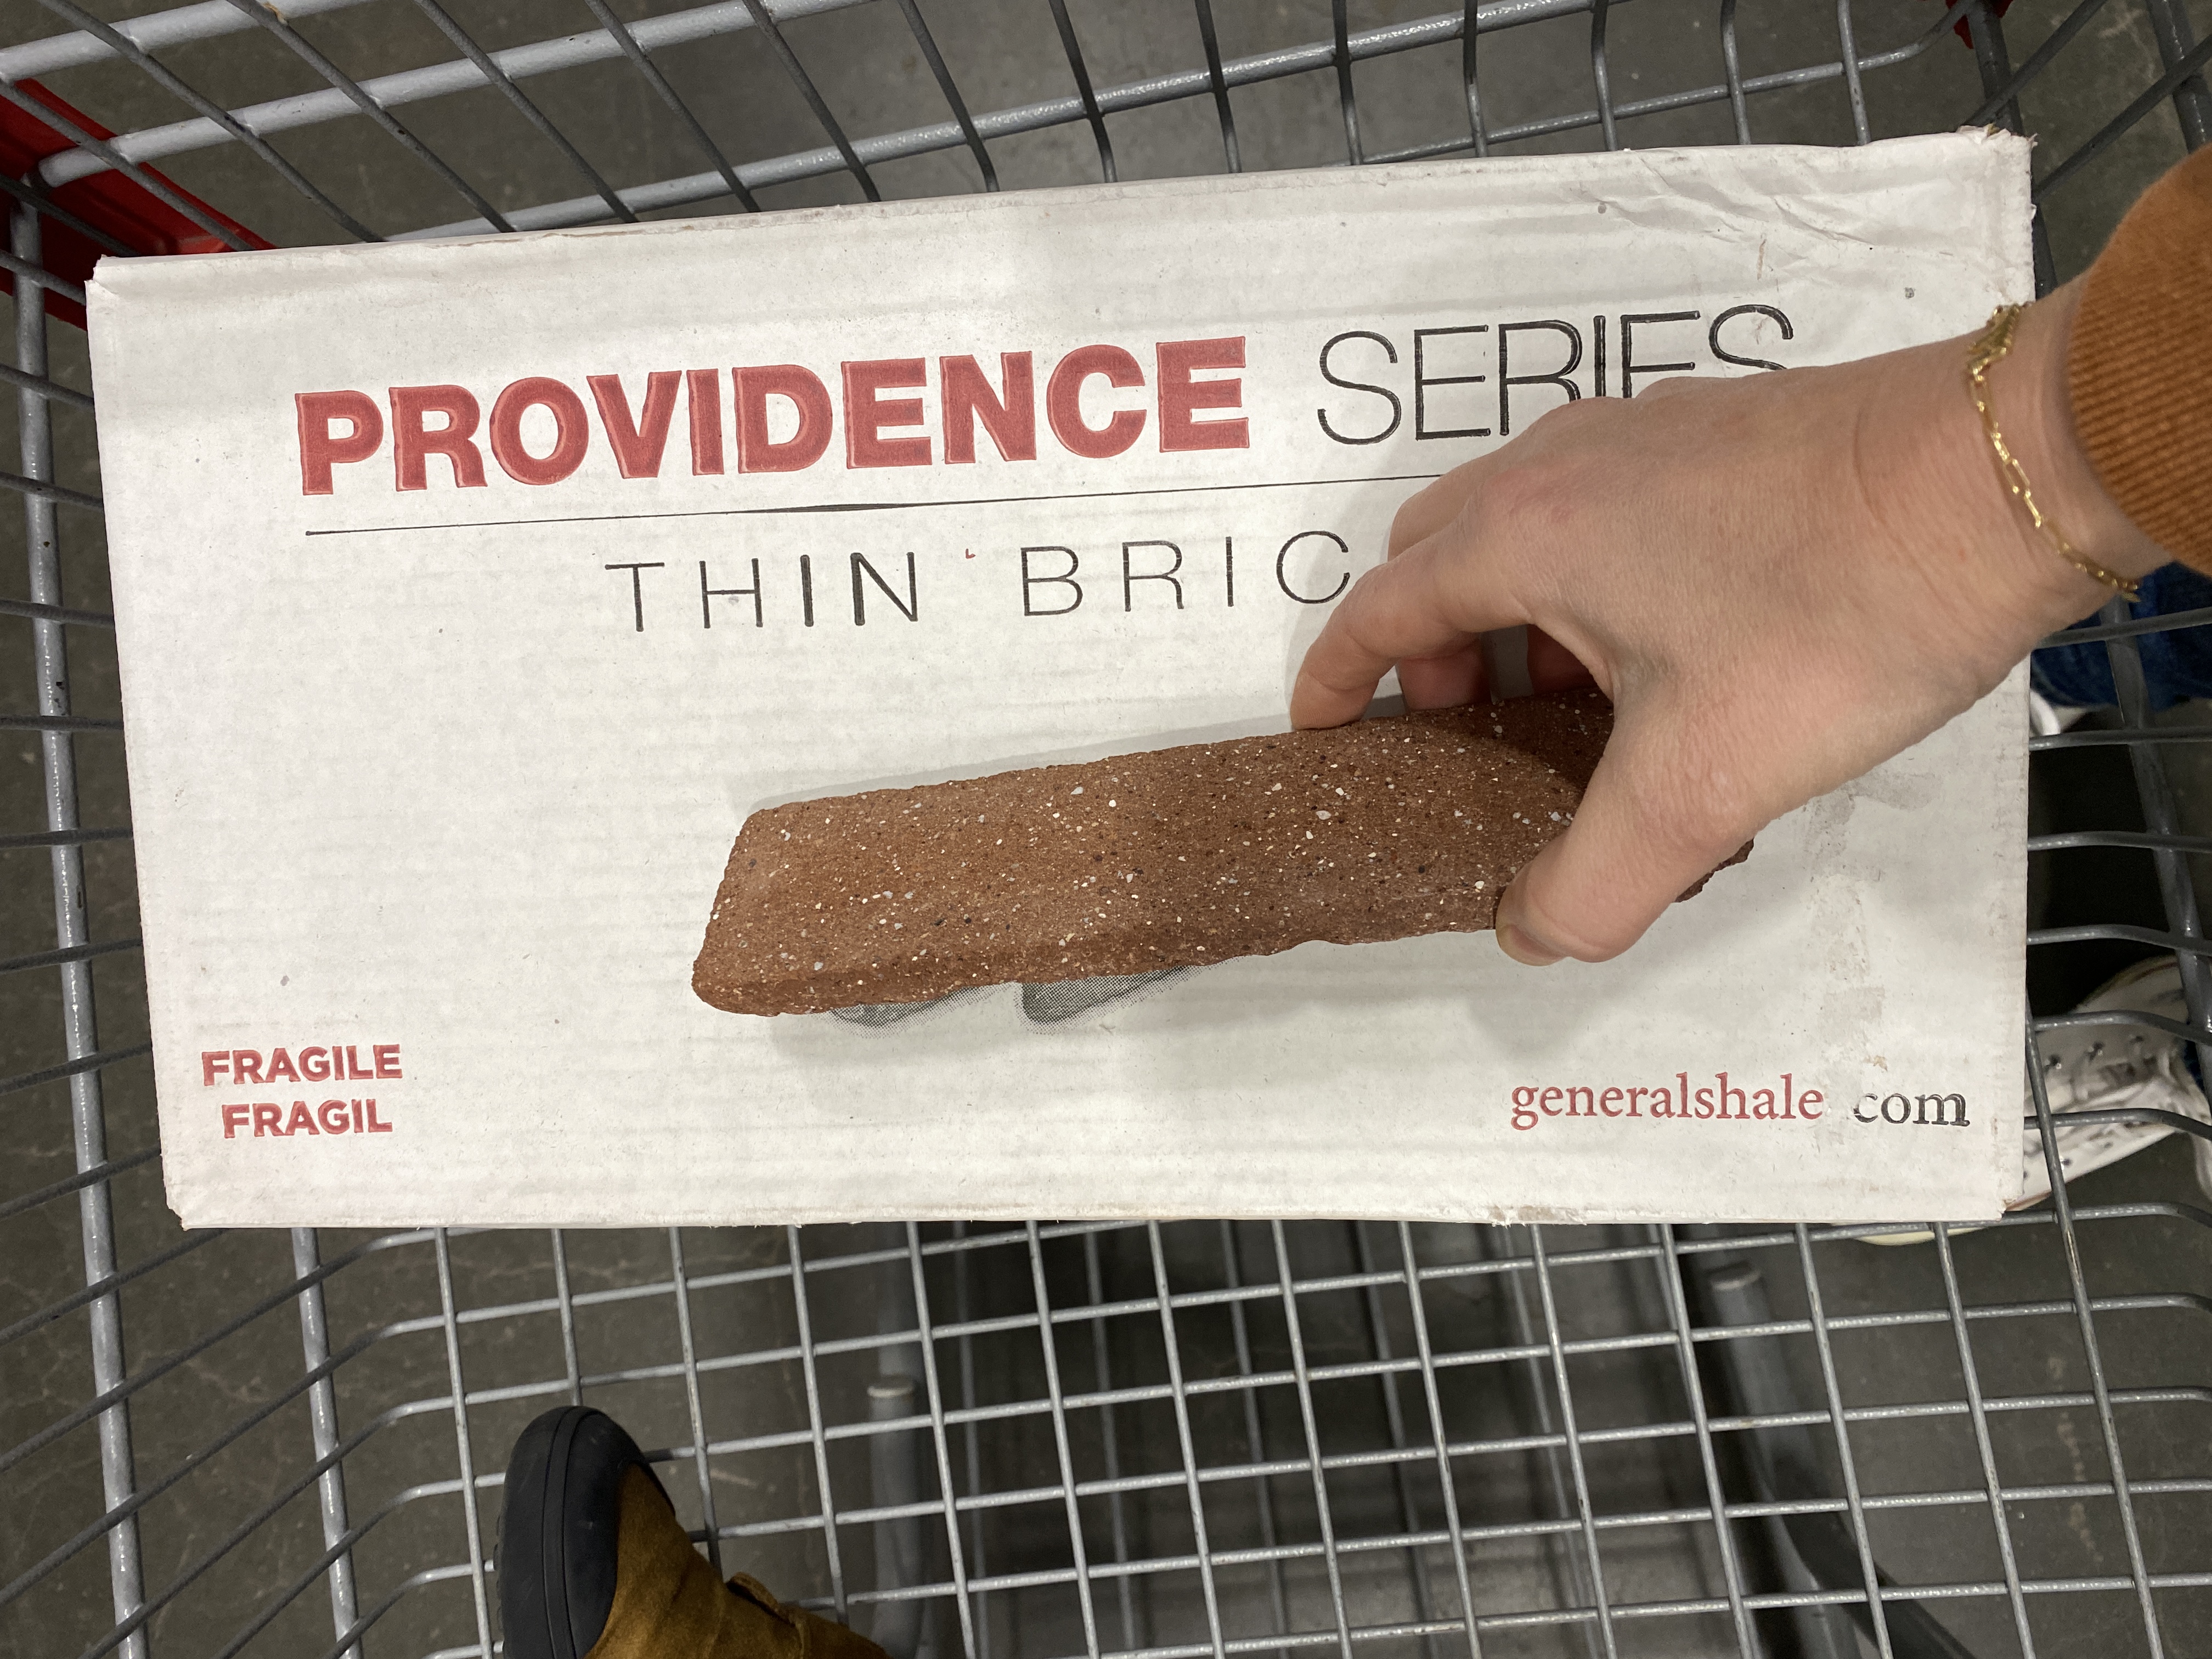
Once it was installed (yay!!!) I got to work on planning the interior of the fireplace surround. Our cable and internet plug happened to be within the faux fireplace, so an electrician came and moved all of our wires and plugs a few inches to the left. I then debated on whether to go with a faux stick on tile, or to actually tile the inside. I decided on installing real tile and hiring a professional to add brick tile inside. You can see how the mantel looked with faux brick in the photo above – while I do love how it photographs, it just feels too flat in-person, and once I add a wood insert to the center to finish off the project, I felt it wouldn’t look right. I ended up picking up Providence Series thin brick tile, and I picked a white grout to go along with it. That is currently where we are at, and the faux fireplace is getting tiled TODAY! We also have a new couch and a new rug on the way. I cannot wait to share them with you, and to show you the final reveal in a few weeks! I’ll be placing this wood insert that is custom made by Jason from Etsy as the finishing touch!
So far our room feels much more functional and spacious with the mantel VS our previous media console, and we’re so happy with the changes so far! If you’re considering creating a faux mantel as we did, just to make this blog post more digestible, our steps were as so:
Here’s all of the products that I used on our fireplace surround: