
Before beginning to create your sourdough, the first step is to create the Starter. Matt used this recipe to create his. It takes about a week from when you create your starter to when it is ready to use it to bake bread. It’s basically the yeast that is within the sourdough bread you will be creating.
Some other resources that Matt suggests if you are interested in baking sourdough are this Tartine book and this site called The Perfect Loaf that breaks down techniques on mixing, shaping and everything else. The recipe we are using here is based on the Tartine Basic method, with some slight tweaks. We’ve found it to be the easiest, most consistent method to produce great results.
This recipe makes two loaves of bread. Most recipes that make 2 loaves call for 1000G of flour but Matt finds that the loaves are too big (for a 6qt Dutch Oven) so he reduced everything by 15% and that is how he ended up with these numbers. Otherwise the loaves blow up and squish to the sides of the dutch ovens and don’t have enough room.
Step 1: The night before you plan on creating your sourdough, you need to mix the Levain at around 10PM. The Levain is a portion of the starter that has been recently fed and is ready to be used in the recipe. The rest of your starter can be stored for later use!
Levain Ingredients:
Starter – 27 grams
All purpose flour – 39 grams
Whole wheat flour – 39 grams
Rye flour – 26 grams
Water (room temp) – 94 grams
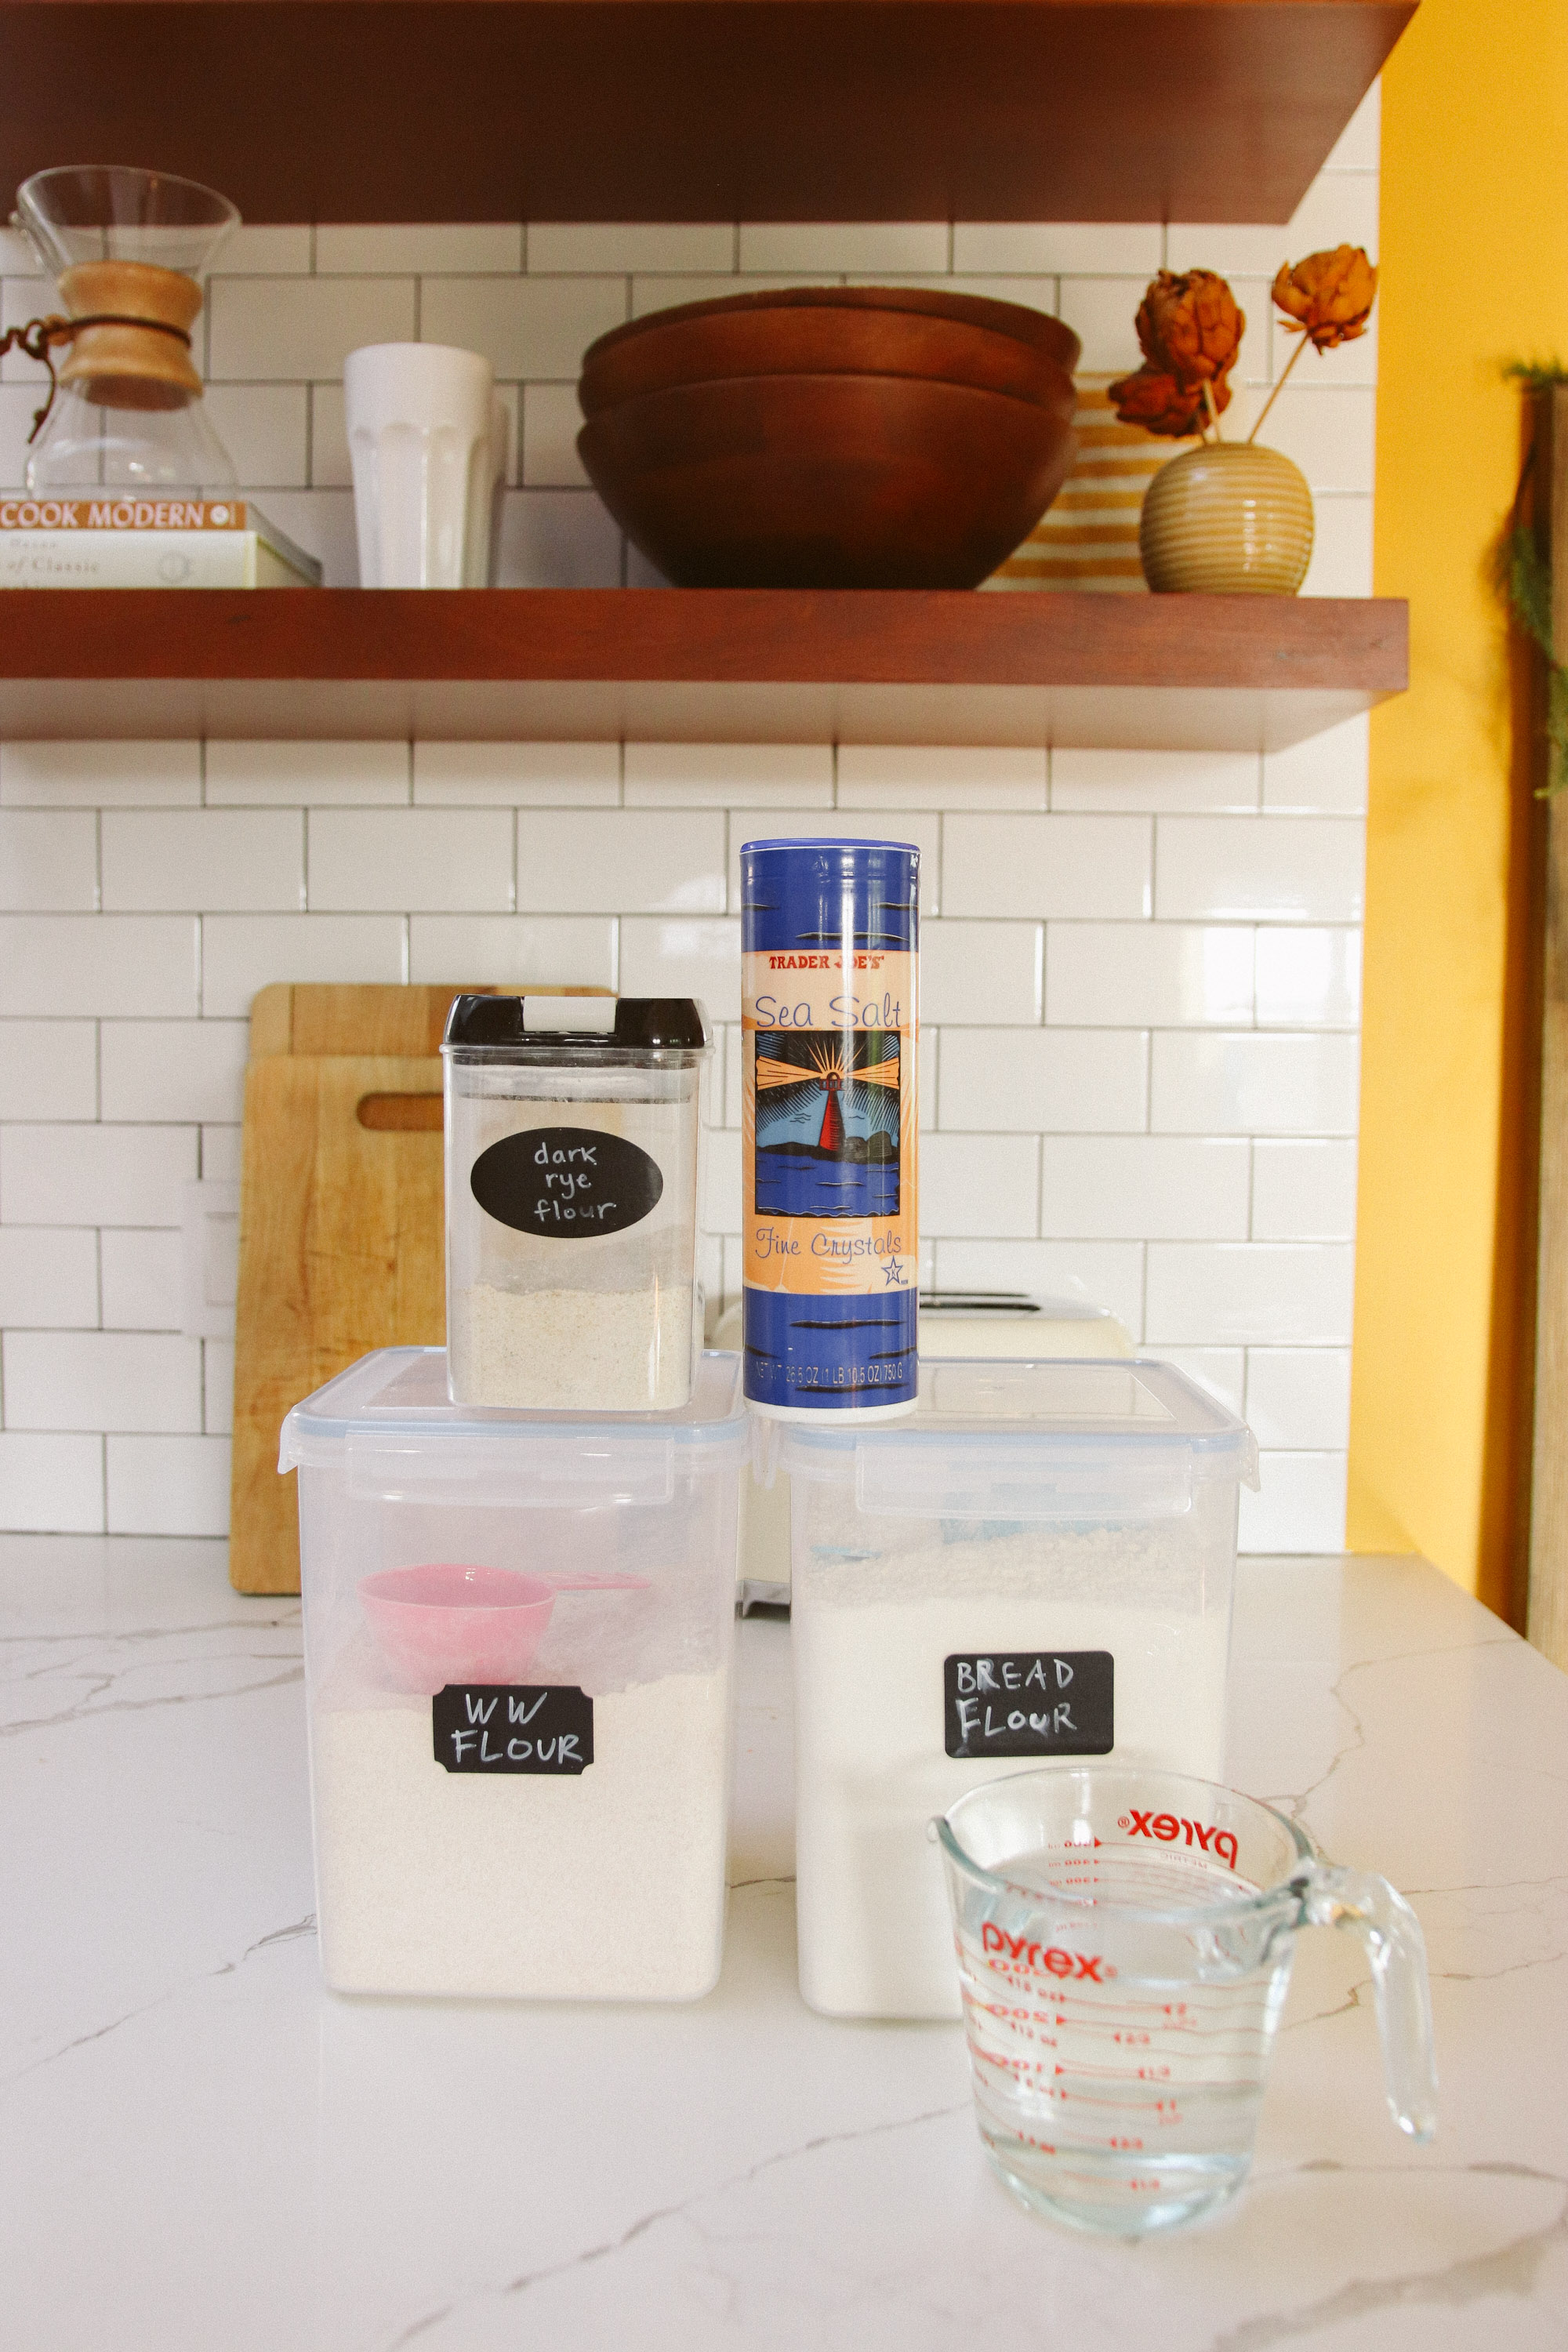
We start our dough at 8AM the following morning, and here’s the ingredients of what we put into it. Everything is measured using a scale to make sure it is exact – cups, tablespoons etc don’t work as well for baking.
Dough:
Bread flour – 680 grams
Whole wheat flour – 170 grams
Salt – 17 grams
Water (80 degrees) – 638 grams
When creating sourdough, everything is on an exact schedule. The dough is rising and fermenting, and in order to create strength in the dough correctly, you need to plan out your day, and follow a schedule so the dough develops. Below is the schedule that we use.
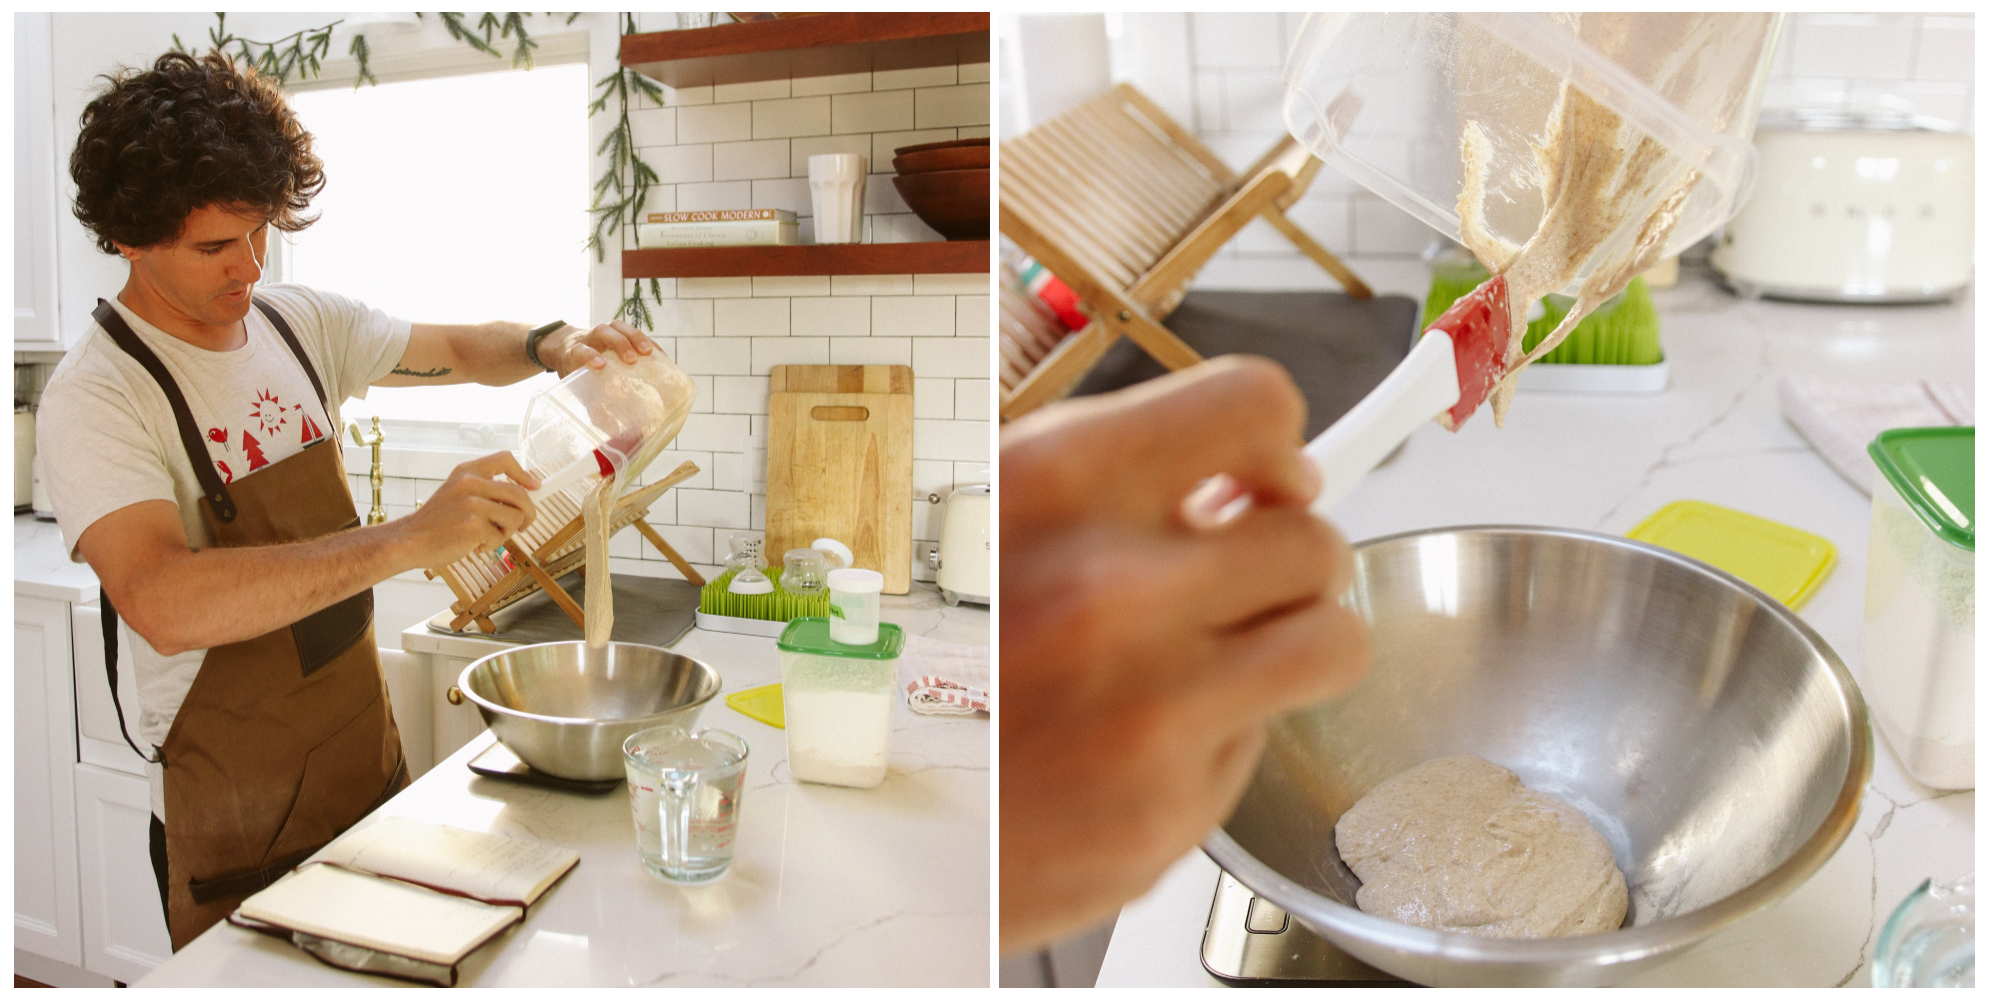
Step 2: Mix your dough.
8:00AM Add 595 grams of 80 degree water to the bowl with 170 grams of Levain and incorporate, using spatula. Mix for a minute or two until it is combined.
8:05AM Add flour (680 grams Bread flour + 170 grams
Whole wheat flour) and mix until its a cohesive dough, with no dry bits. Let rest 25-40 minutes.
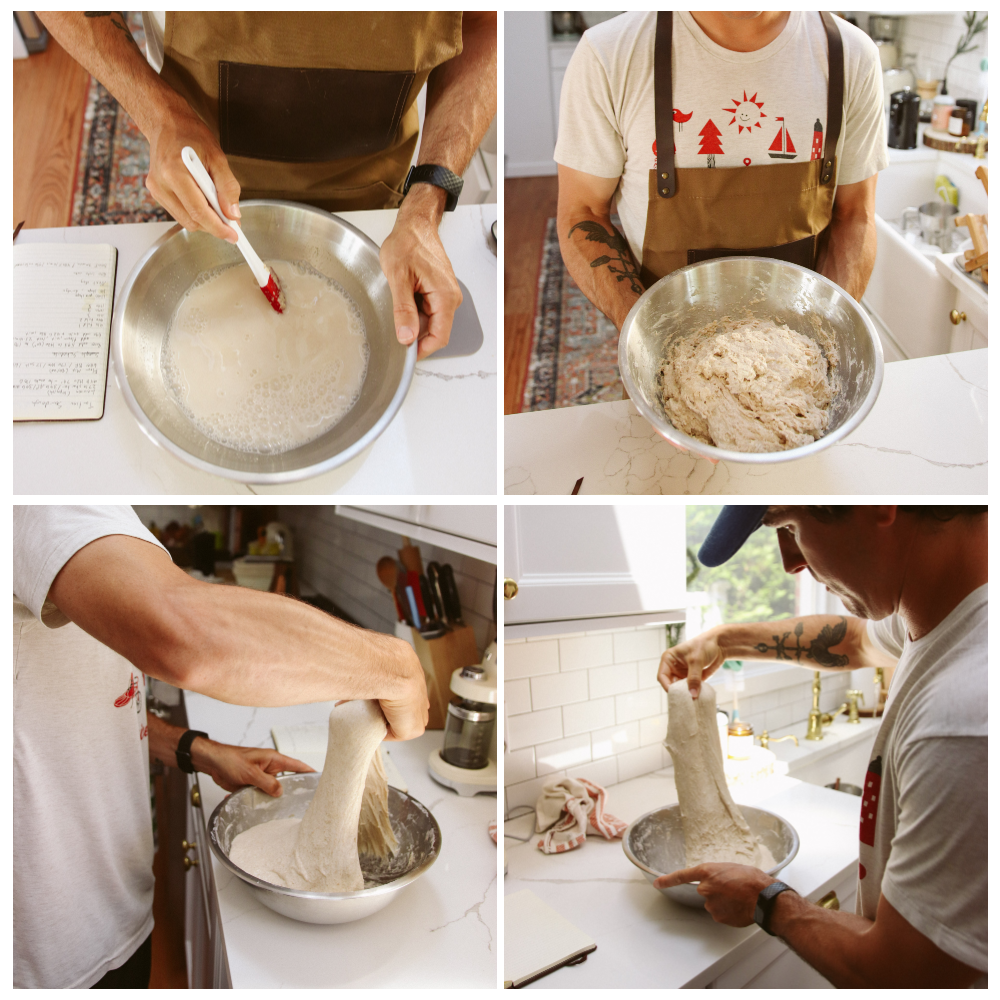
8:40AM add 17 grams of salt and 43 grams water and mix/fold until combined
Step 3: Folds – Folding the dough creates strength and controls the rise of the dough. In order to fold, wet your hand, lift up one side from underneath and fold over to the other side. Repeat three more times (4 folds for each time you fold). You will be completing folds according to the schedule below.
9:10AM Fold 1
9:40AM Fold 2
10:10AM Fold 3
10:40AM Fold 4
11:40AM Fold 5
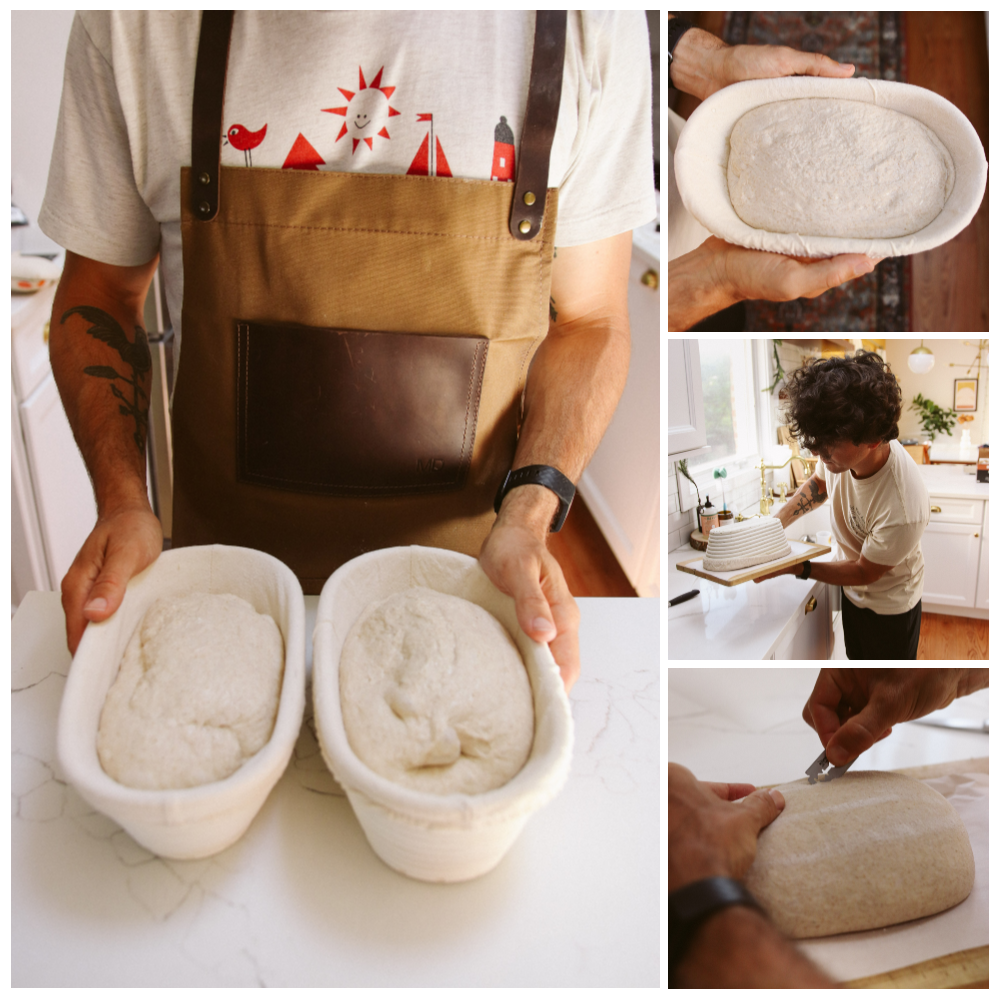
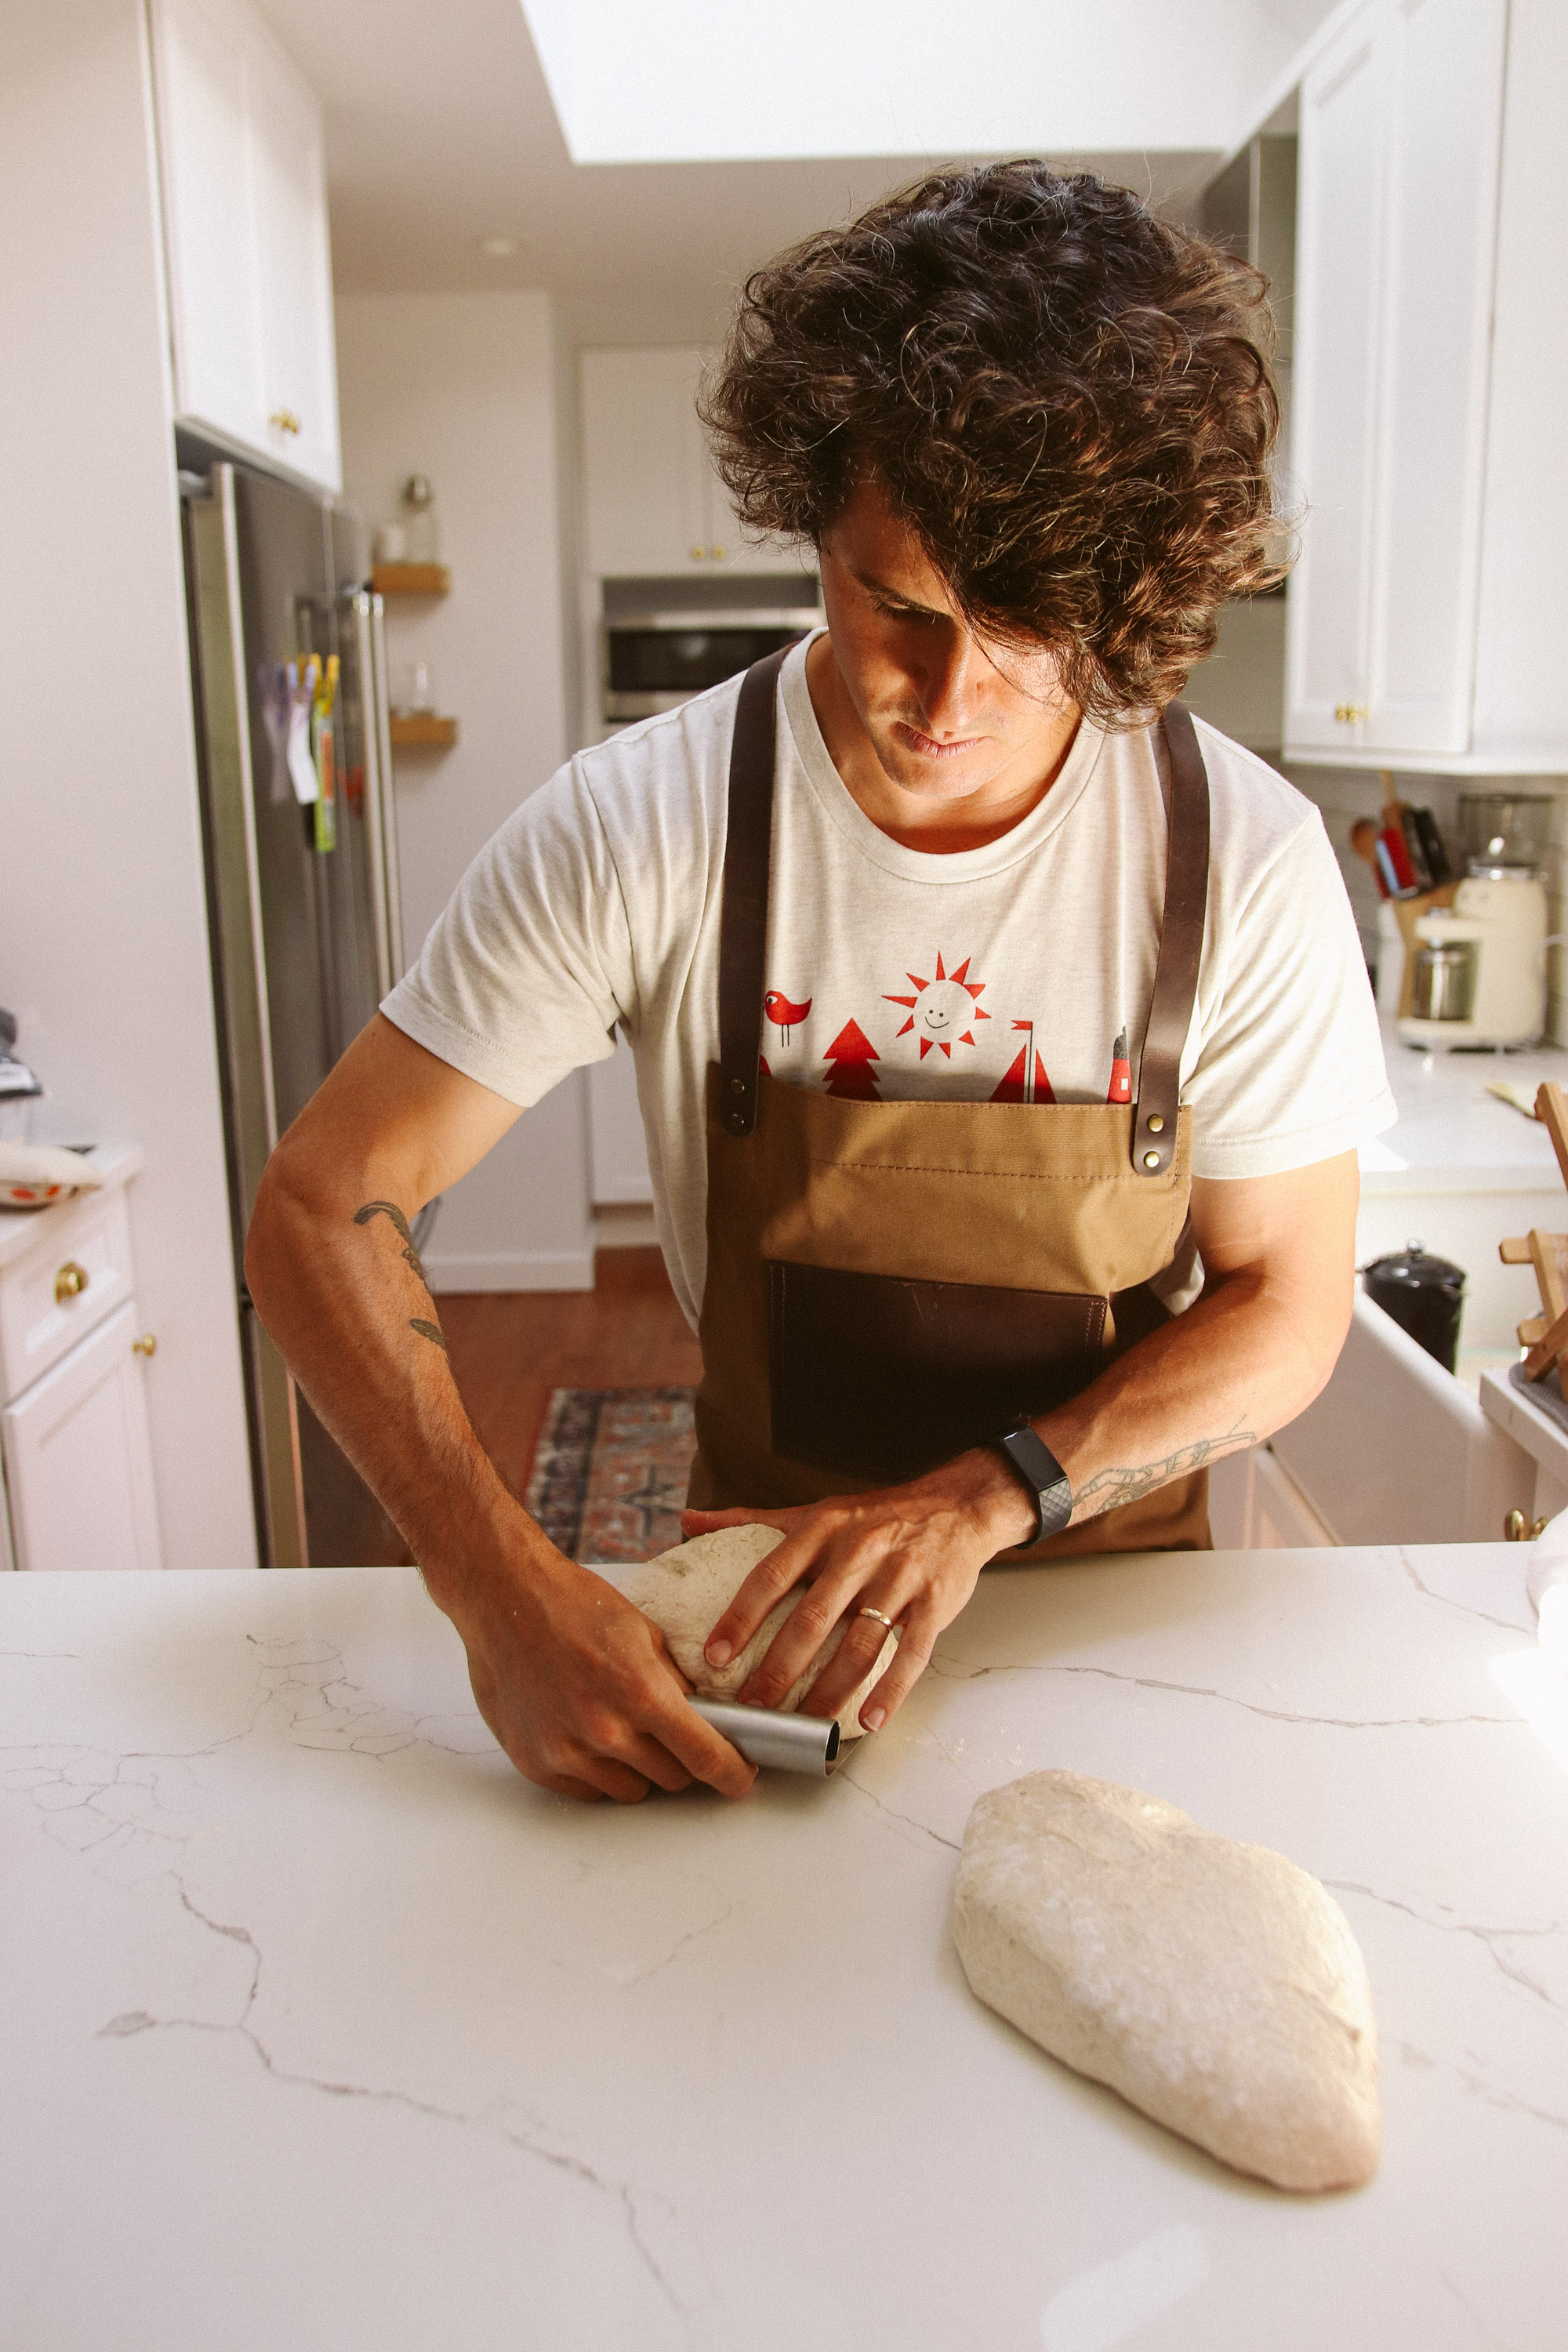
Step 4: Shaping – During this step, you will preshape your dough and then shape it. Once the dough has risen, and has fermented enough that it is ready, you pull it out of the bowl, divide it into two (for two loaves) and then develop tension by forming the dough into rounds. The preshape creates a tight round, and once the dough is round, you cover it with a towel and let it rest for about 25 minutes, and then during the actual shaping you flour the top, flip the round so the floured side is down, and create the shape of your finished product. You will need to reference the links above for guides on the techniques on how to do it, because it’s something much more visual than these images, and better conveyed in a video. A 5 minute youtube video on the process will make everything a lot more clear than reading about it.
1240PM Preshape (here is a guide on more details for how to shape)
1:10PM Shape
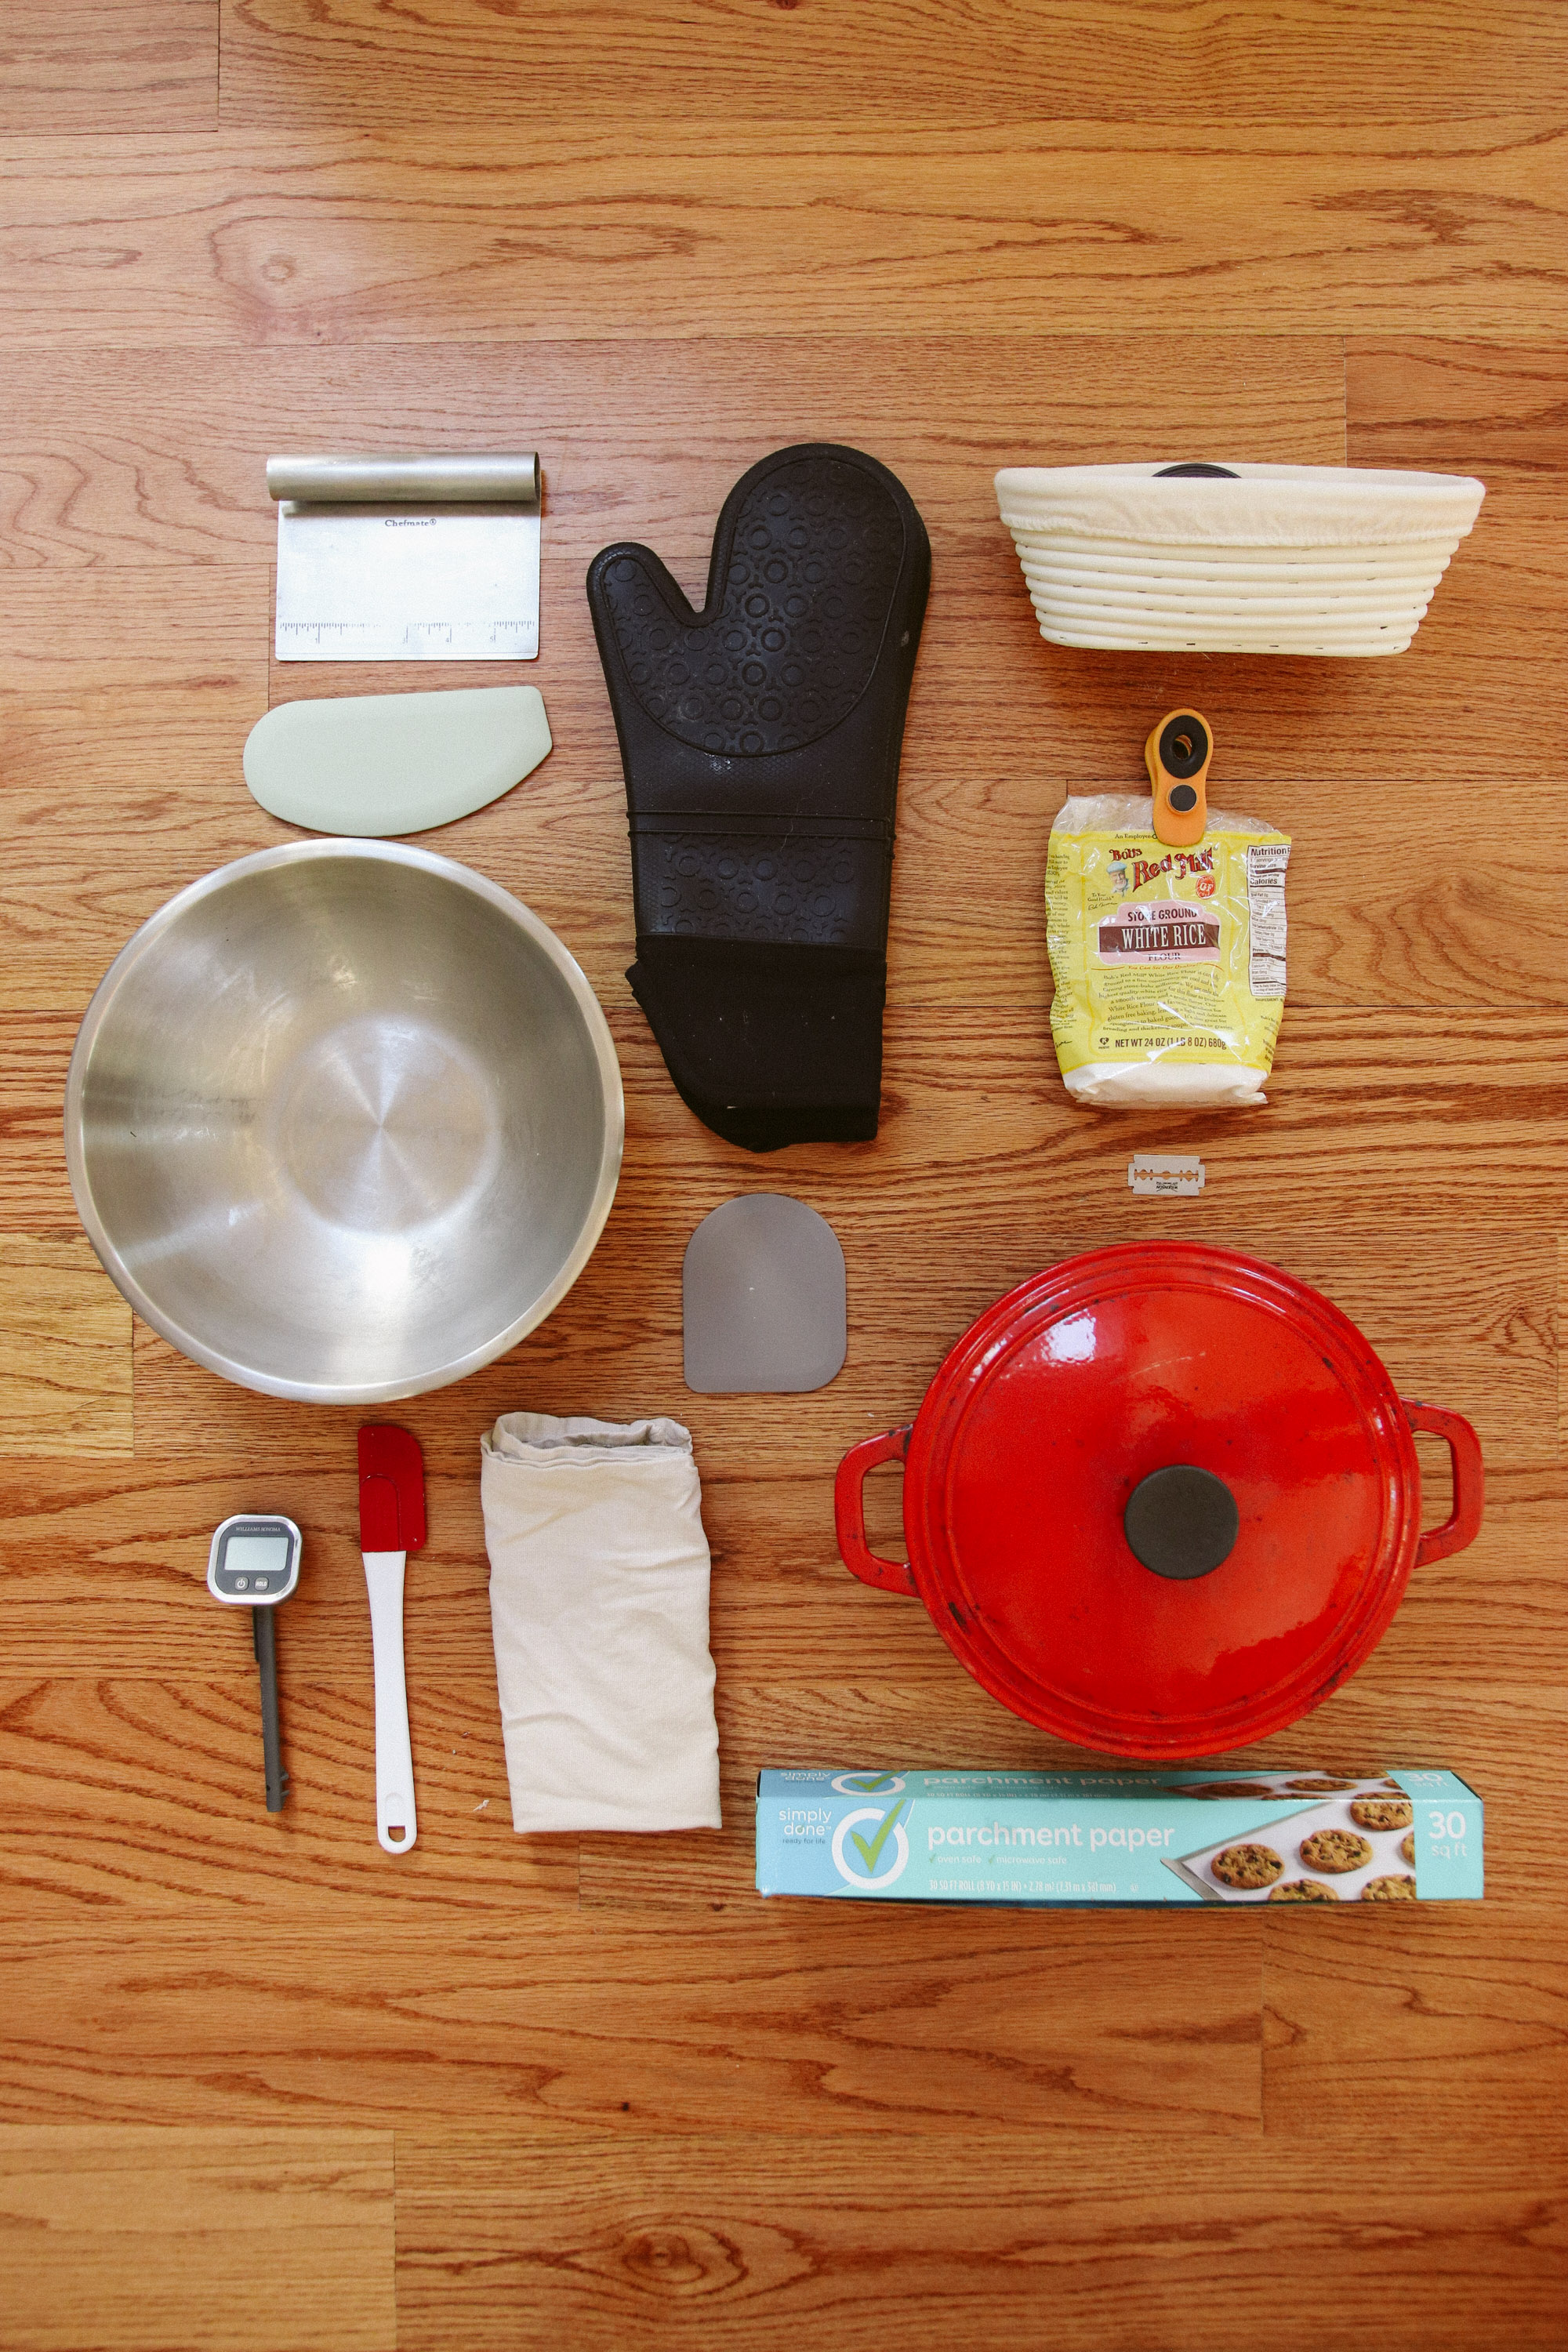
Once the dough is shaped, you put it into your banneton that has been dusted with rice flour, put the dough inside of a plastic bag and close it, and then let it sit overnight in the refrigerator. It will be in the refrigerator for 16-18 hours.
The next day:
Step 5: Preheat Dutch ovens to 500F for 45min to 1hr
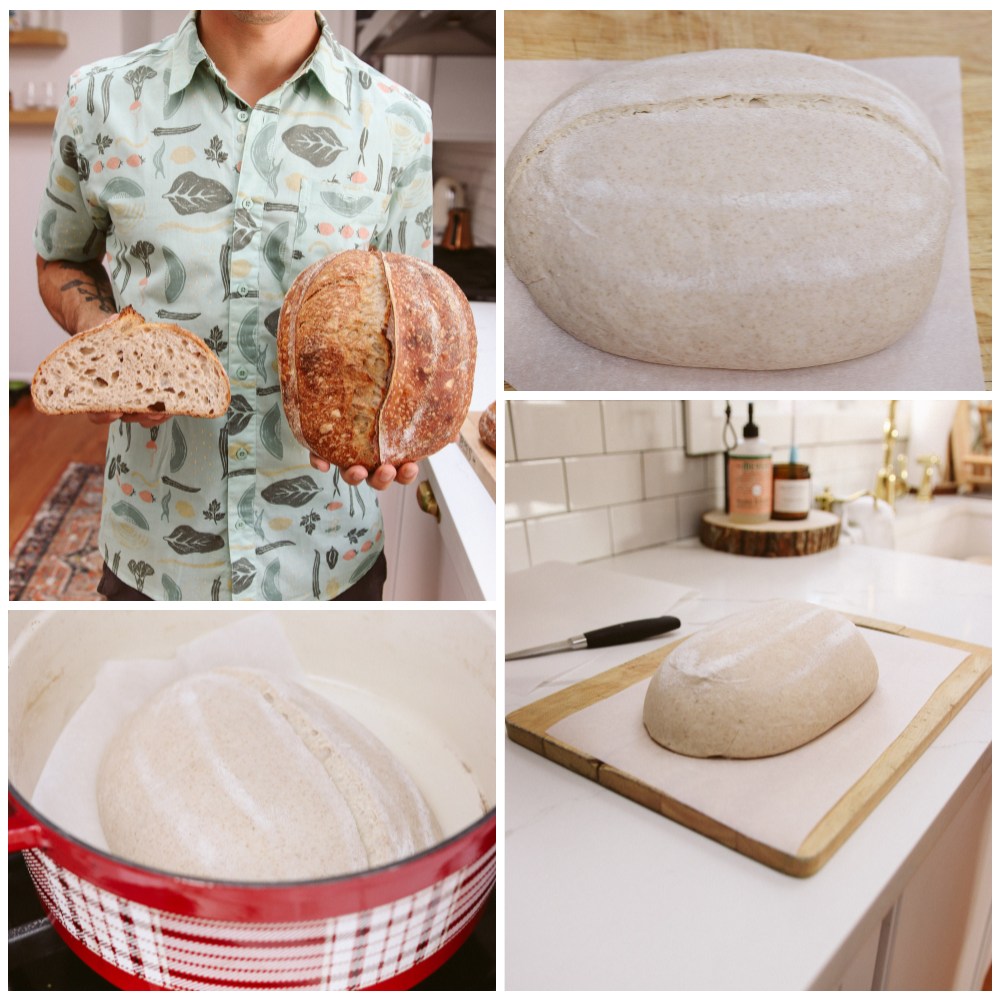
Step 6: Take out breads and place them on parchment paper, score them and load them into dutch ovens carefully, and put the tops on to the dutch ovens so the breads are baking while covered.
Step 7: Bake
8:00AM Place COVERED loaves into the oven at 500 degrees for 20 minutes
8:20AM Reduce heat to 450F for 10 min
8:30AM uncover the dutch ovens by taking the lids off of them, and bake 20 minutes or so more until golden brown
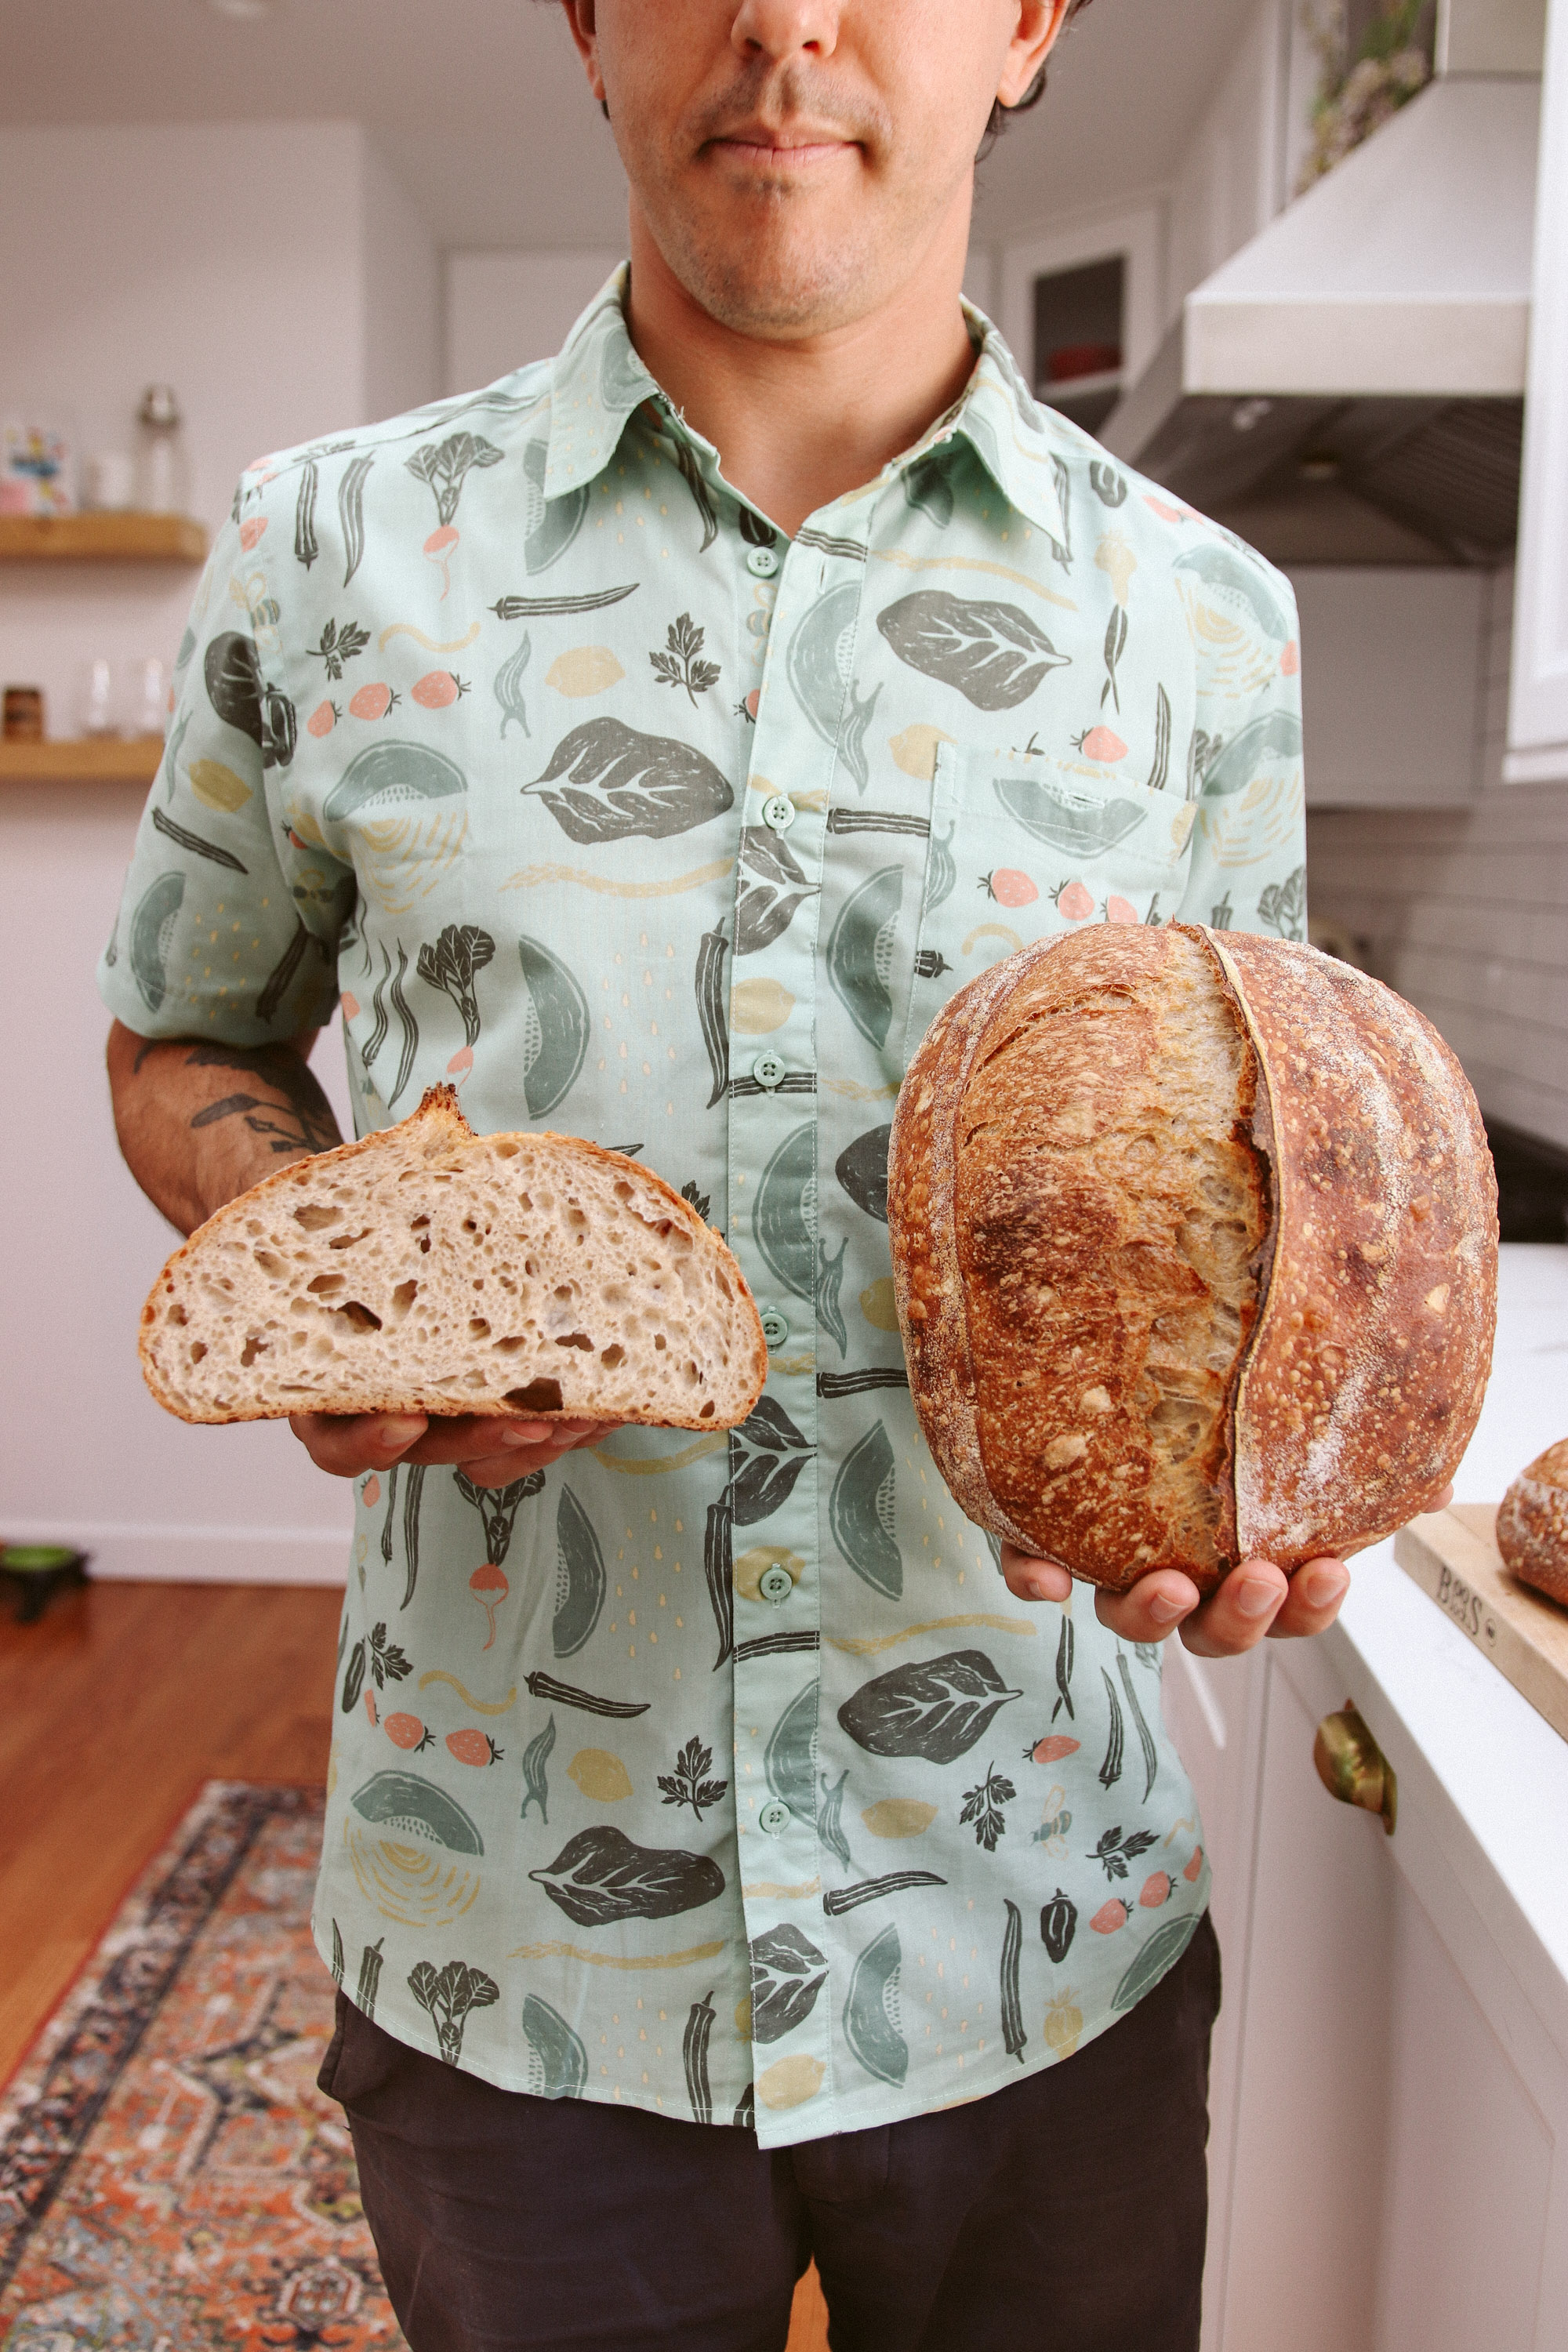
Remove the breads from the oven and from the dutch ovens, and let them cool on a wire rack. Wait at least 1 hour before cutting into them.