
It’s that time of the year when we all want to order our holiday cards, and share our holiday photos online, so I thought it would be helpful to pop-in and share a little bit about how we get the shot in our living room, and the few small details that make or break the photo! I hope this is helpful!
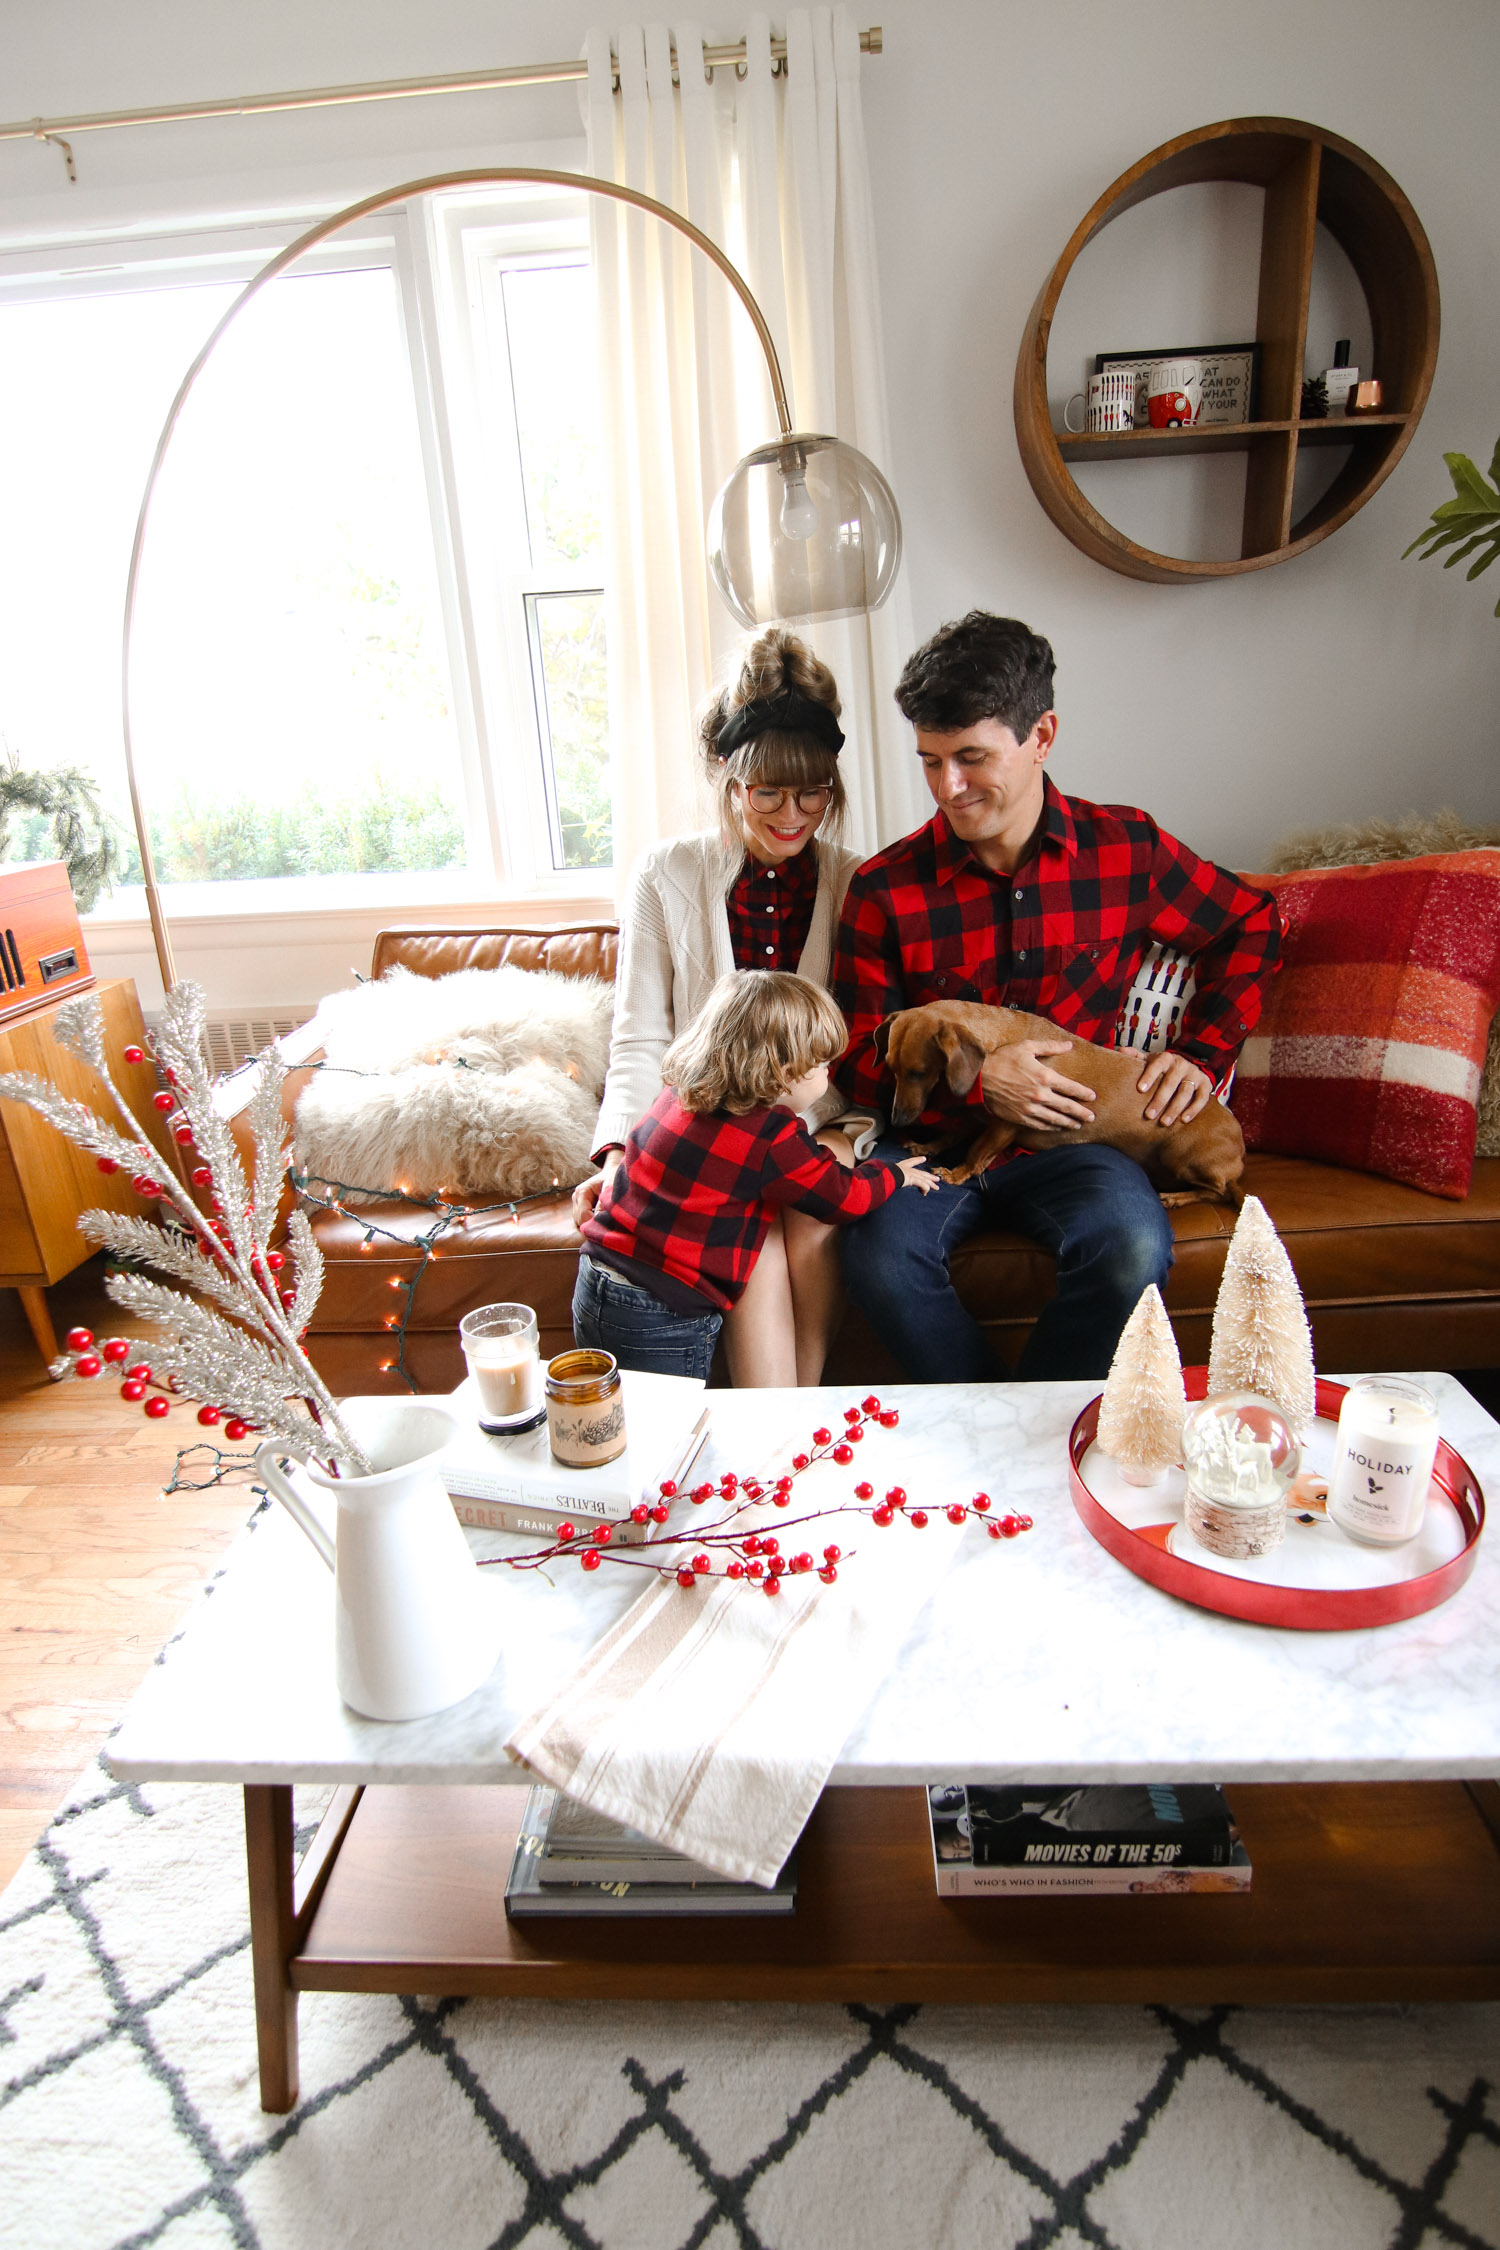
1 – LIGHTING IS EVERYTHING: It’s so important to make sure the lighting in your photo is as good as it can get! It may be tempting to stand in front of the window where all of the light is coming from, but that will actually cause you to be backlit, meaning the sun shining in won’t actually be on your face where you need it to be. You also don’t want bright sunlight shining in, and it’s best to shoot on either a cloudy day, or with curtains over the window with bright light shining in. If your only option is to shoot with a window behind you, a great tip is to use a white board to bounce the light back onto your faces! I posted some example photos of Good VS bad lighting below!
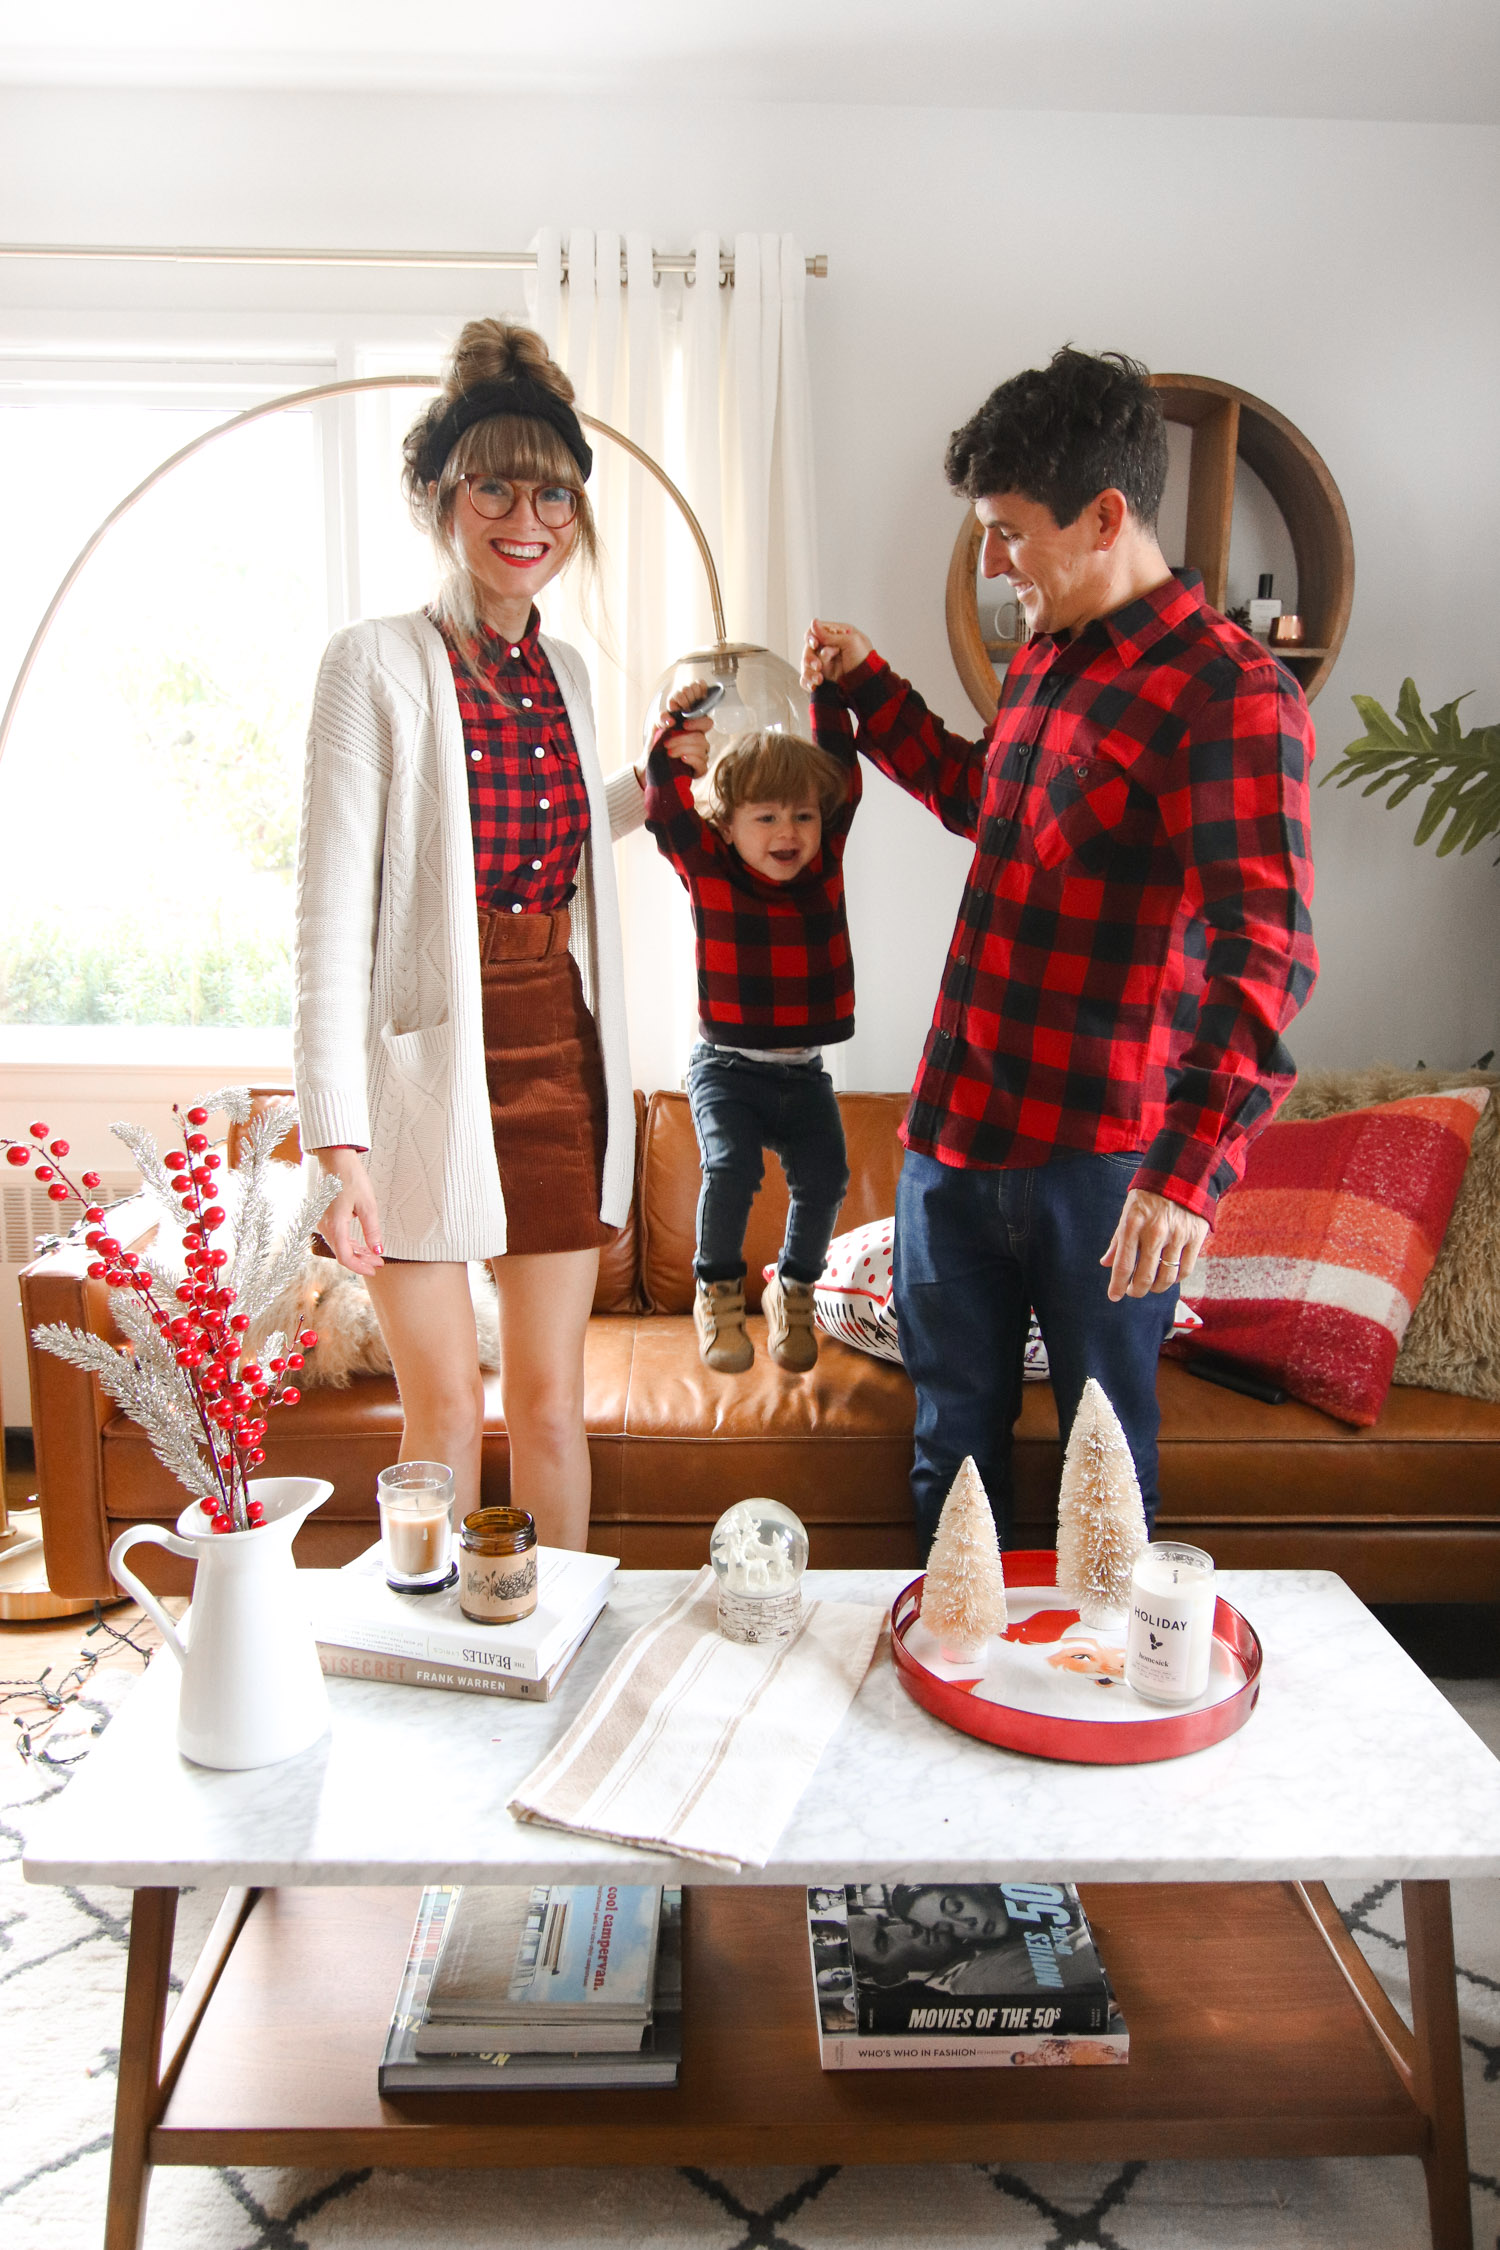
2 – COORDINATE OUTFITS: What you and your family wear for the photos is another thing that will make or break the shoot! I always love to coordinate looks, but throw in some variation for some extra texture as well. I really love the Peyton & Parker collection from JCPenney for affordable and adorable holiday outfits for the family, and that’s where I picked up all of our buffalo plaid shirts, along with my chunky cardigan! Peyton & Parker is a curated collection for Men’s, Women’s, Kids and home, and everything is perfect to wear for getting that instagram worthy holiday photo!
*Styling tip: It’s cute to match the entire family, but make sure there is some variation in bottoms + added textures. For example, I added this cute cream colored cardigan from Peyton & Parker to create some extra interest in our looks, and I made sure to wear a skirt so there’s some balance when the family is all standing together for the photo!

Nice side lighting!
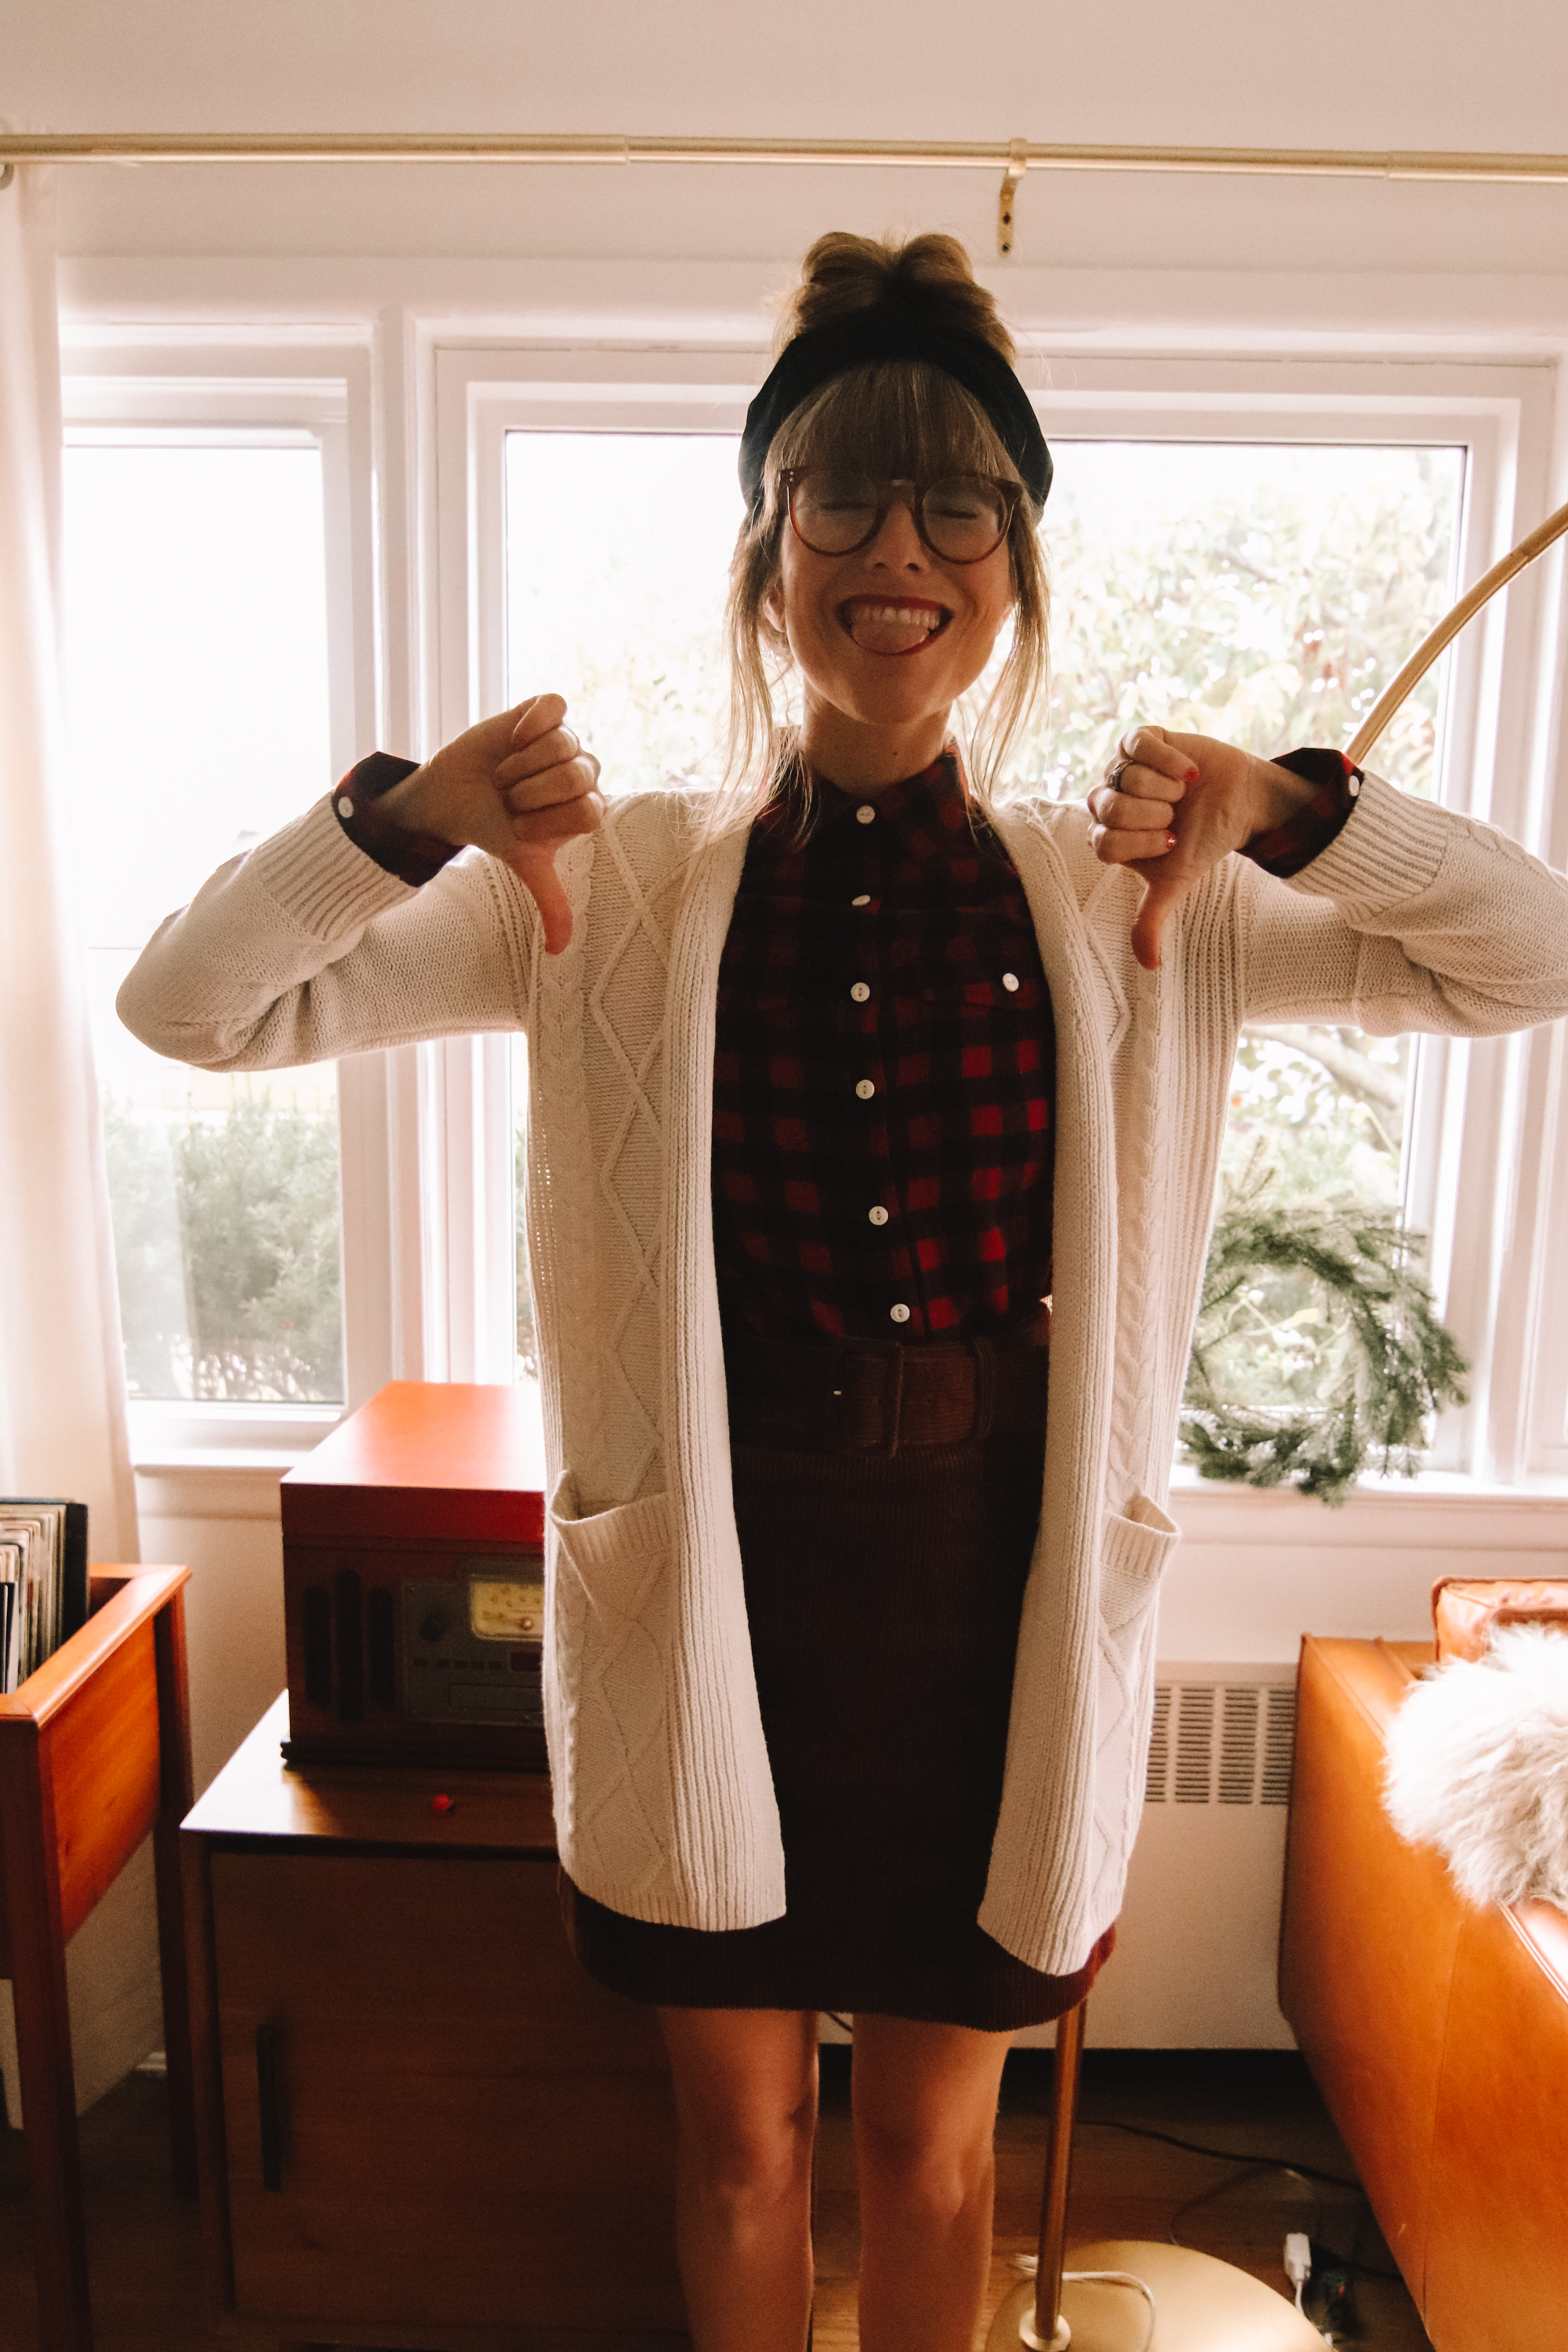
Back lit photo with a window behind you

3 – STRATEGICALLY DECORATE : Bring in holiday decor to make reds and greens pop, but always be strategic about where you place it! I always check to make sure nothing is “sticking out of our heads” from behind us, like a tree or a shelf. Once you have your location picked, shoot a test shot and make sure the placement of all of the decor works in the framing! Peyton & Parker have such a large variety of cute home decor options, and it’s the perfect way to elevate your photo!
4 – EMBRACE THE CANDID MOMENTS: Sometimes the best shot is taken when your family is having a fun and candid moment just being you! Try to treat the shoot as family time and make it fun! I like to giggle with Hudson and make him feel comfortable for a few minutes before we start to snap away, so he isn’t so focused on the camera being present.
5 – CHECK THE ANGLE: Make sure the camera is level with your family, or slightly above them. Do not place the camera below eye level, or too high above your heads, because it could look awkward. I always make sure the camera is directly equal to my eye level, and that the horizon line is straight!
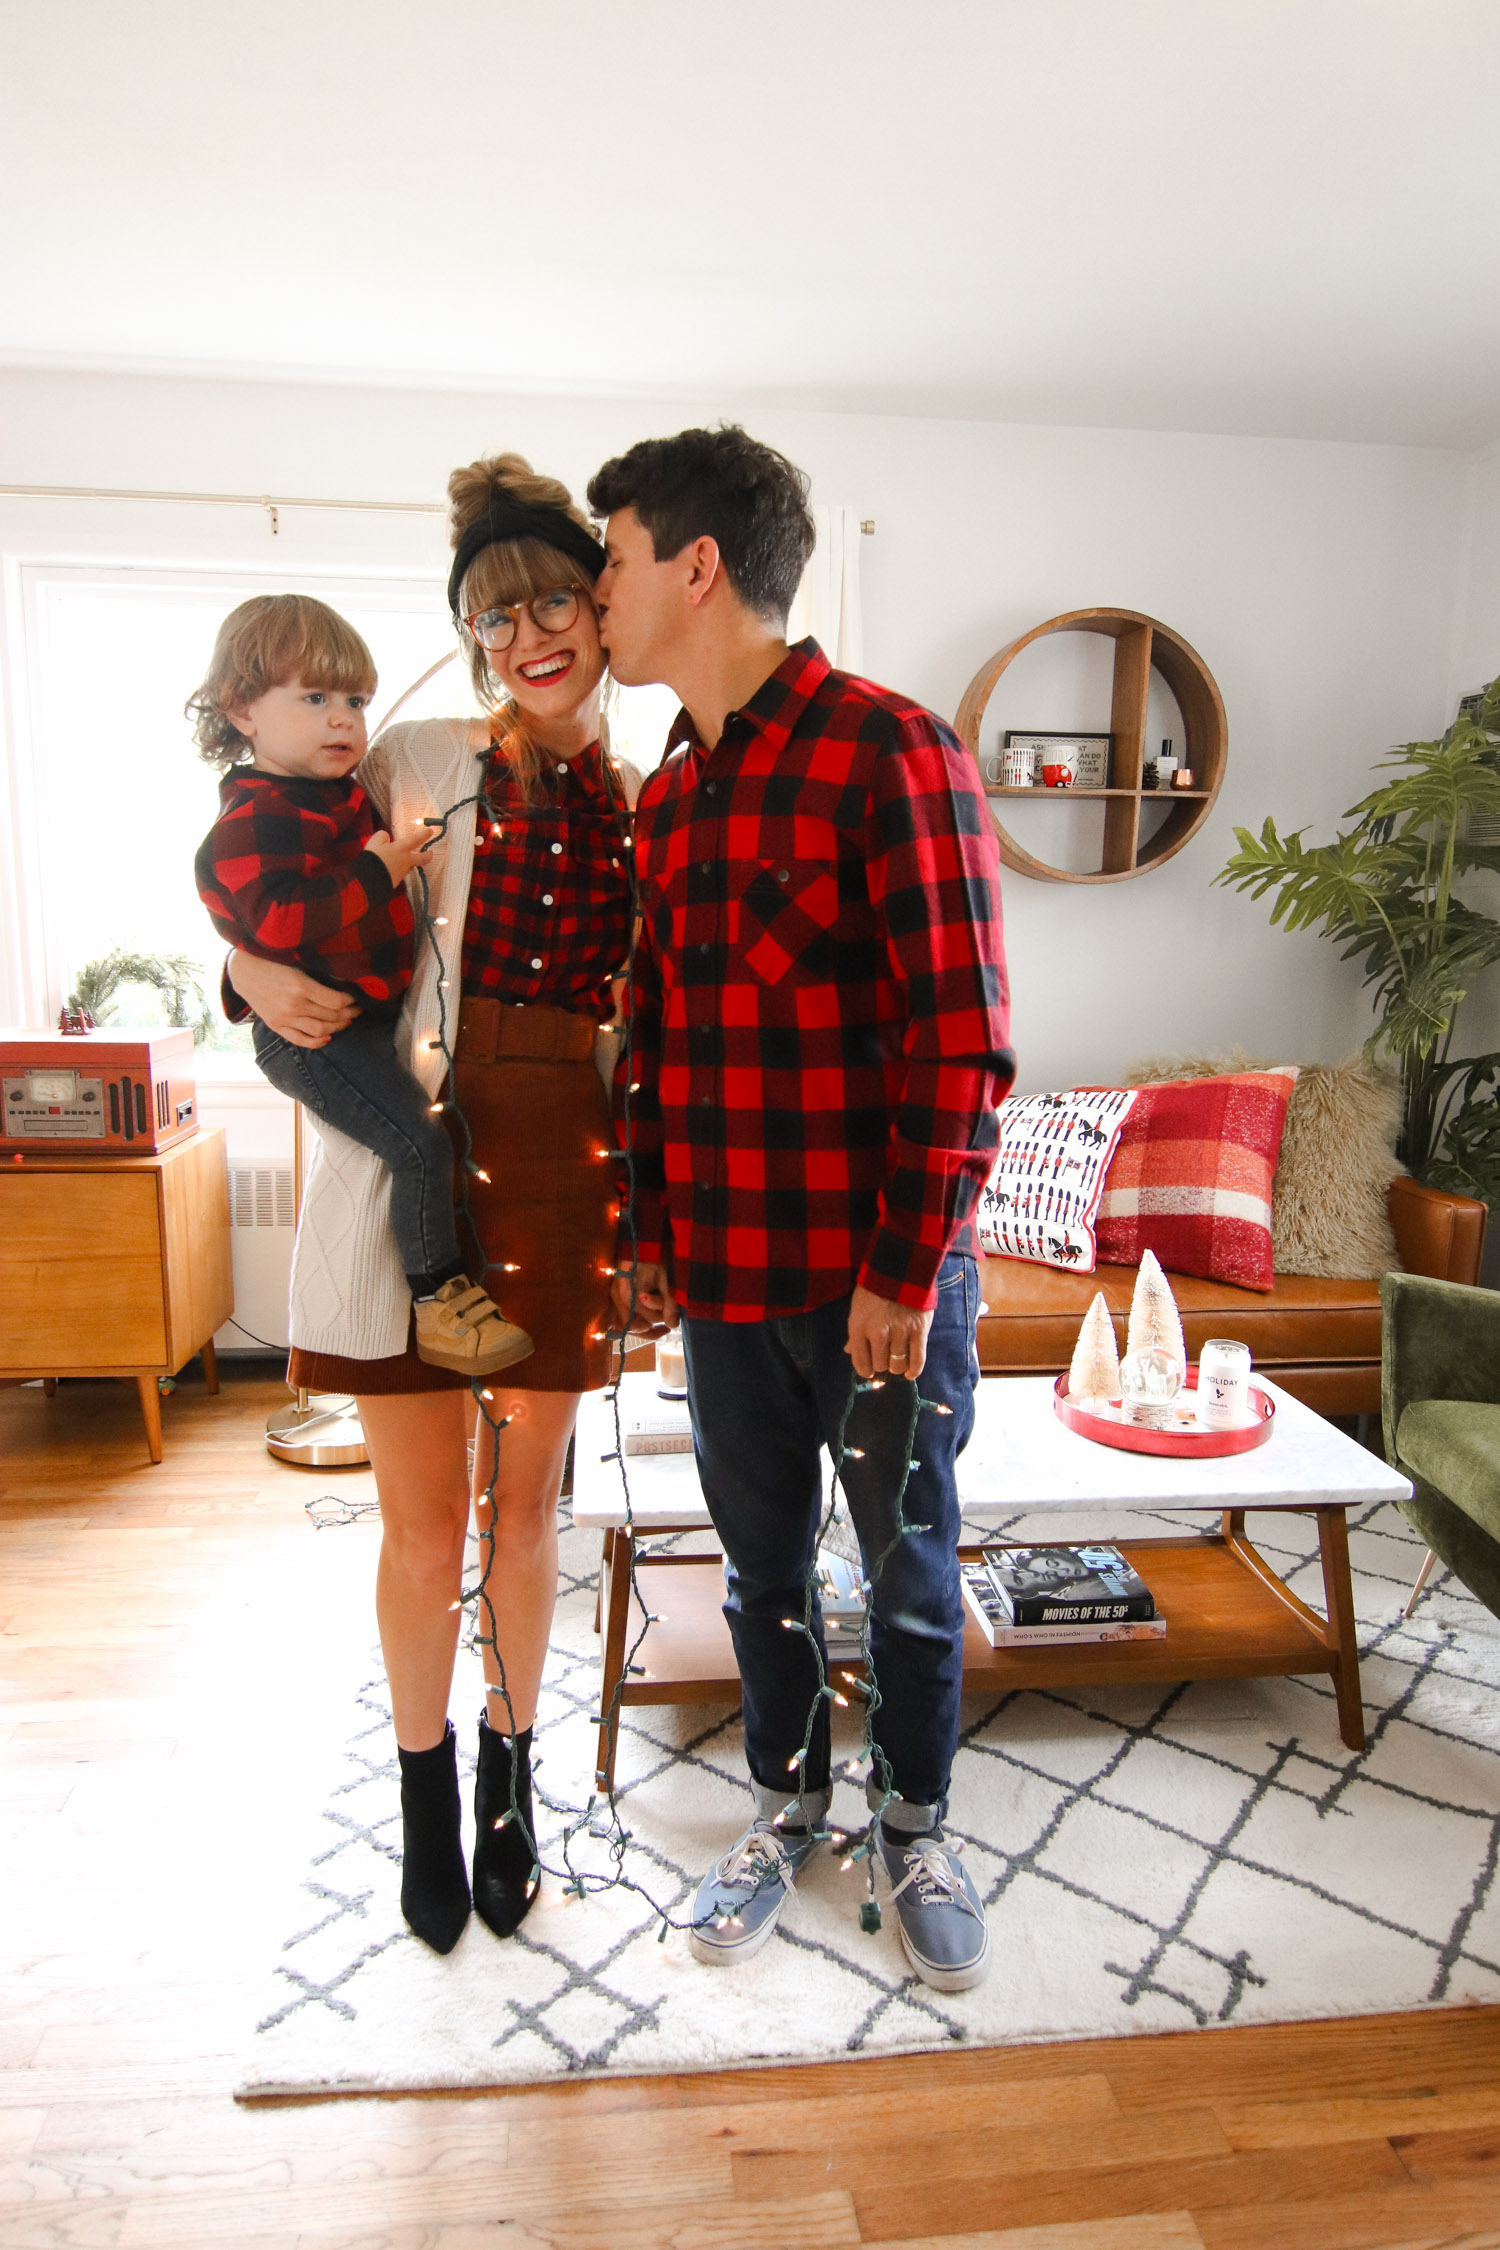
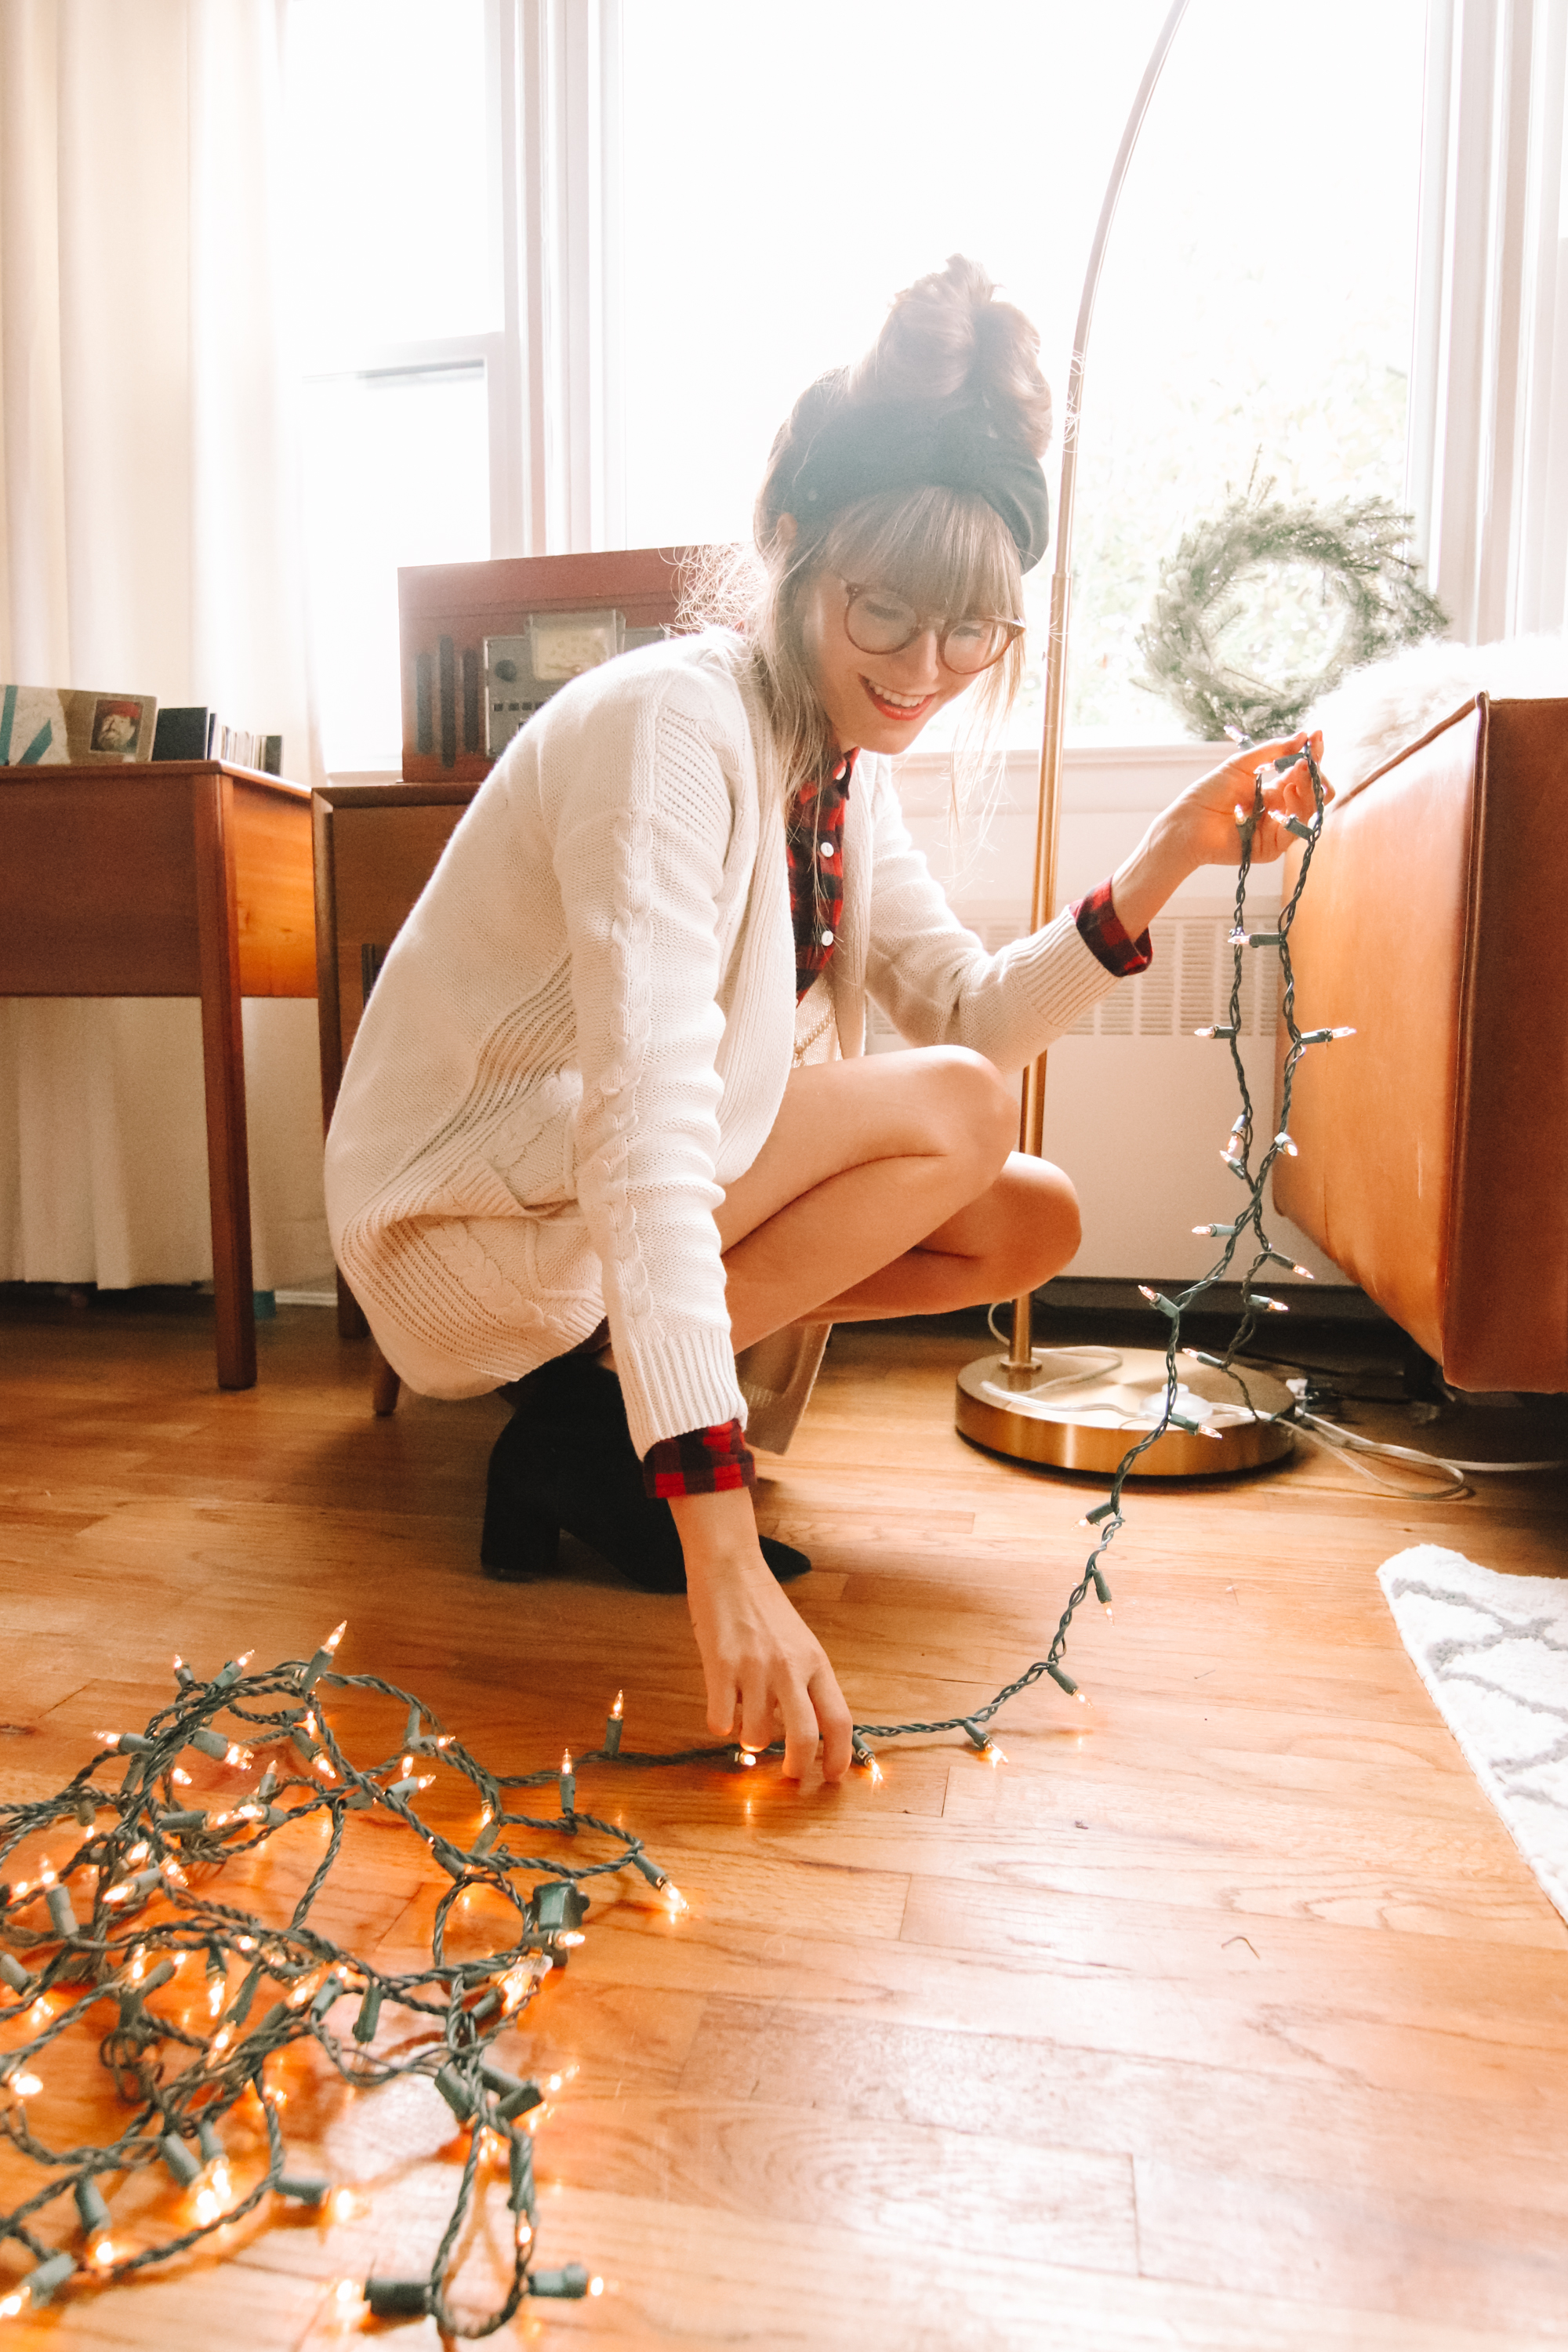
6 – USE YOUR CHRISTMAS LIGHTS FOR EFFECT: Adding in fun lights, whether they be Christmas lights, or firefly lights, always makes for a more interesting shot. Don’t be afraid to throw some loose lights on the floor, or hold up lighting, because it photographs so well!
I really hope these inspired you to tackle snapping your own family photos for your holiday cards this year!
Thank you to JCPenney for sponsoring this post, as always all opinions are my own!