
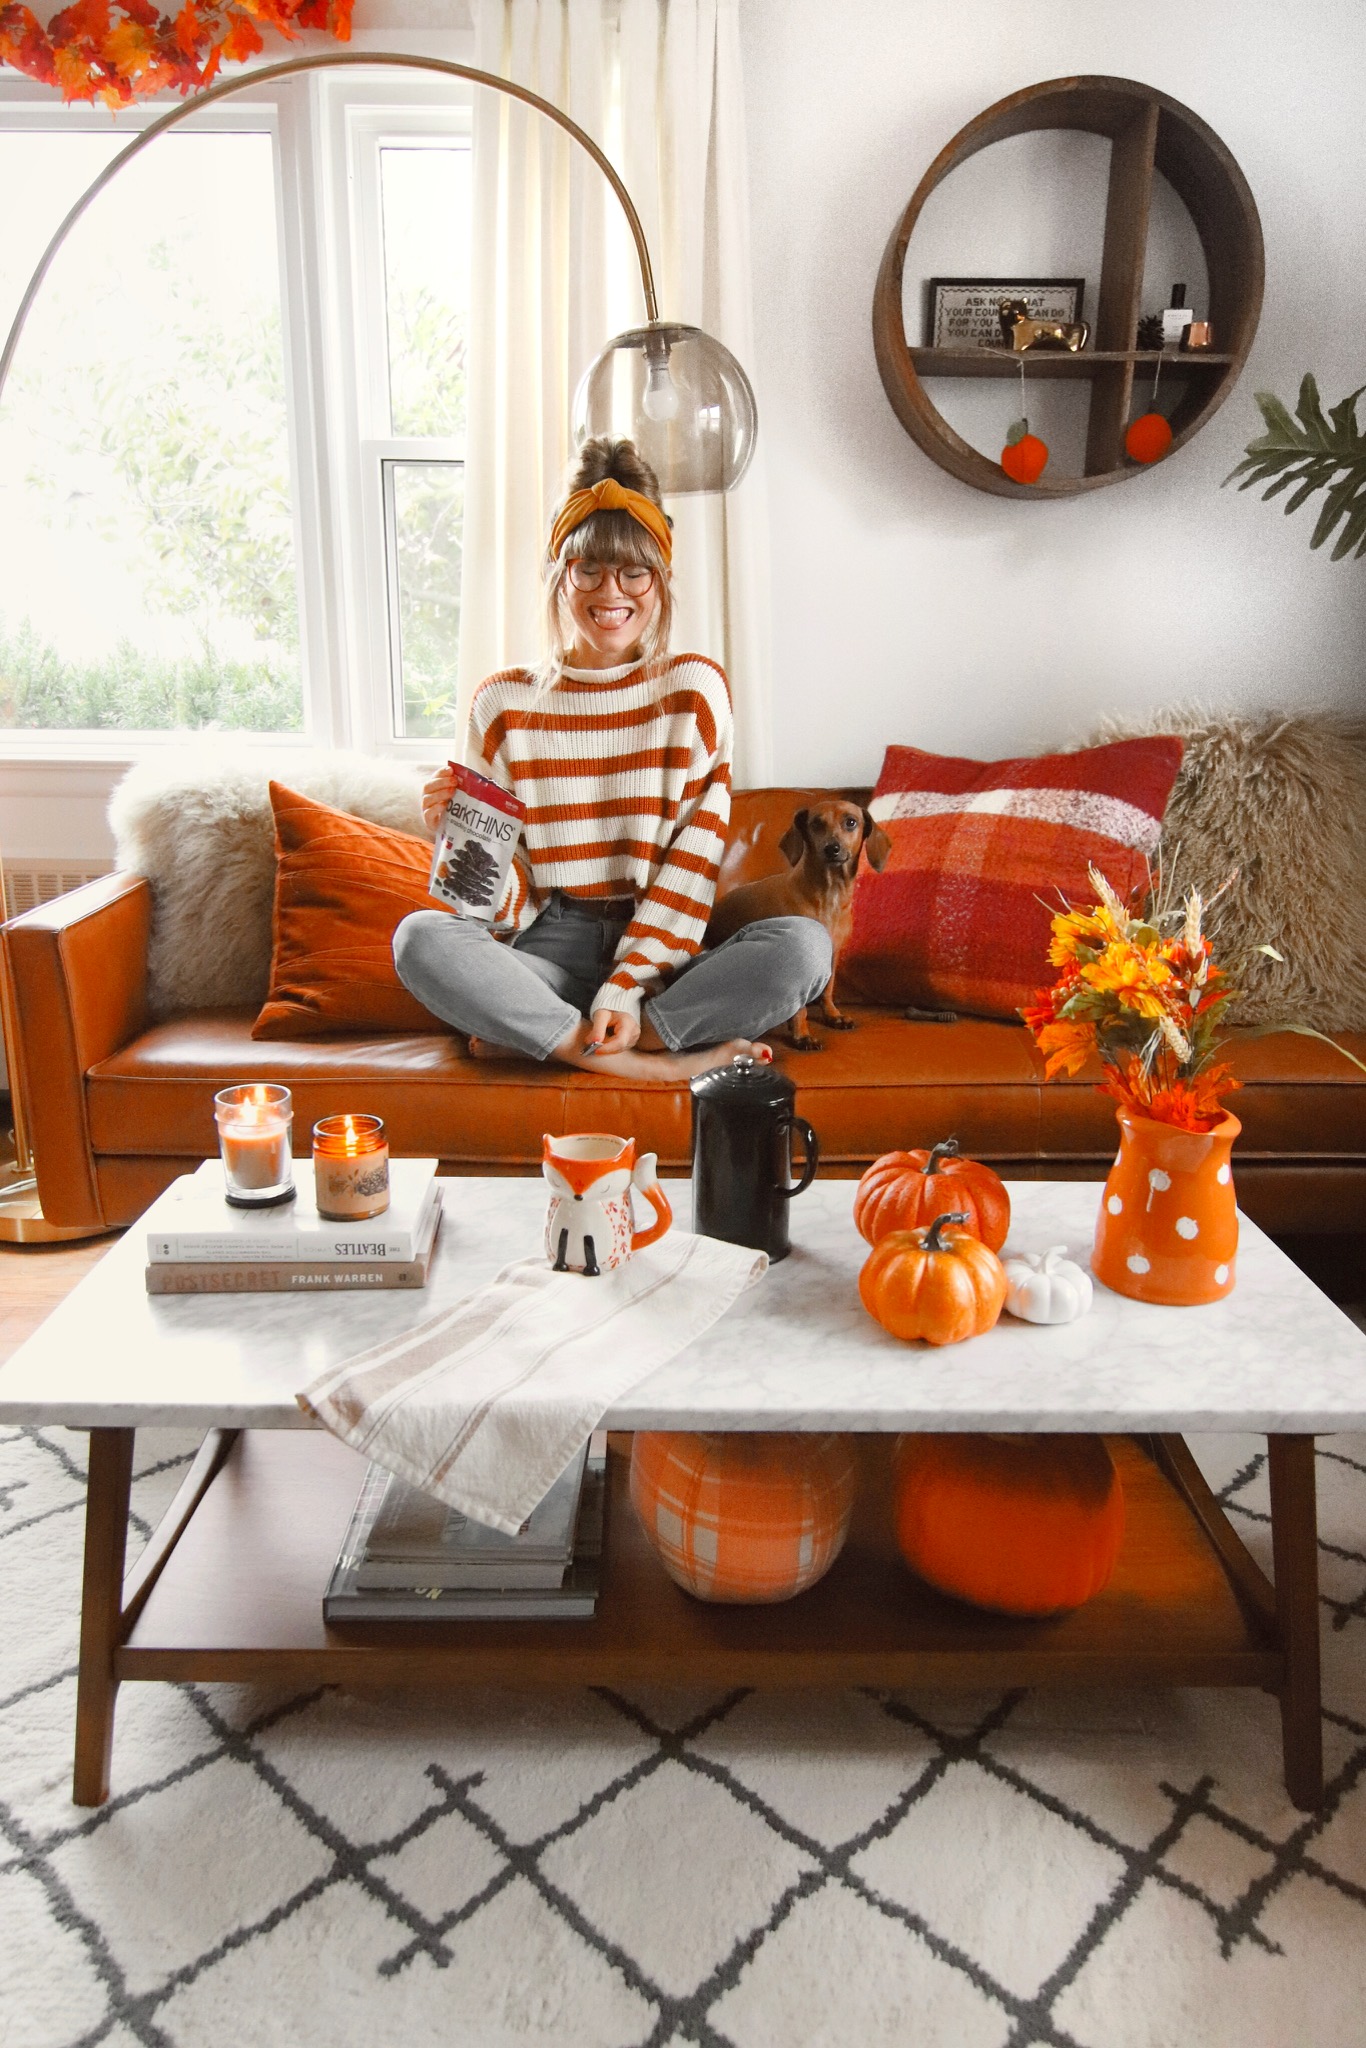
One of the most frequent questions I see in my DM’s weekly is “How do you edit your photos??” About a year ago I created a Youtube video explaining my editing process, but I’ve since adjust it a bit, and wanted to put my favorite apps into writing, in a space you could click through to them in an easier way! I edit all of my blog photos in Lightroom on the computer, but every single one of my instagram photos is edited all on my iPhone using different apps! I wish there was one app that included everything, but there just isn’t yet, so I use each app for it’s own strength! I am going to walk you through editing the above photo, and show you how it looks after being edited in each app! I hope this was helpful.
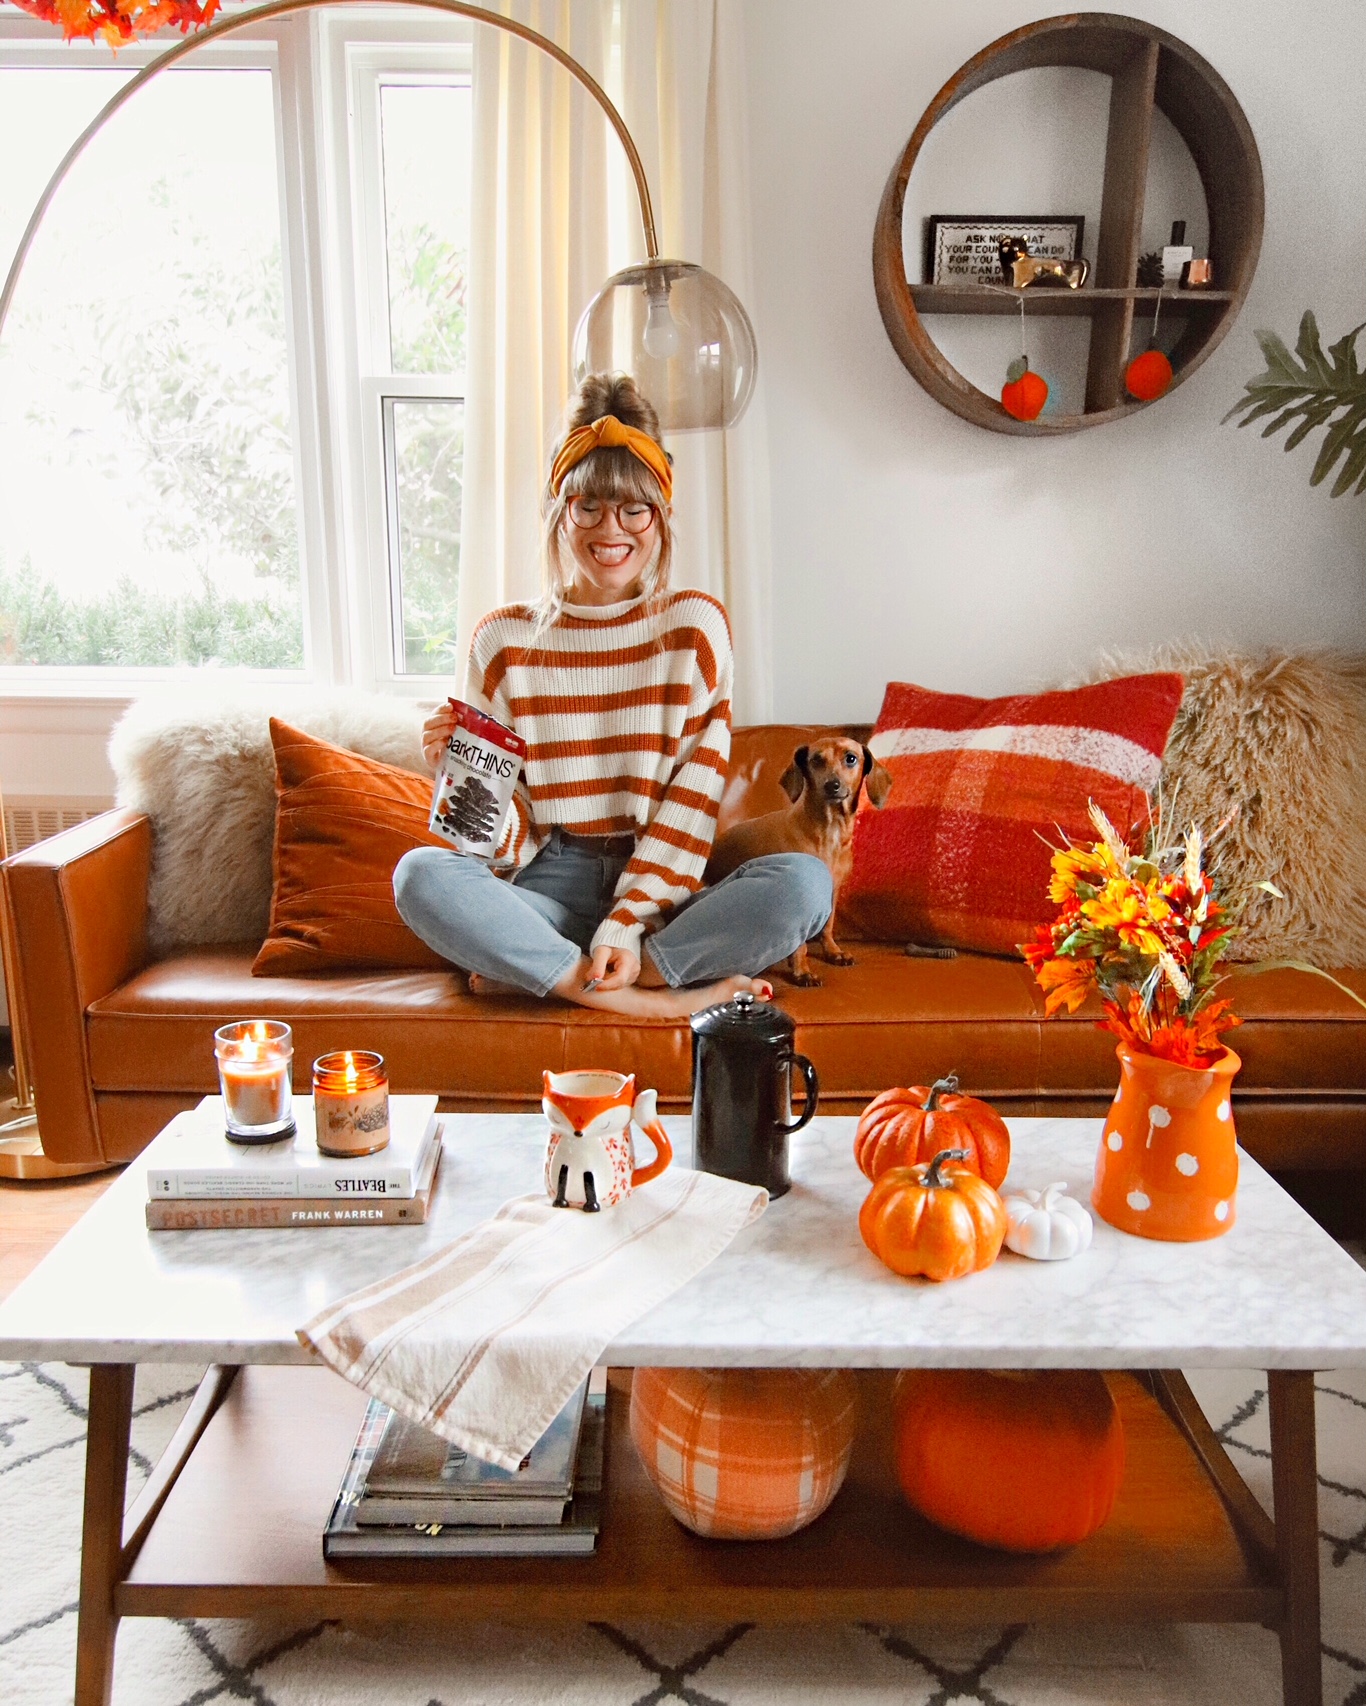
ORIGINAL IMAGE;
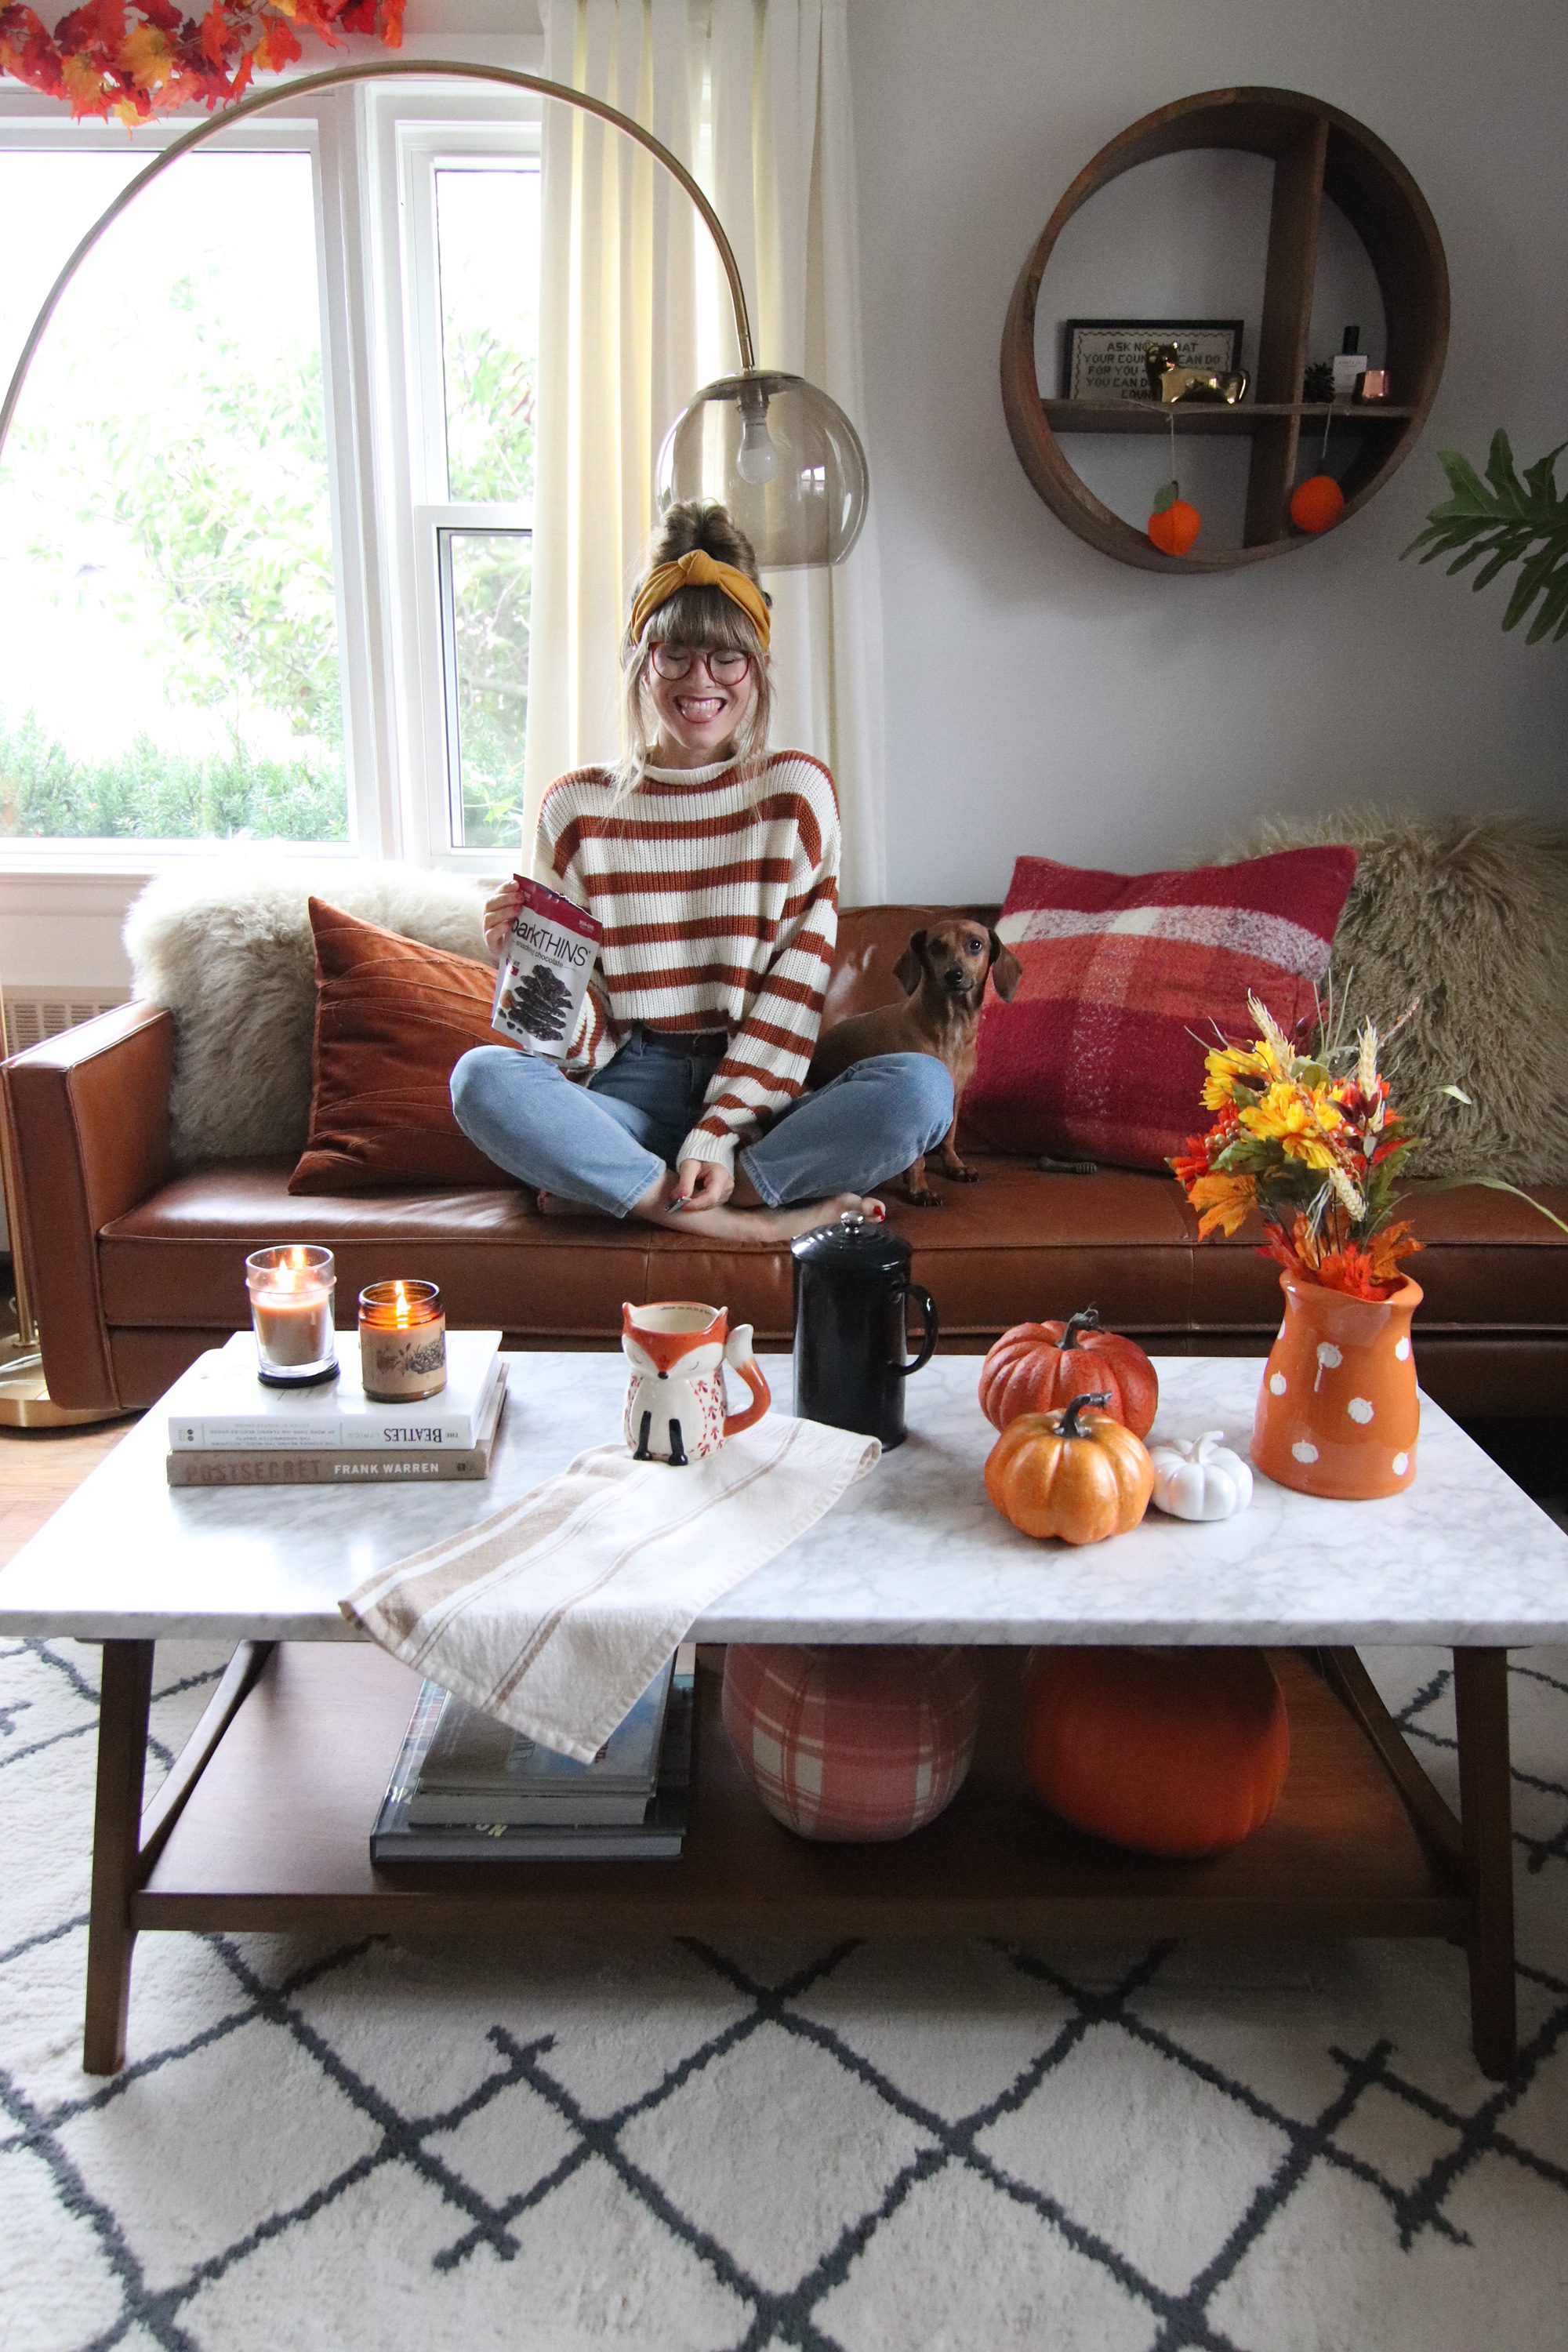
1 – Afterlight: My very first step in editing my photos is within the Afterlight app. I apply the “Cascade” filter in the Wander pack, usually at about 50%. This adds a more vintage feeling to the photo, and tones down the blues. I don’t love editing brightness or contrast in Afterlight because it is a bit too harsh and heavy handed, but I really like their filter options.
After the Cascade filter is applied
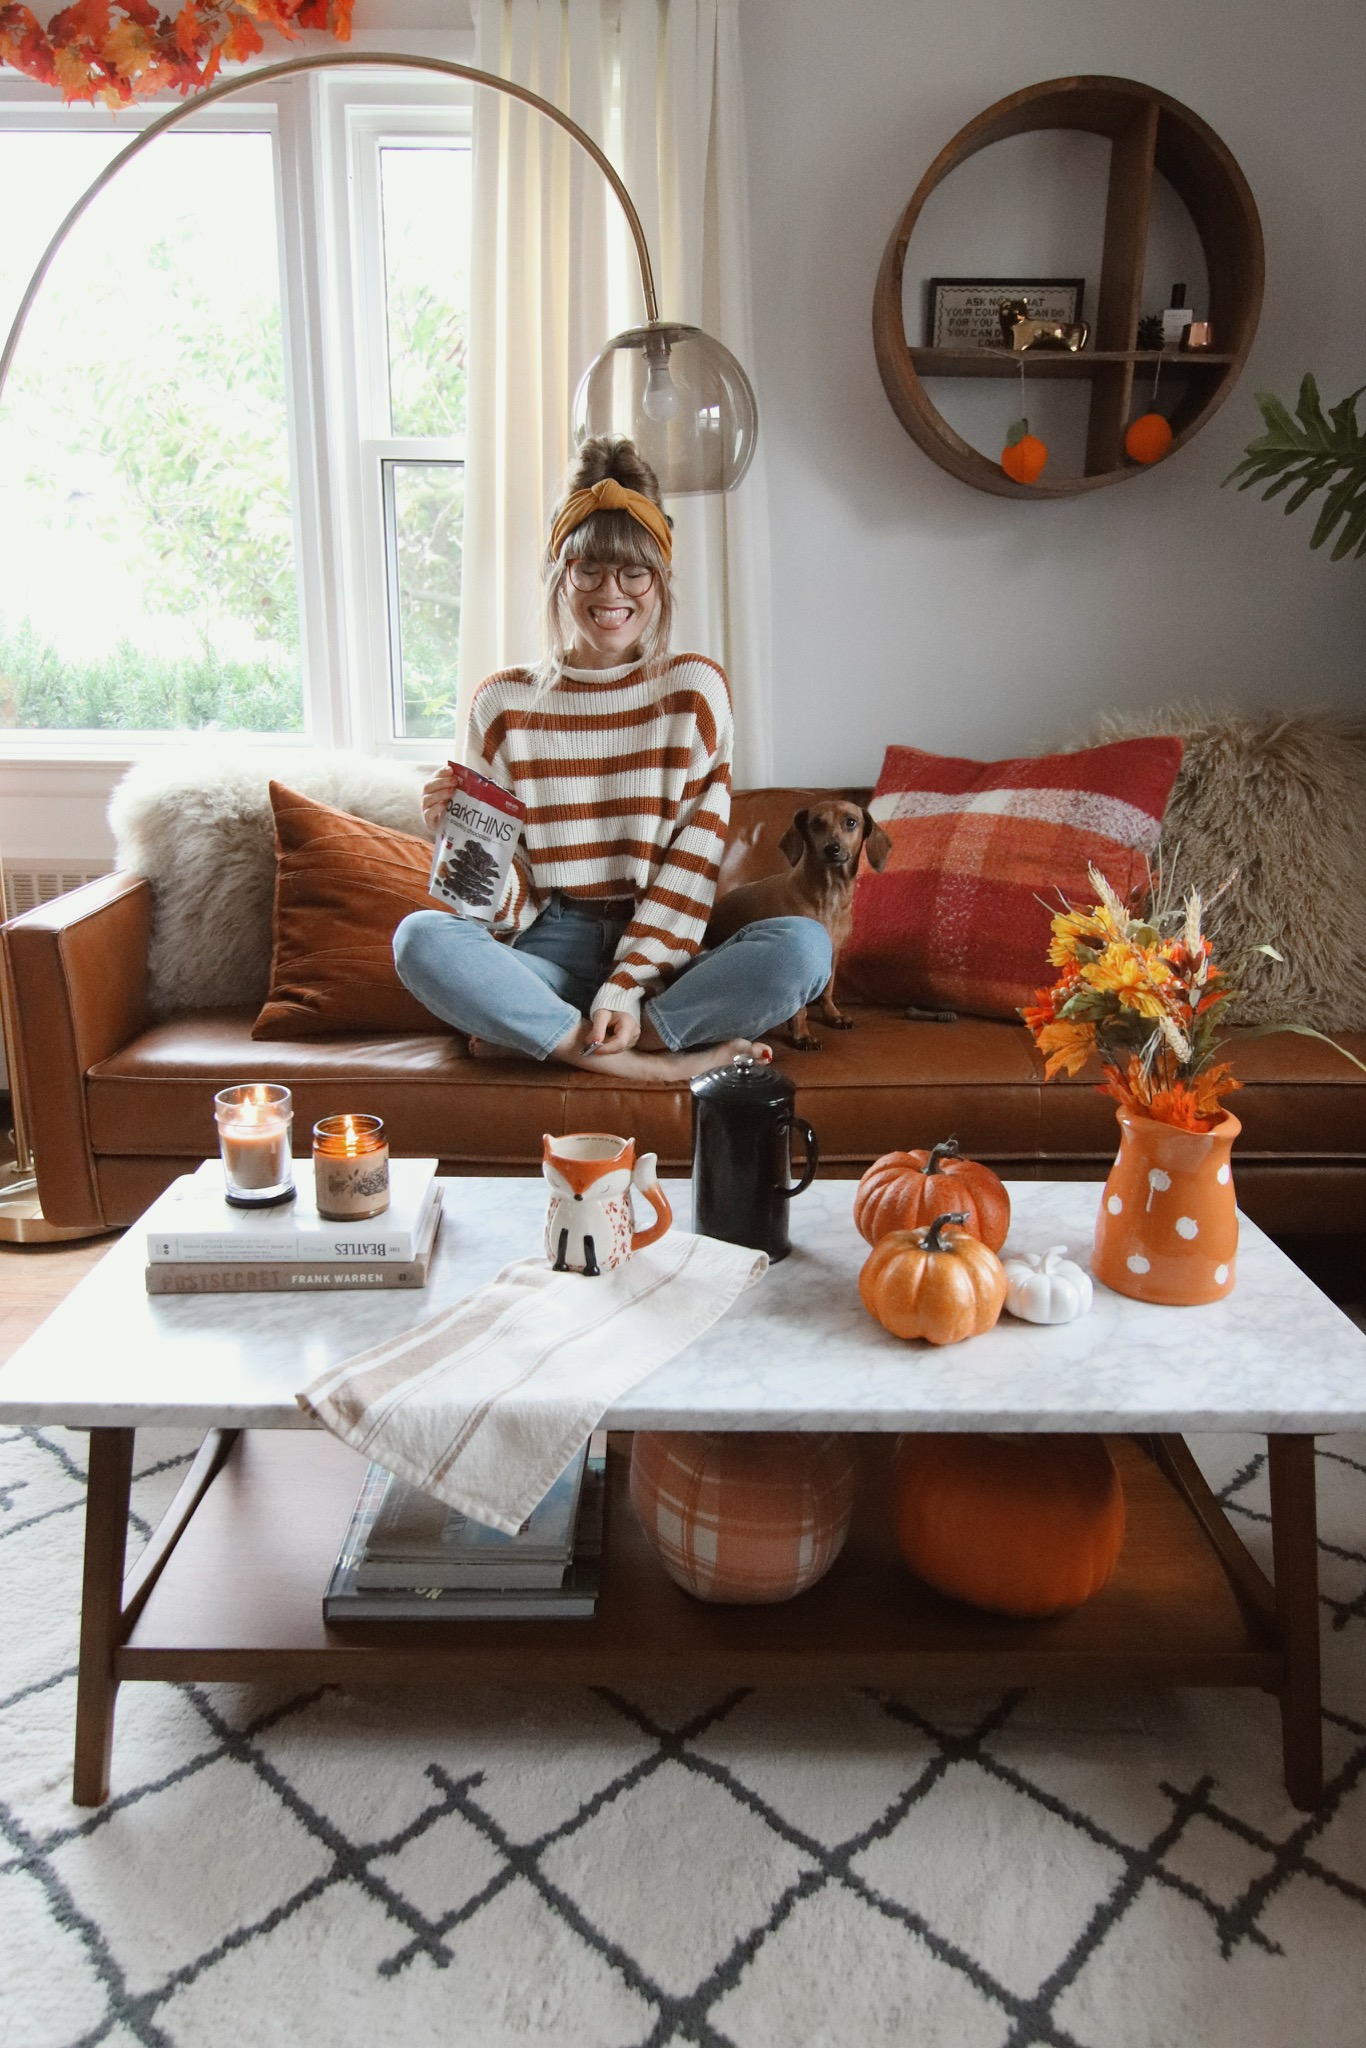
2 – Darkroom: This is one of my very favorite photo editing apps out there, for simply editing the exposure and colors of the image. It isn’t really a “filter” kind of app, but to edit the basics in your photo, this is your absolute best bet in my opinion. I bring my already edited photo into Darkroom and the first step is to adjust the saturation and hue of the colors. I always fully desaturate the blues, and then I up the saturation on orange and yellow. I also usually make my greens more yellow, and then I add additional warm to the temperature of the image.
My biggest issue with making the image more warm within Darkroom, is that it really effects my whites. In changing the temperature, the whites become a bit yellow, which isn’t the look I am going for, so I then bring the image into Snapseed and adjust the whites.
Edited after Darkroom
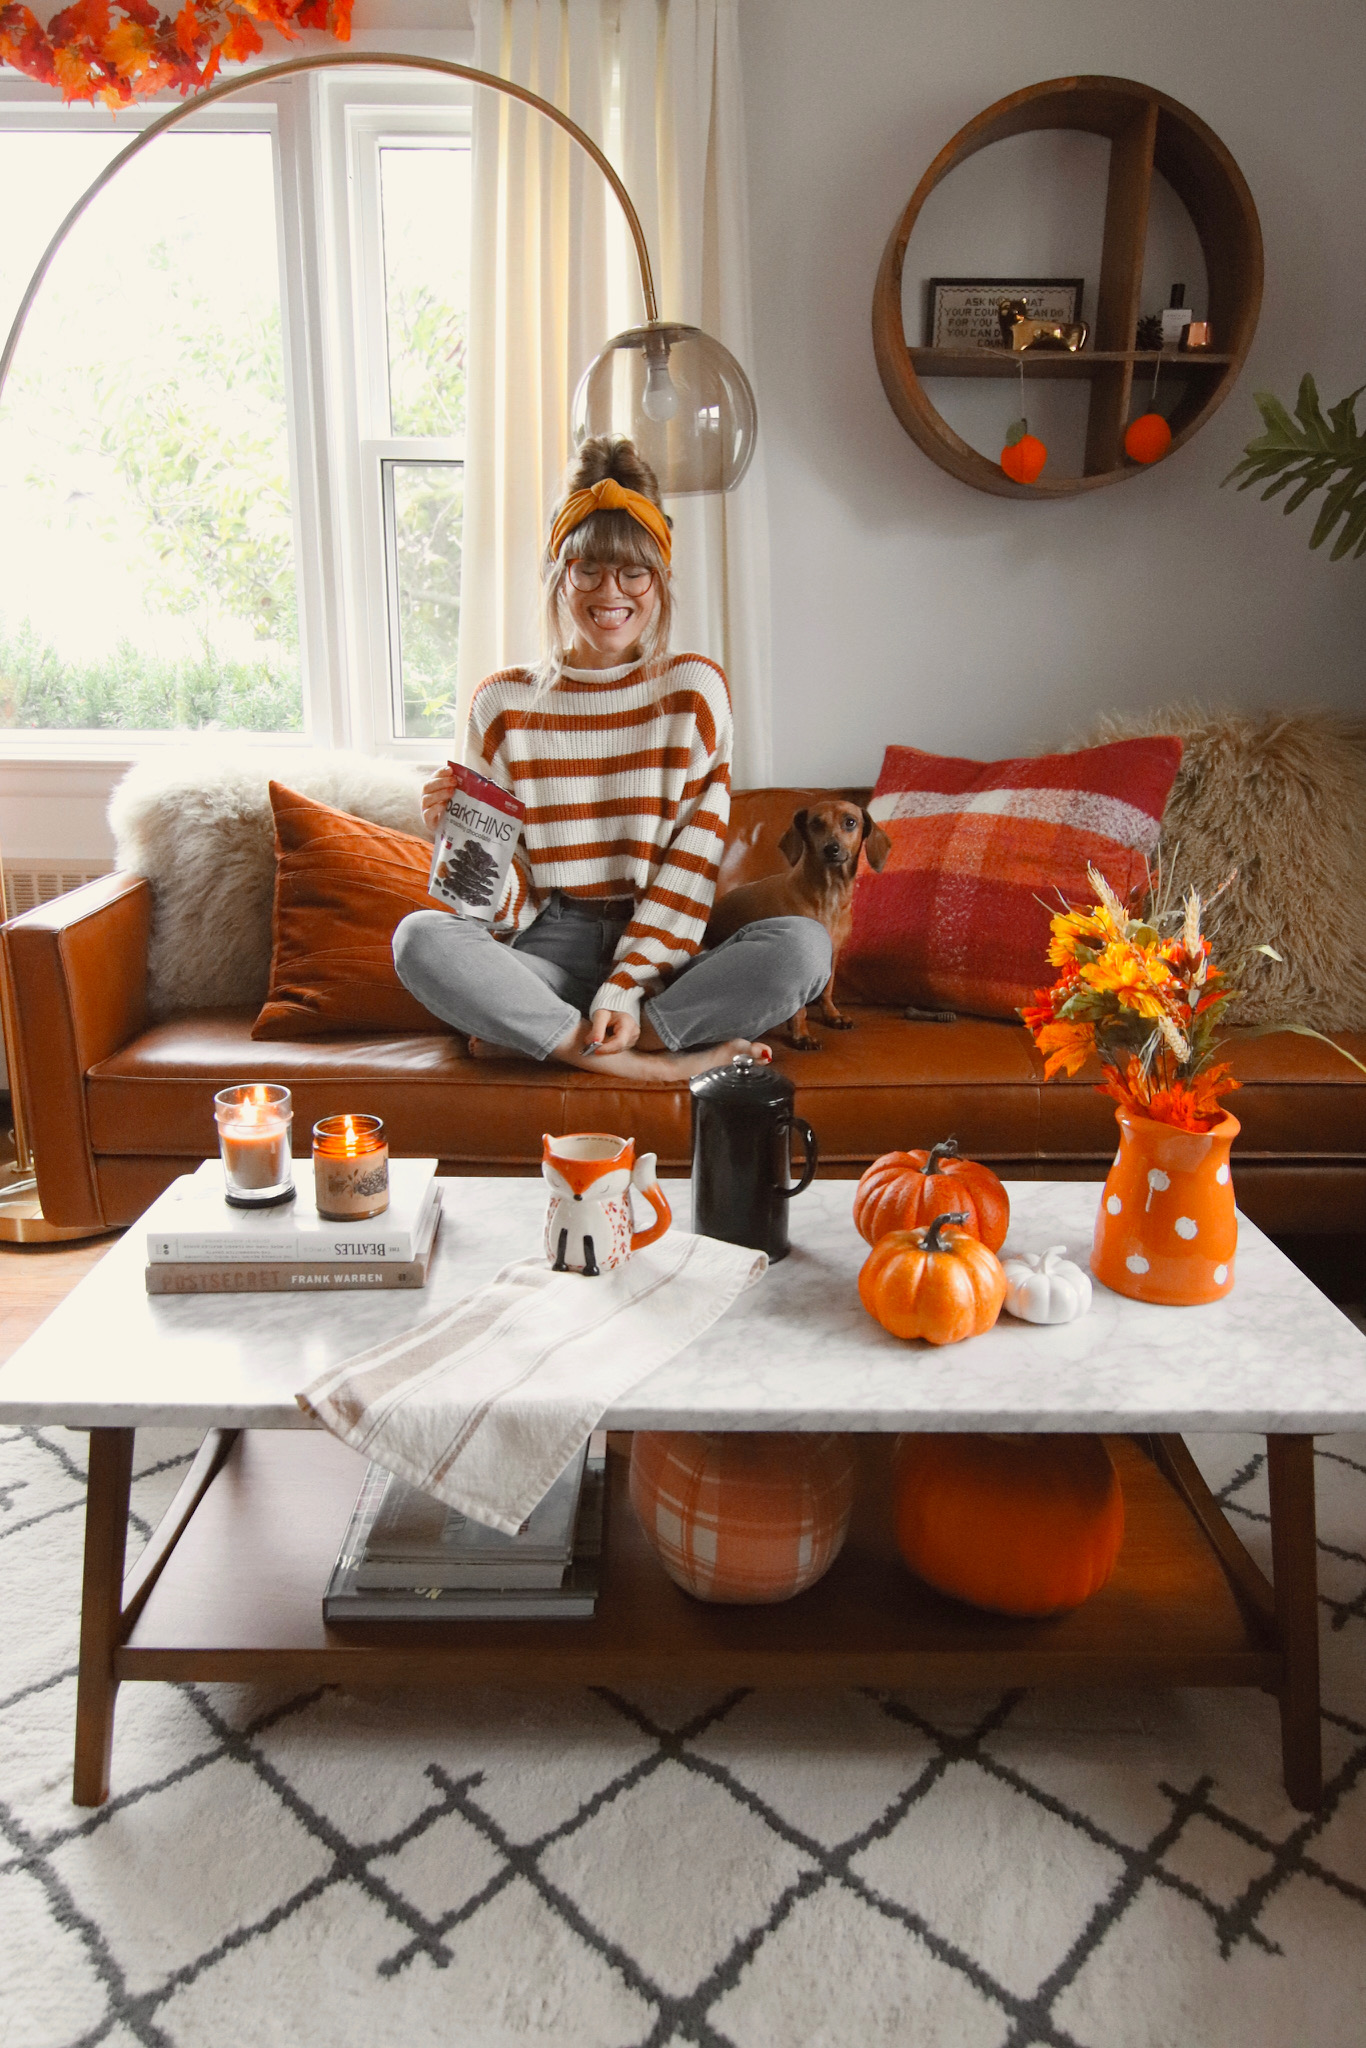
3 – Snapseed: Snapseed is my go-to for making my whites true white, and for adjusting the exposure or saturation of a specific area in the image. Maybe the rug is a bit dark, and I want to only lighten that – Snapseed is the place to do this! It’s where I really make my image pop! In this particular image, I made the whites more bright, and added a bit of saturation into the pillows and decor.
Edited with Snapseed
4 – Facetune: My final step in editing is bringing my image into Facetune, and using the “Detail” tool to sharpen all of the little details. It just makes everything come to life, and I find that even if the image is completely in focus, this makes it EVEN MORE focused! You can see the difference in the image above, and below!

Detailed with Facetune
There you have it – all of the apps I use in order to make my feed looks the way it looks! I really hope this helps you out, most of these apps are extremely user friendly! Happy editing!