
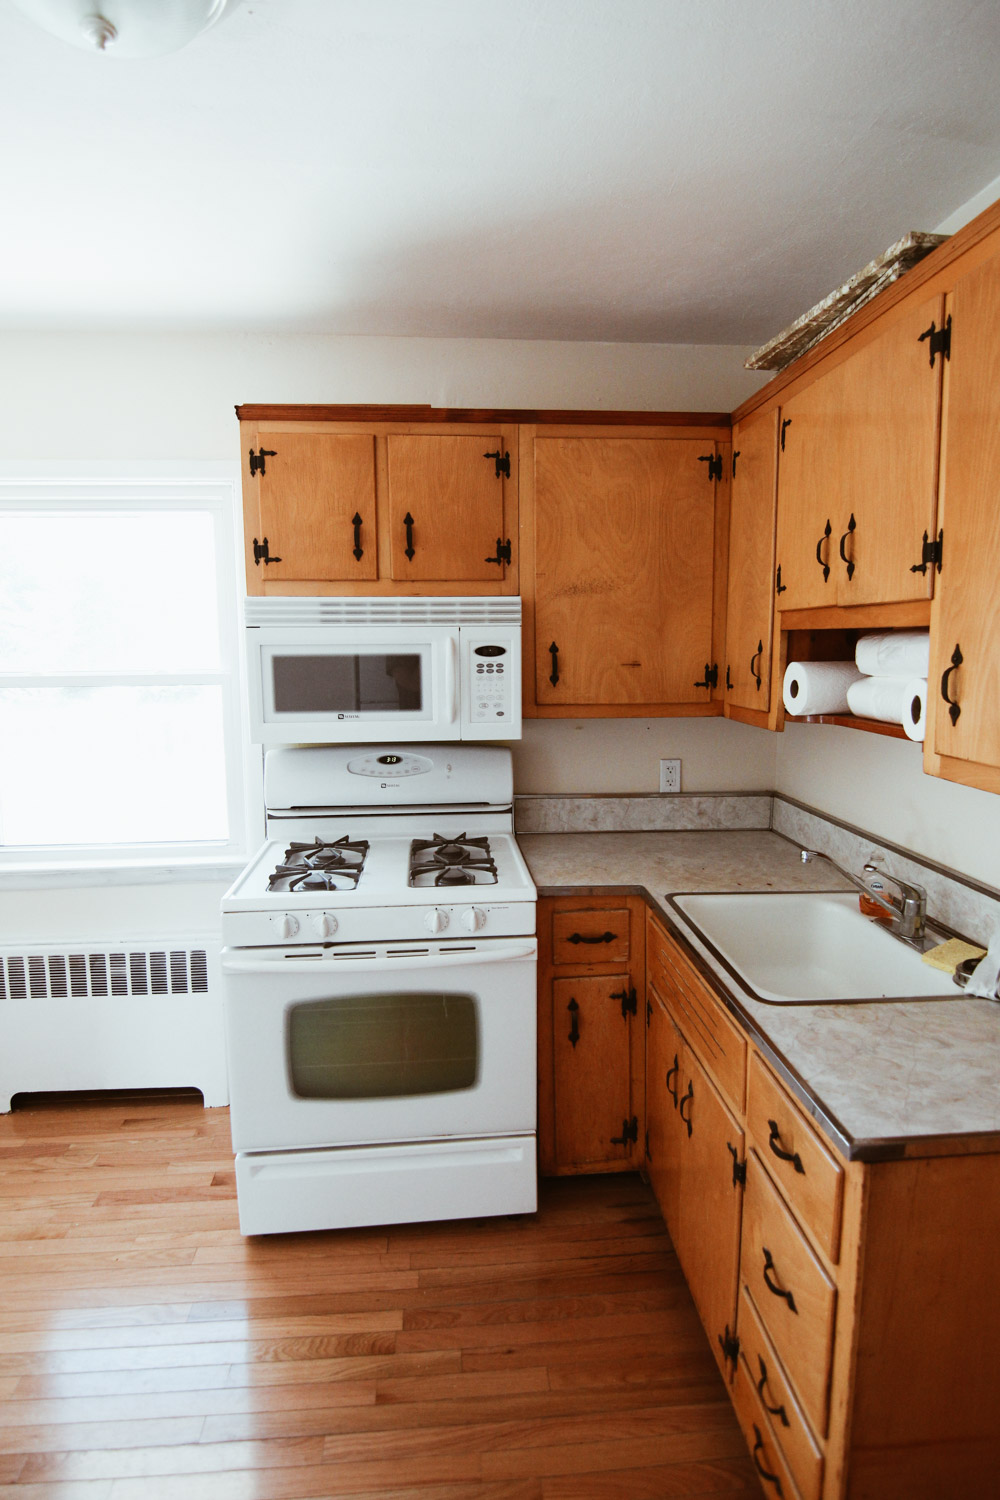
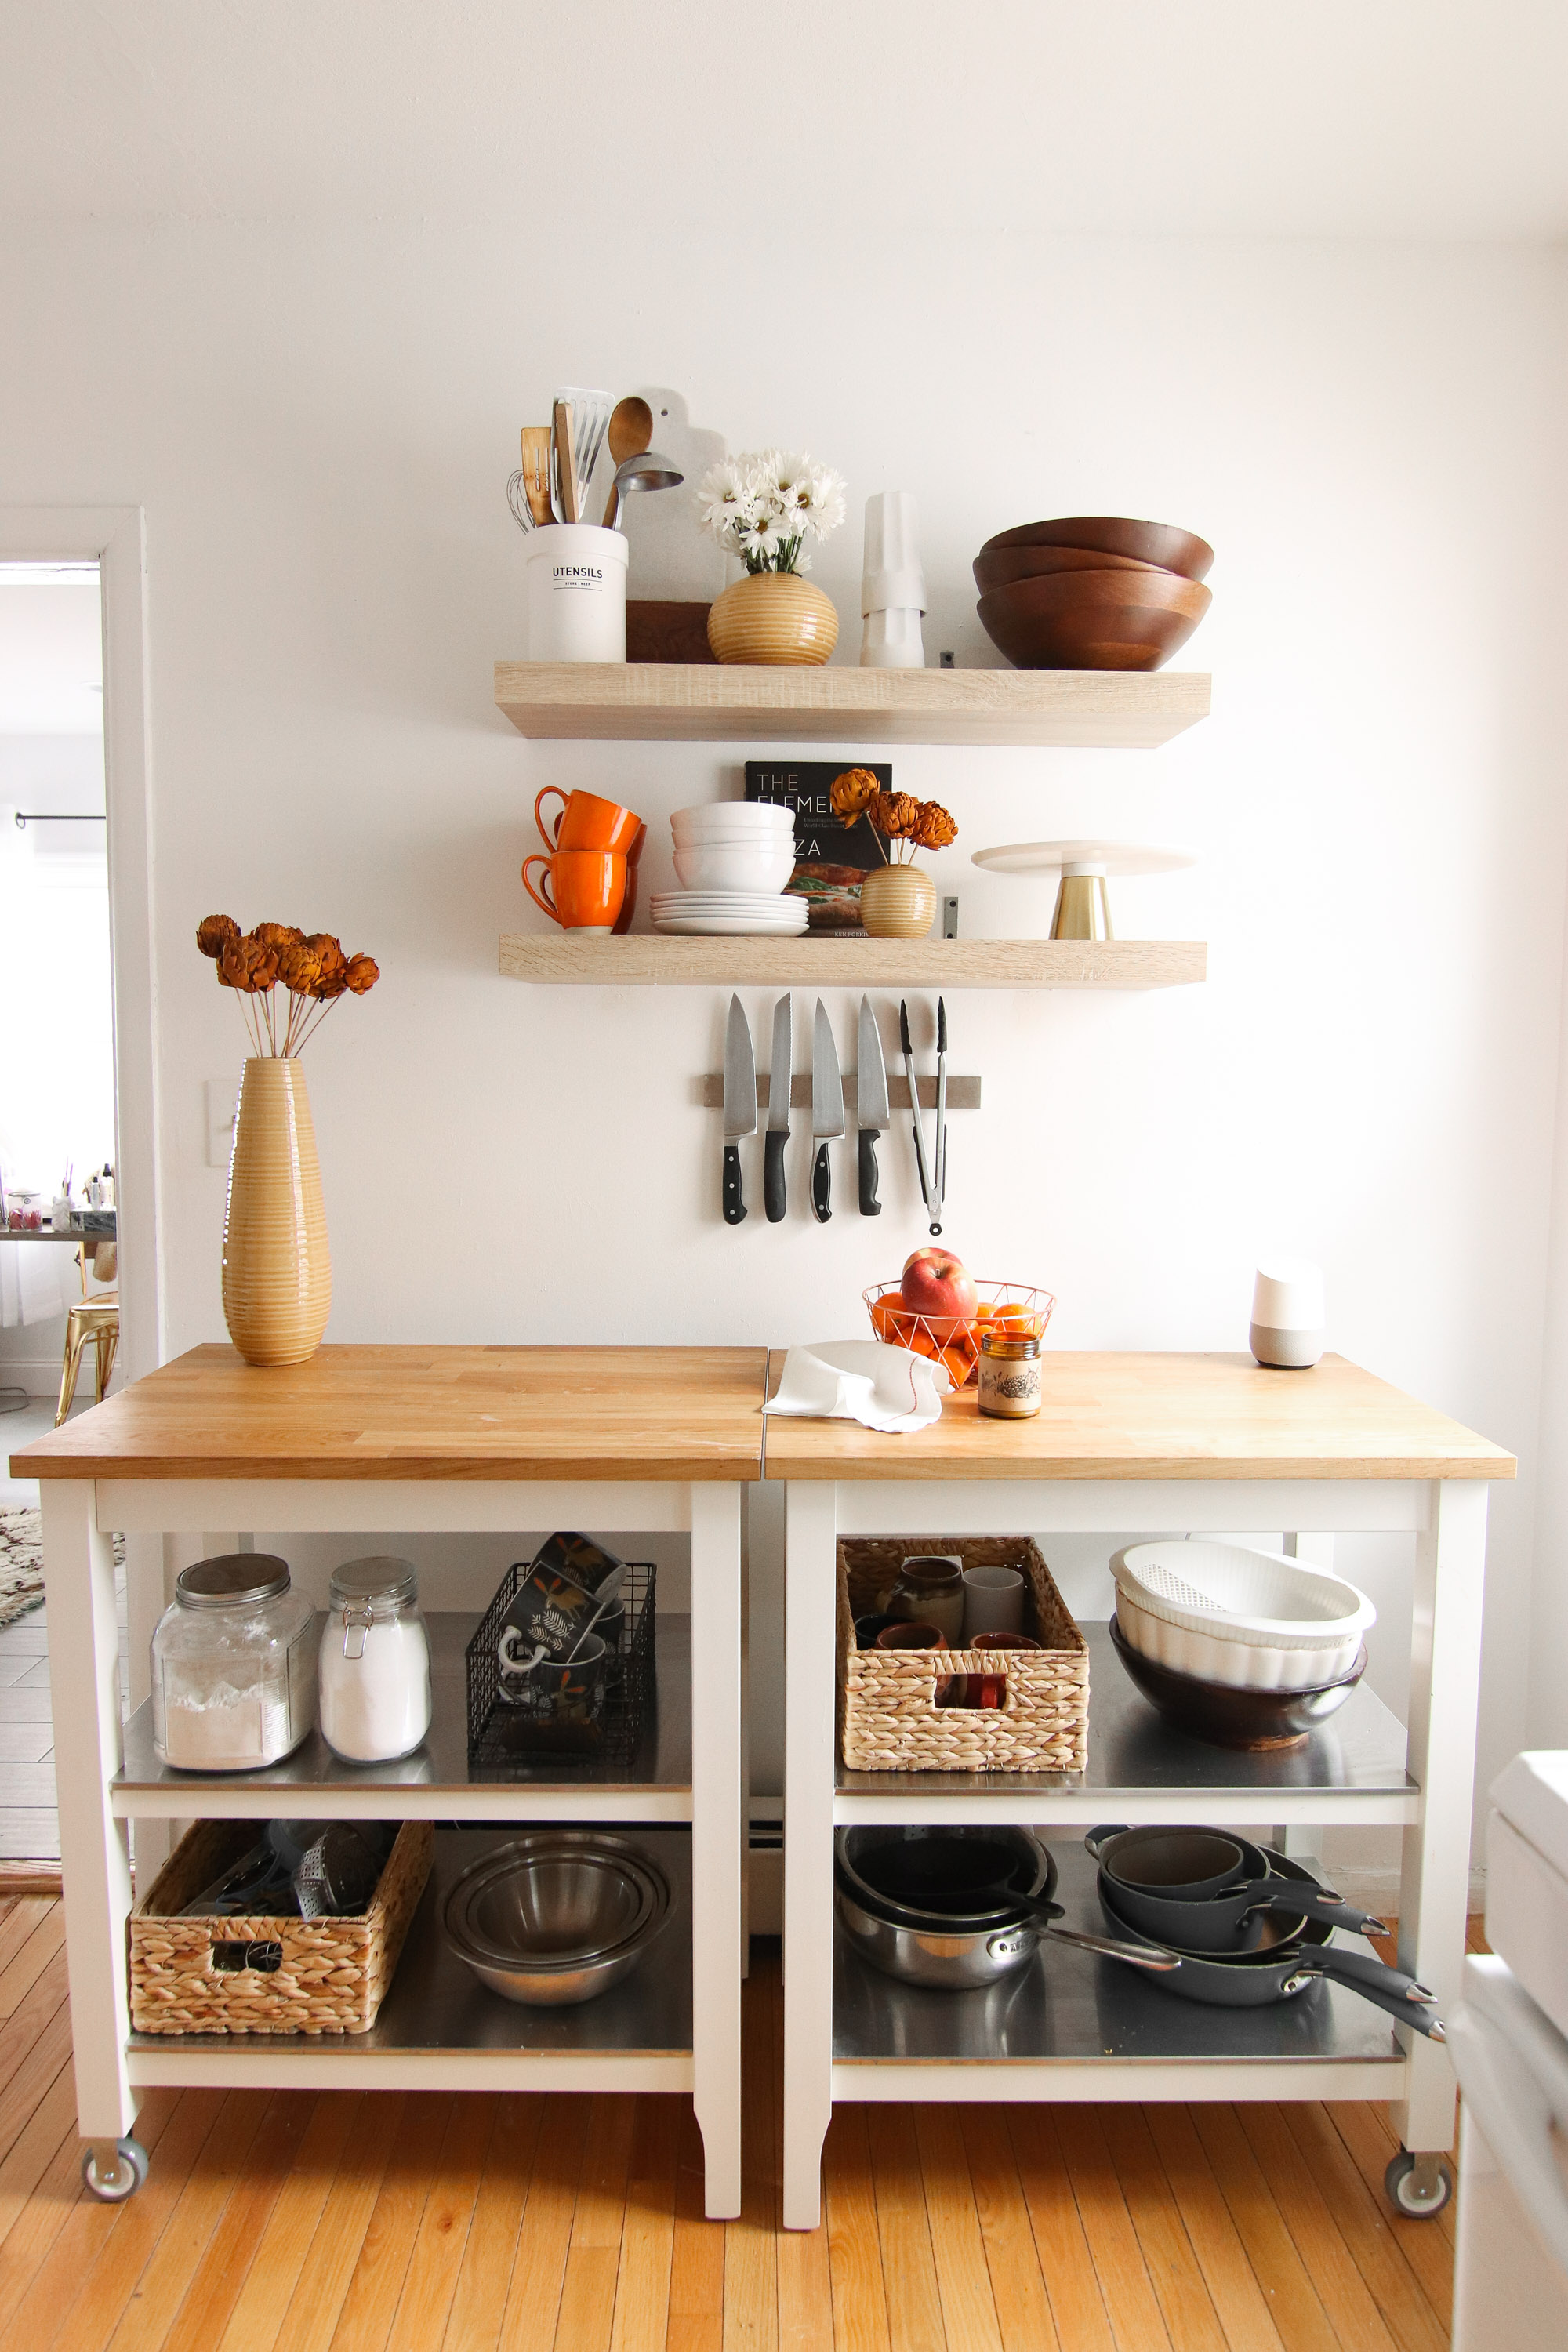
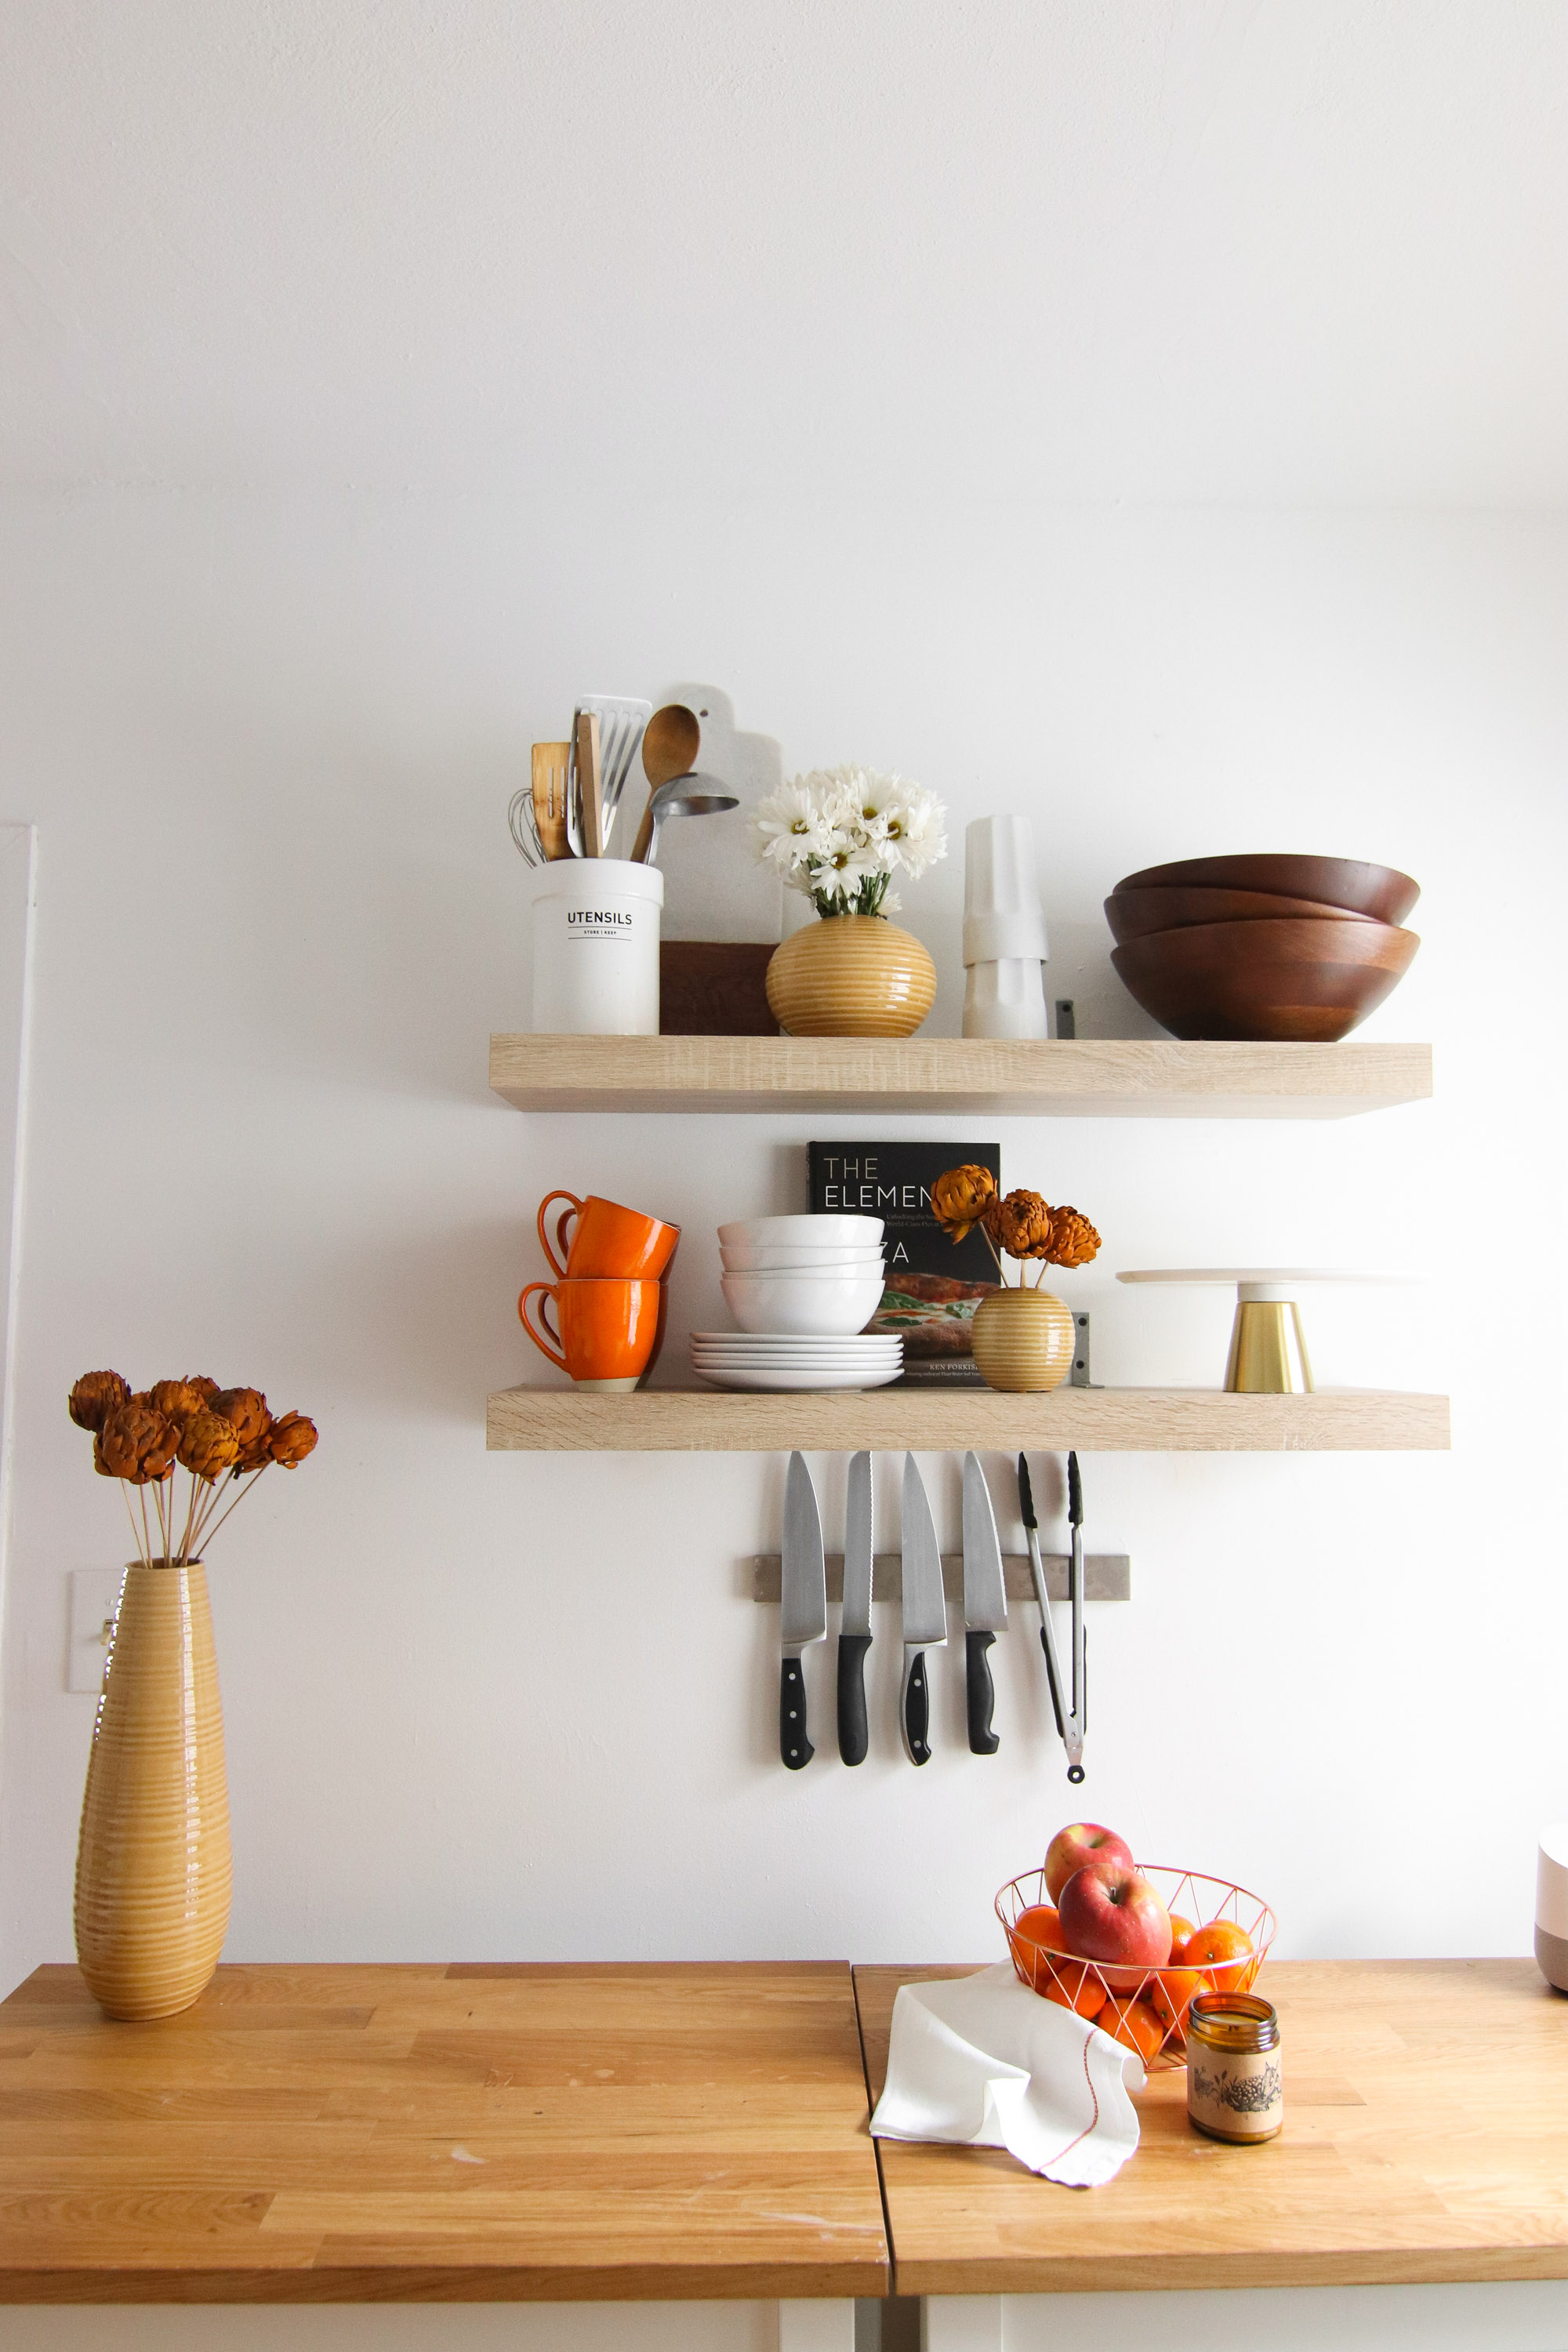
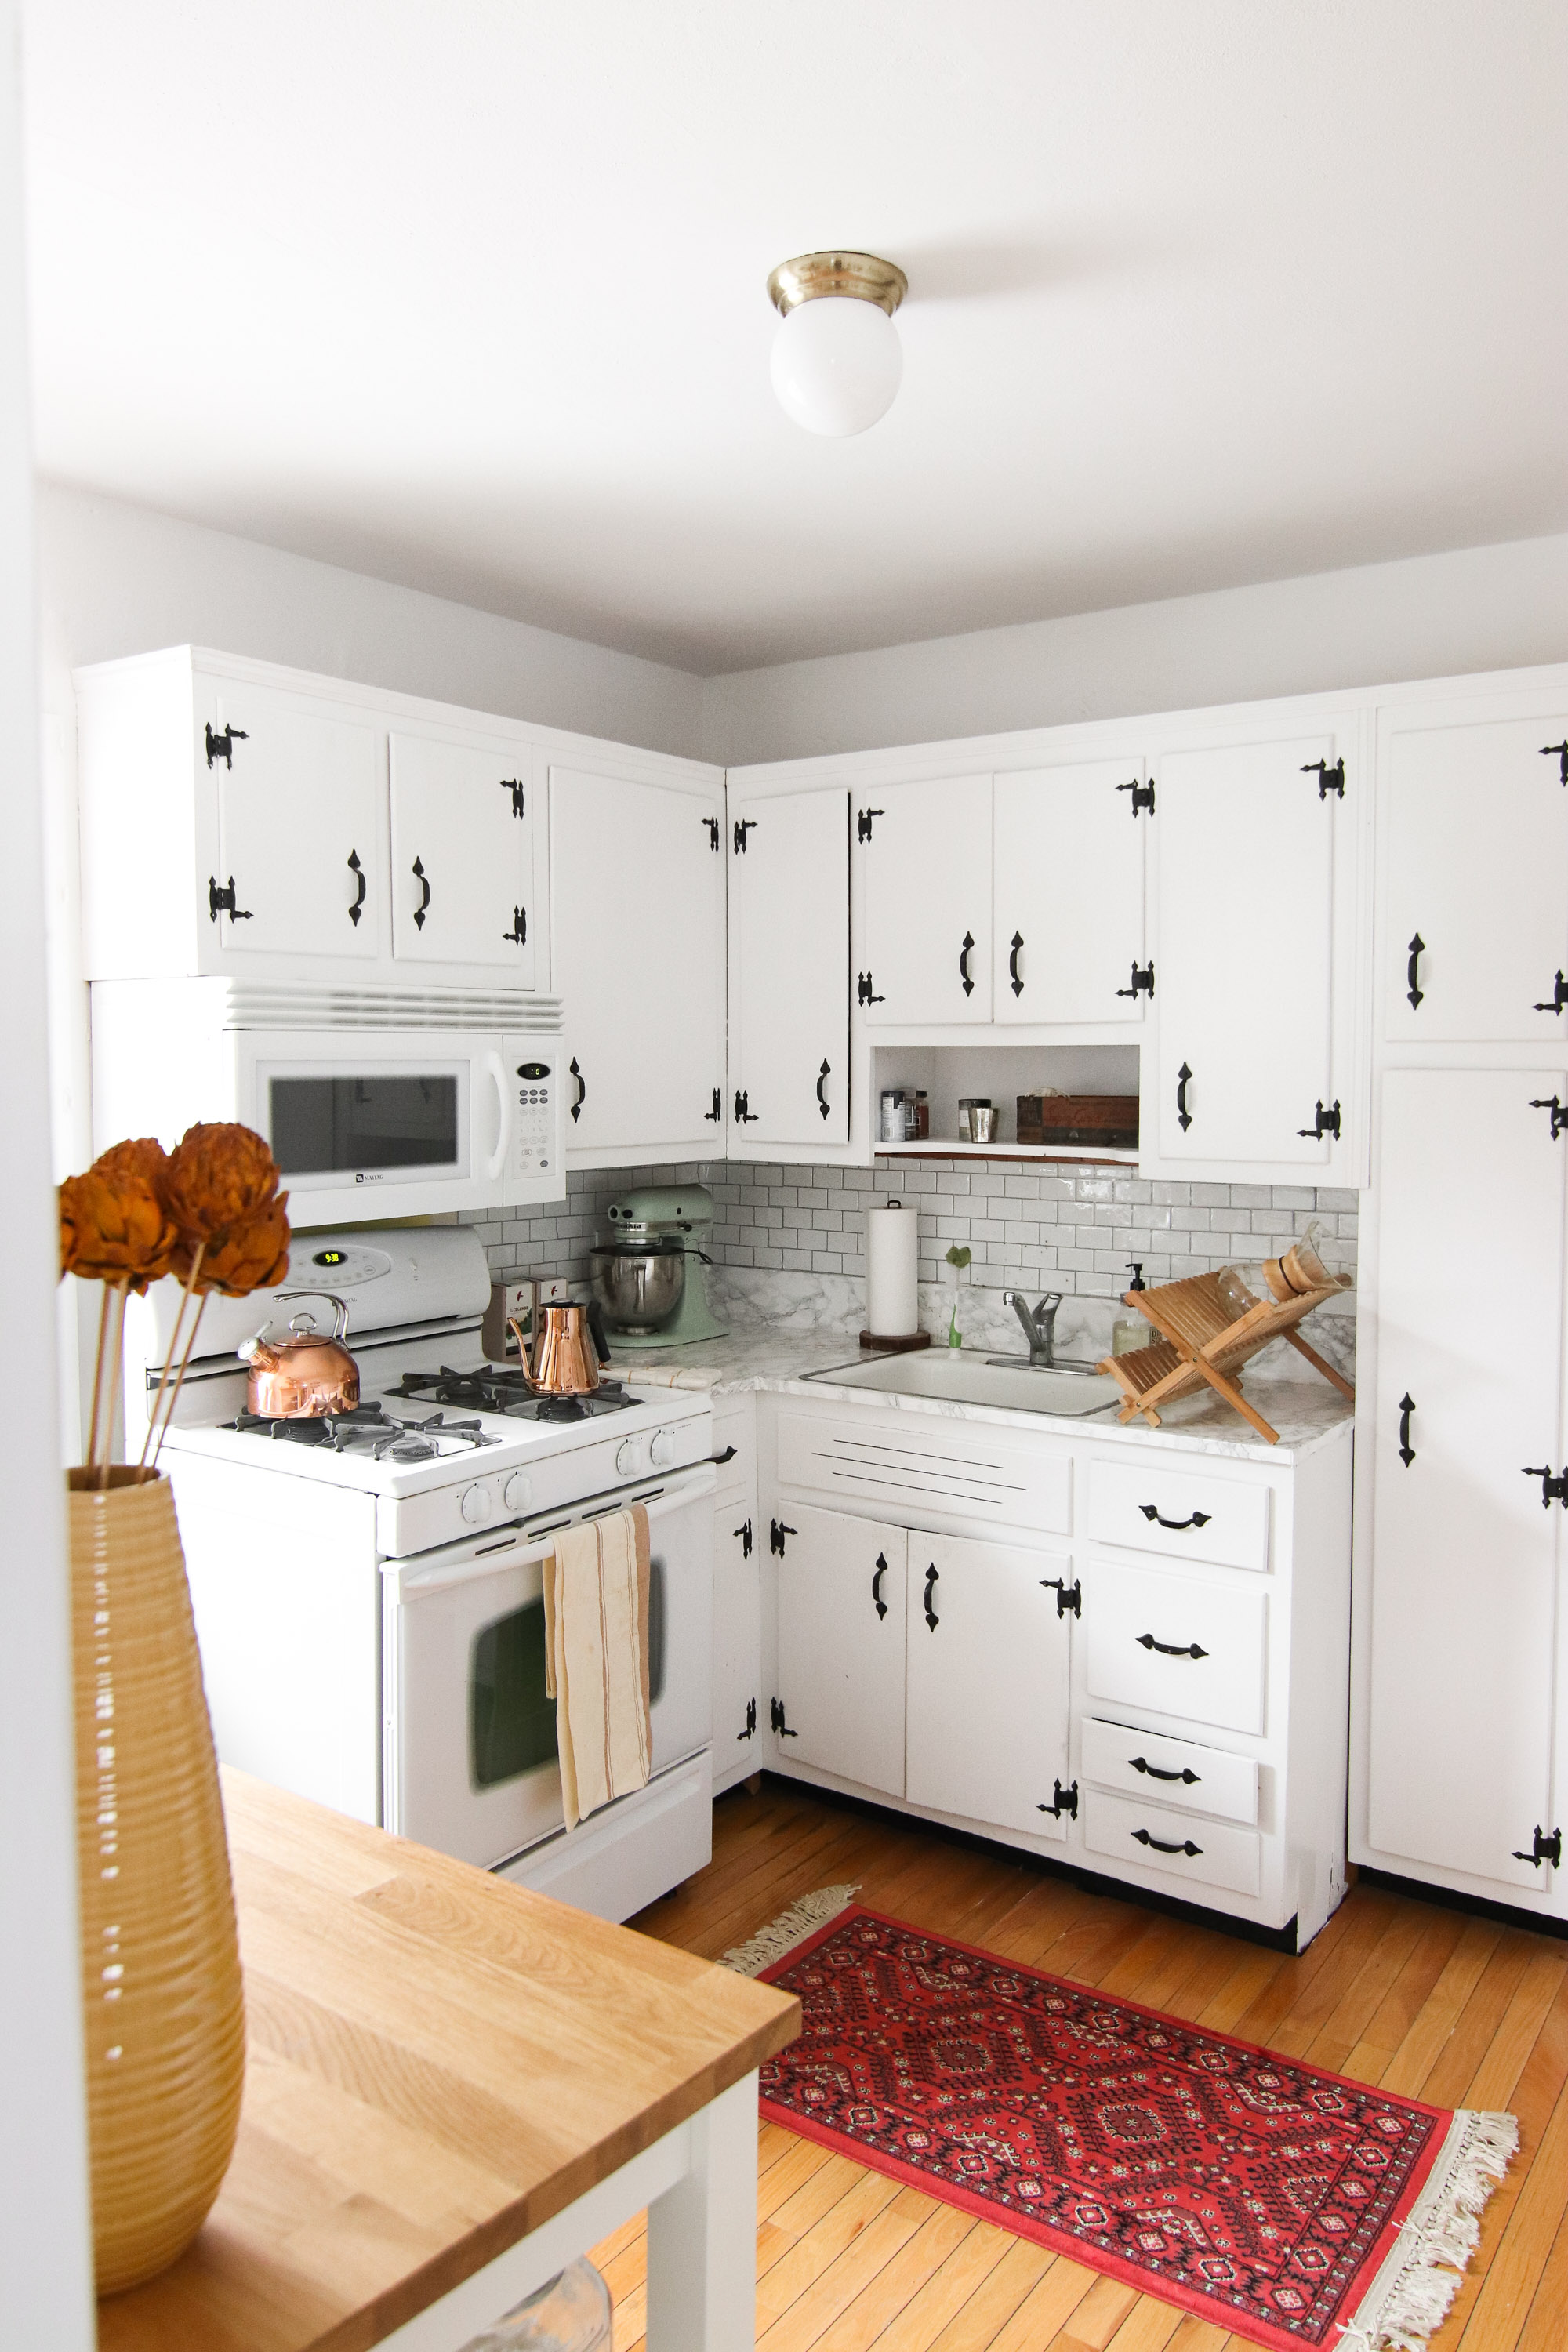
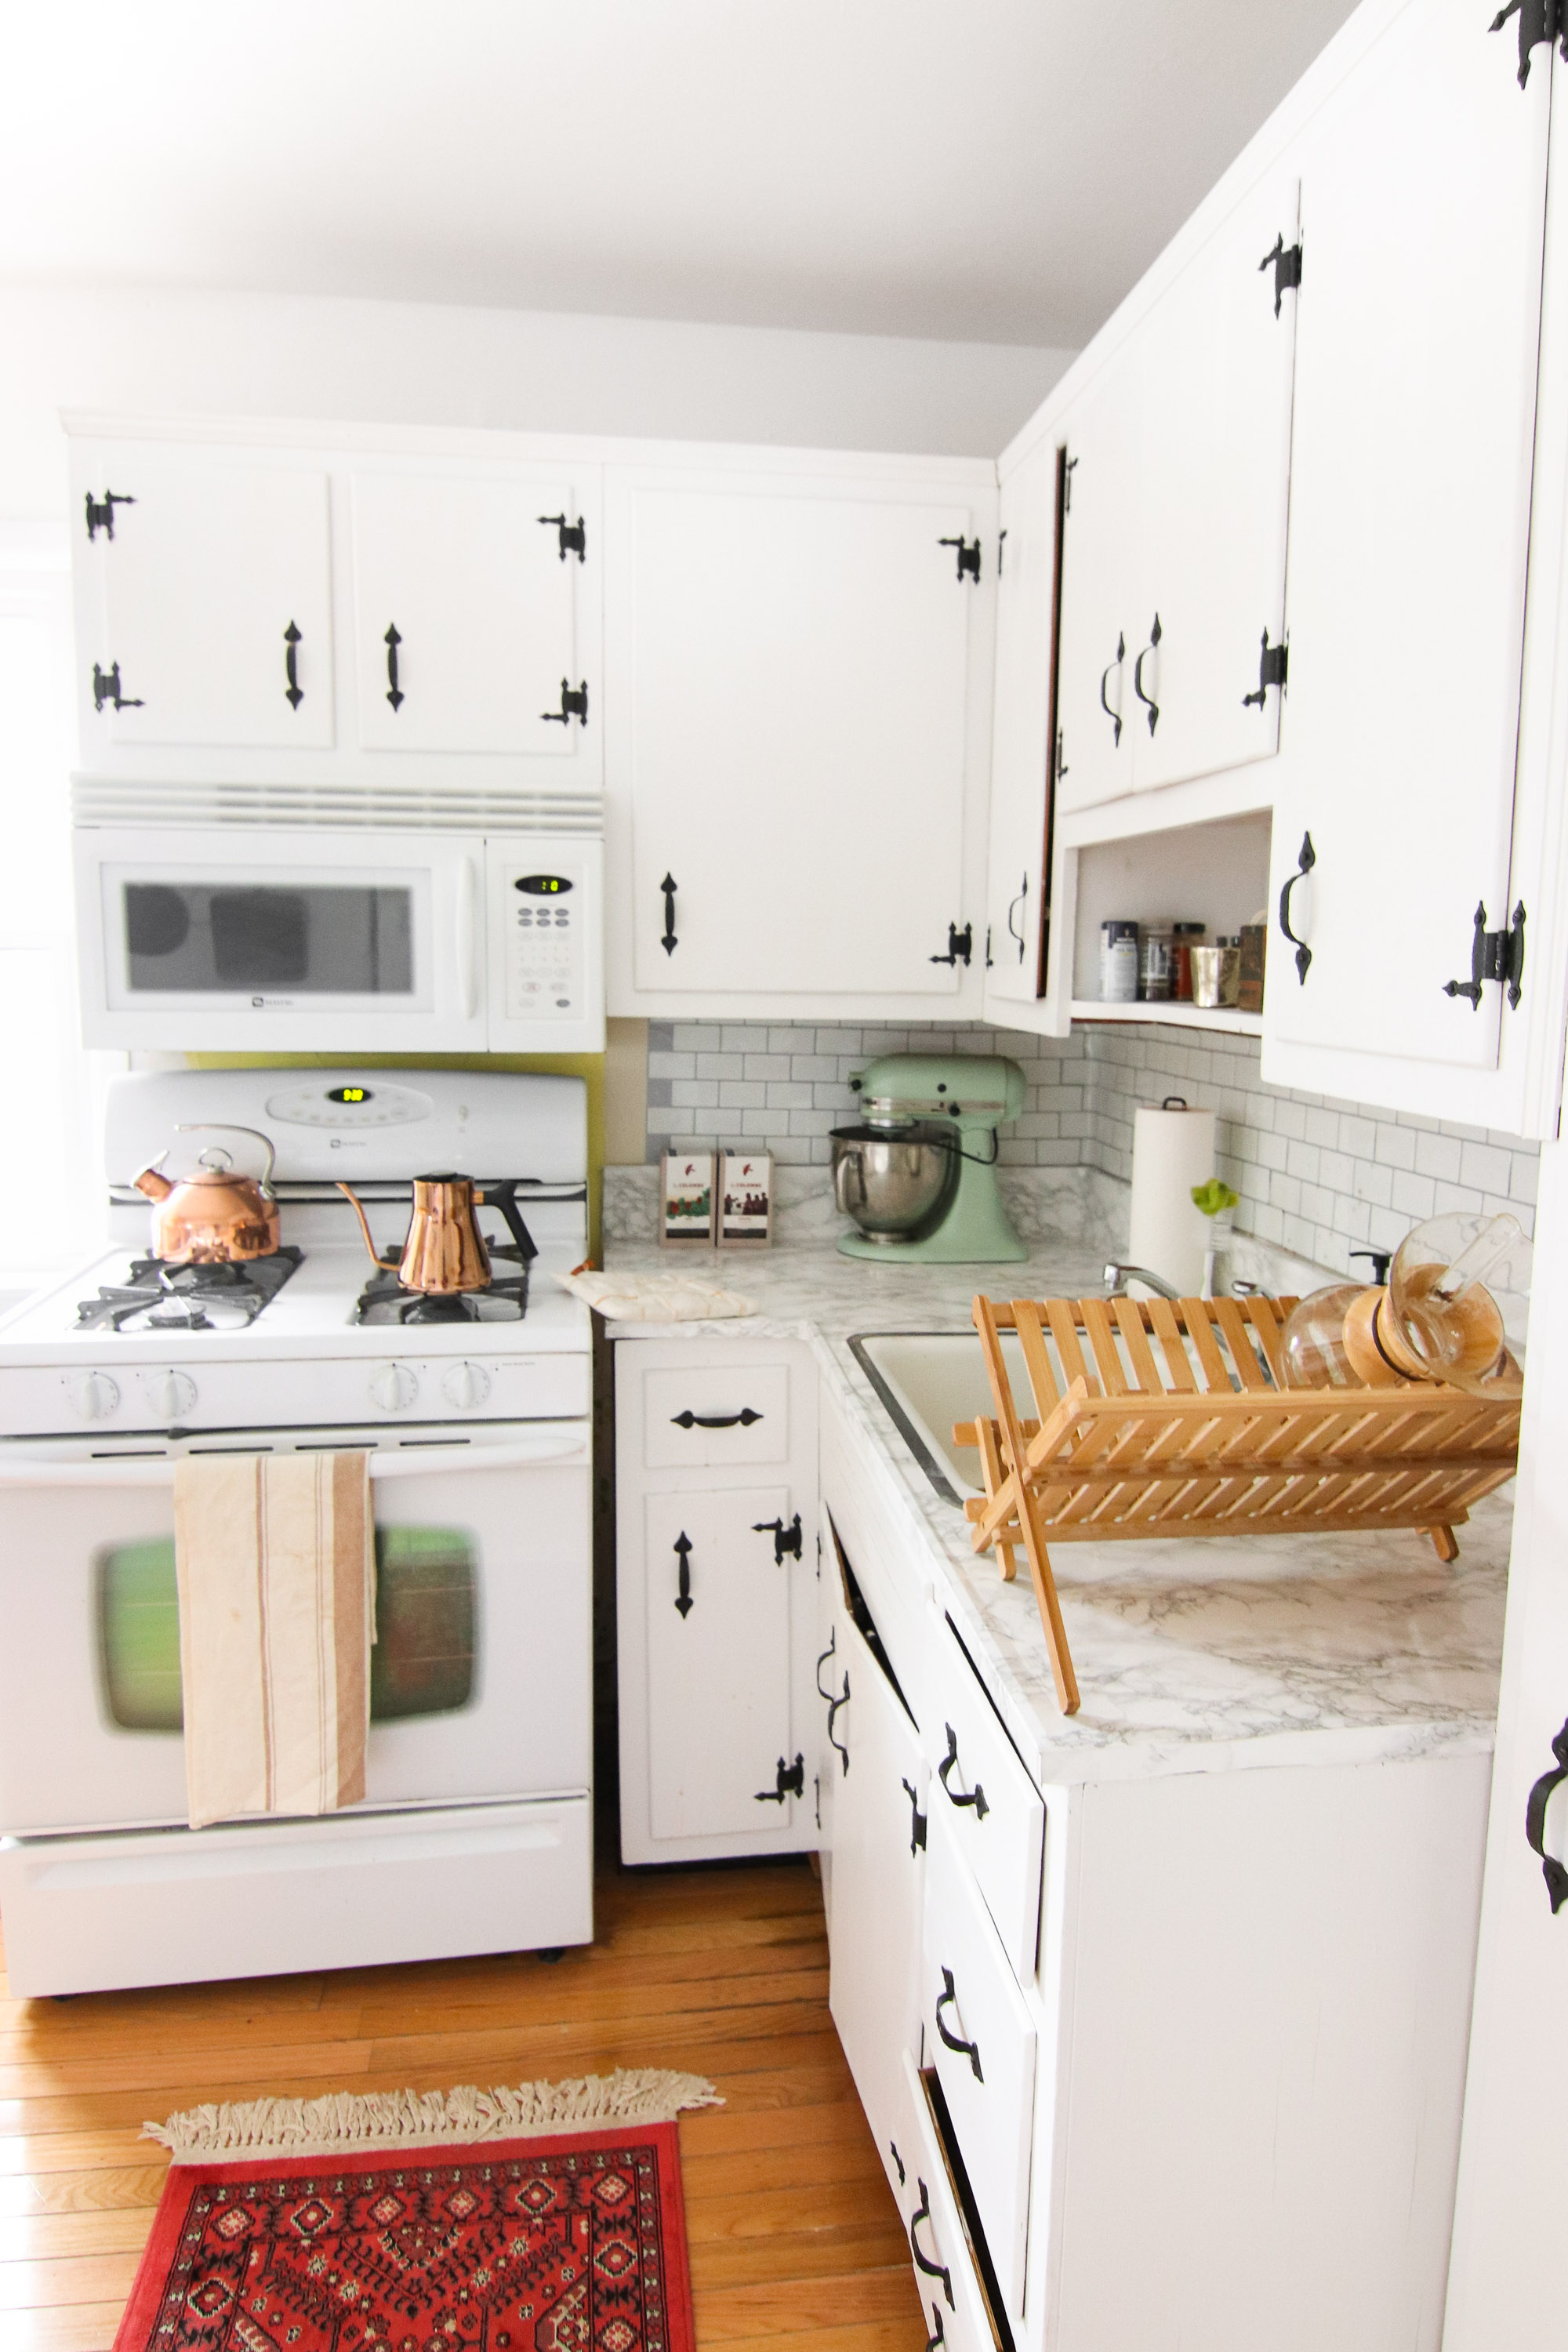
Before:
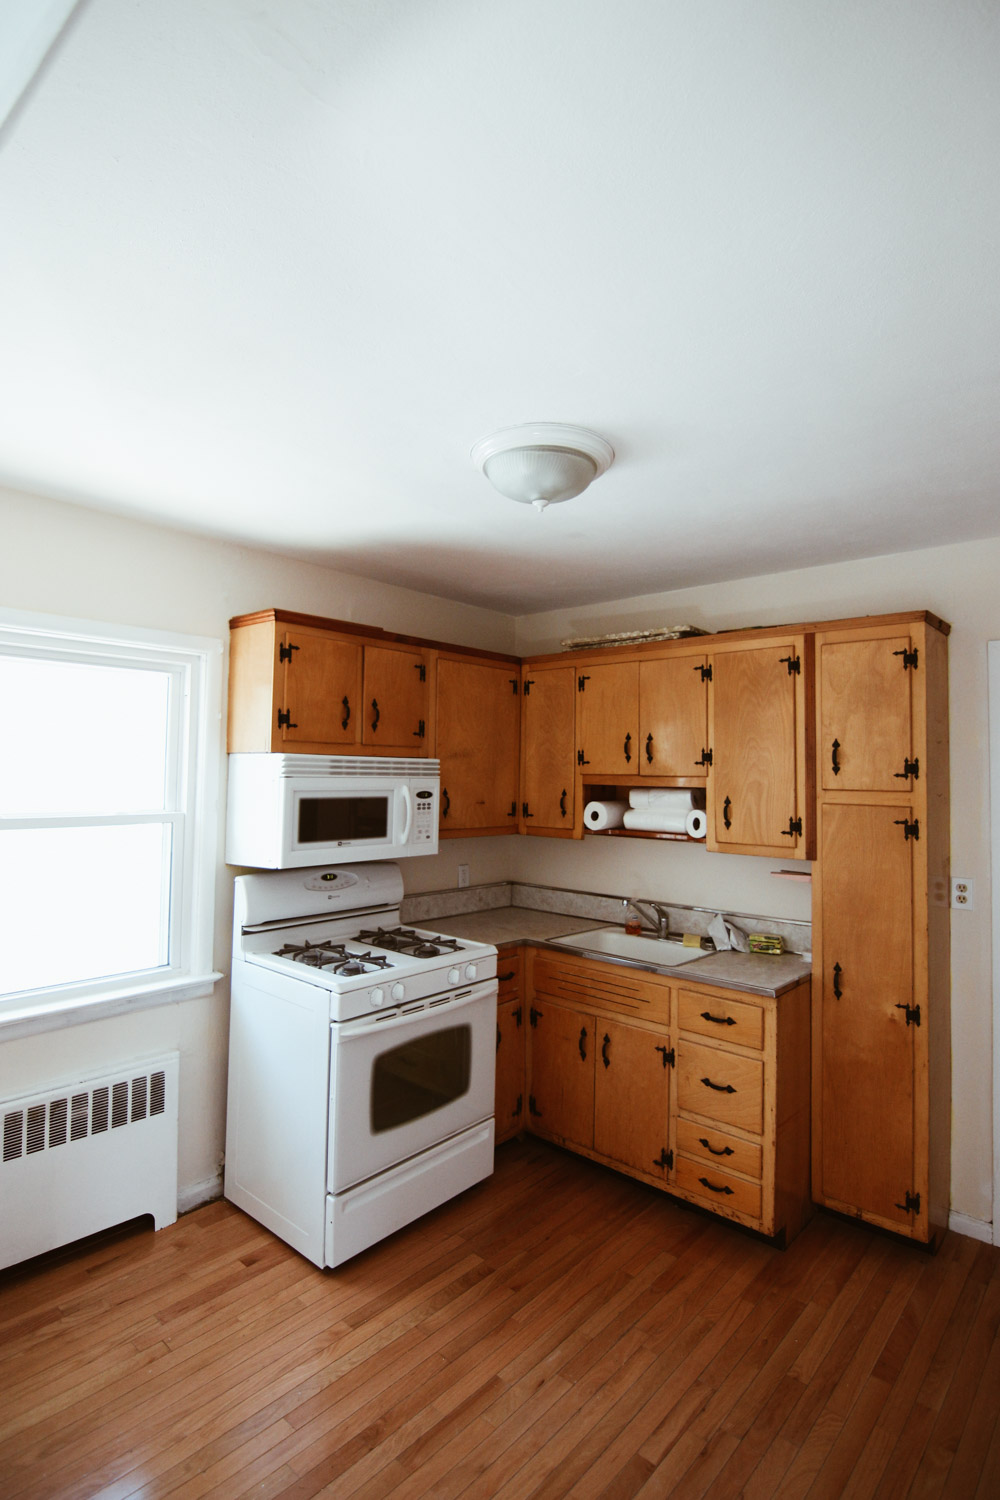
Most people put an “updated” kitchen at the top of their home-buying checklist. I on the other hand put it on the bottom. I actually prefer an outdated, awful, disgusting, smelly kitchen because then you can A. rip it out, no regrets, and put in the kind of kitchen you’ve always dreamed of or B. DIY it, and know that it couldn’t possibly get any worse.
When we first laid eyes on the kitchen in our home, my family full of contractors begged us to rip it out. They said it was in the wrong spot of the house (which okay, it is. It should be leading into the dining room, but is instead at the back of our home where a laundry room should be), they said the cabinets were disgusting, they said it couldn’t be saved and for a minute I listened. We had lofty [expensive] plans of gutting the kitchen, relocating it, adding in an island and starting from scratch. After a long pep talk from my brother, I felt inspired to attempt to make the kitchen better myself just to see what I could make of it. I read some articles online on how to paint cabinets white, and started to tackle the project myself. It is no easy feat, and it took tons of hours of labor, but I would say it was a week of grueling work that was completely worth it. The previous owner was an older woman who could not see very well, which was pretty apparent based on the amount of grease on the cabinets. I’ve never seen anything like it before in my life. I also found peeks of old wallpaper from the 1950’s which was adorable as I painted the walls white. Here’s how I painted my cabinets – I am NO expert, but I will brag and say that everything has held up really really well.
Expected time to finish the job: 1 week
HOW I PAINTED MY CABINETS – STEP BY STEP
Step 1 – Draw a map of your kitchen cabinets, and number each cabinet on your map. Then, using tape, label each cabinet with a corresponding number. This helps you to know where each cabinet goes once you remove all of the doors. Trust me, it can get really confusing, even if your kitchen is small. It was super helpful having a guide to assist me in putting the cabinets back on.
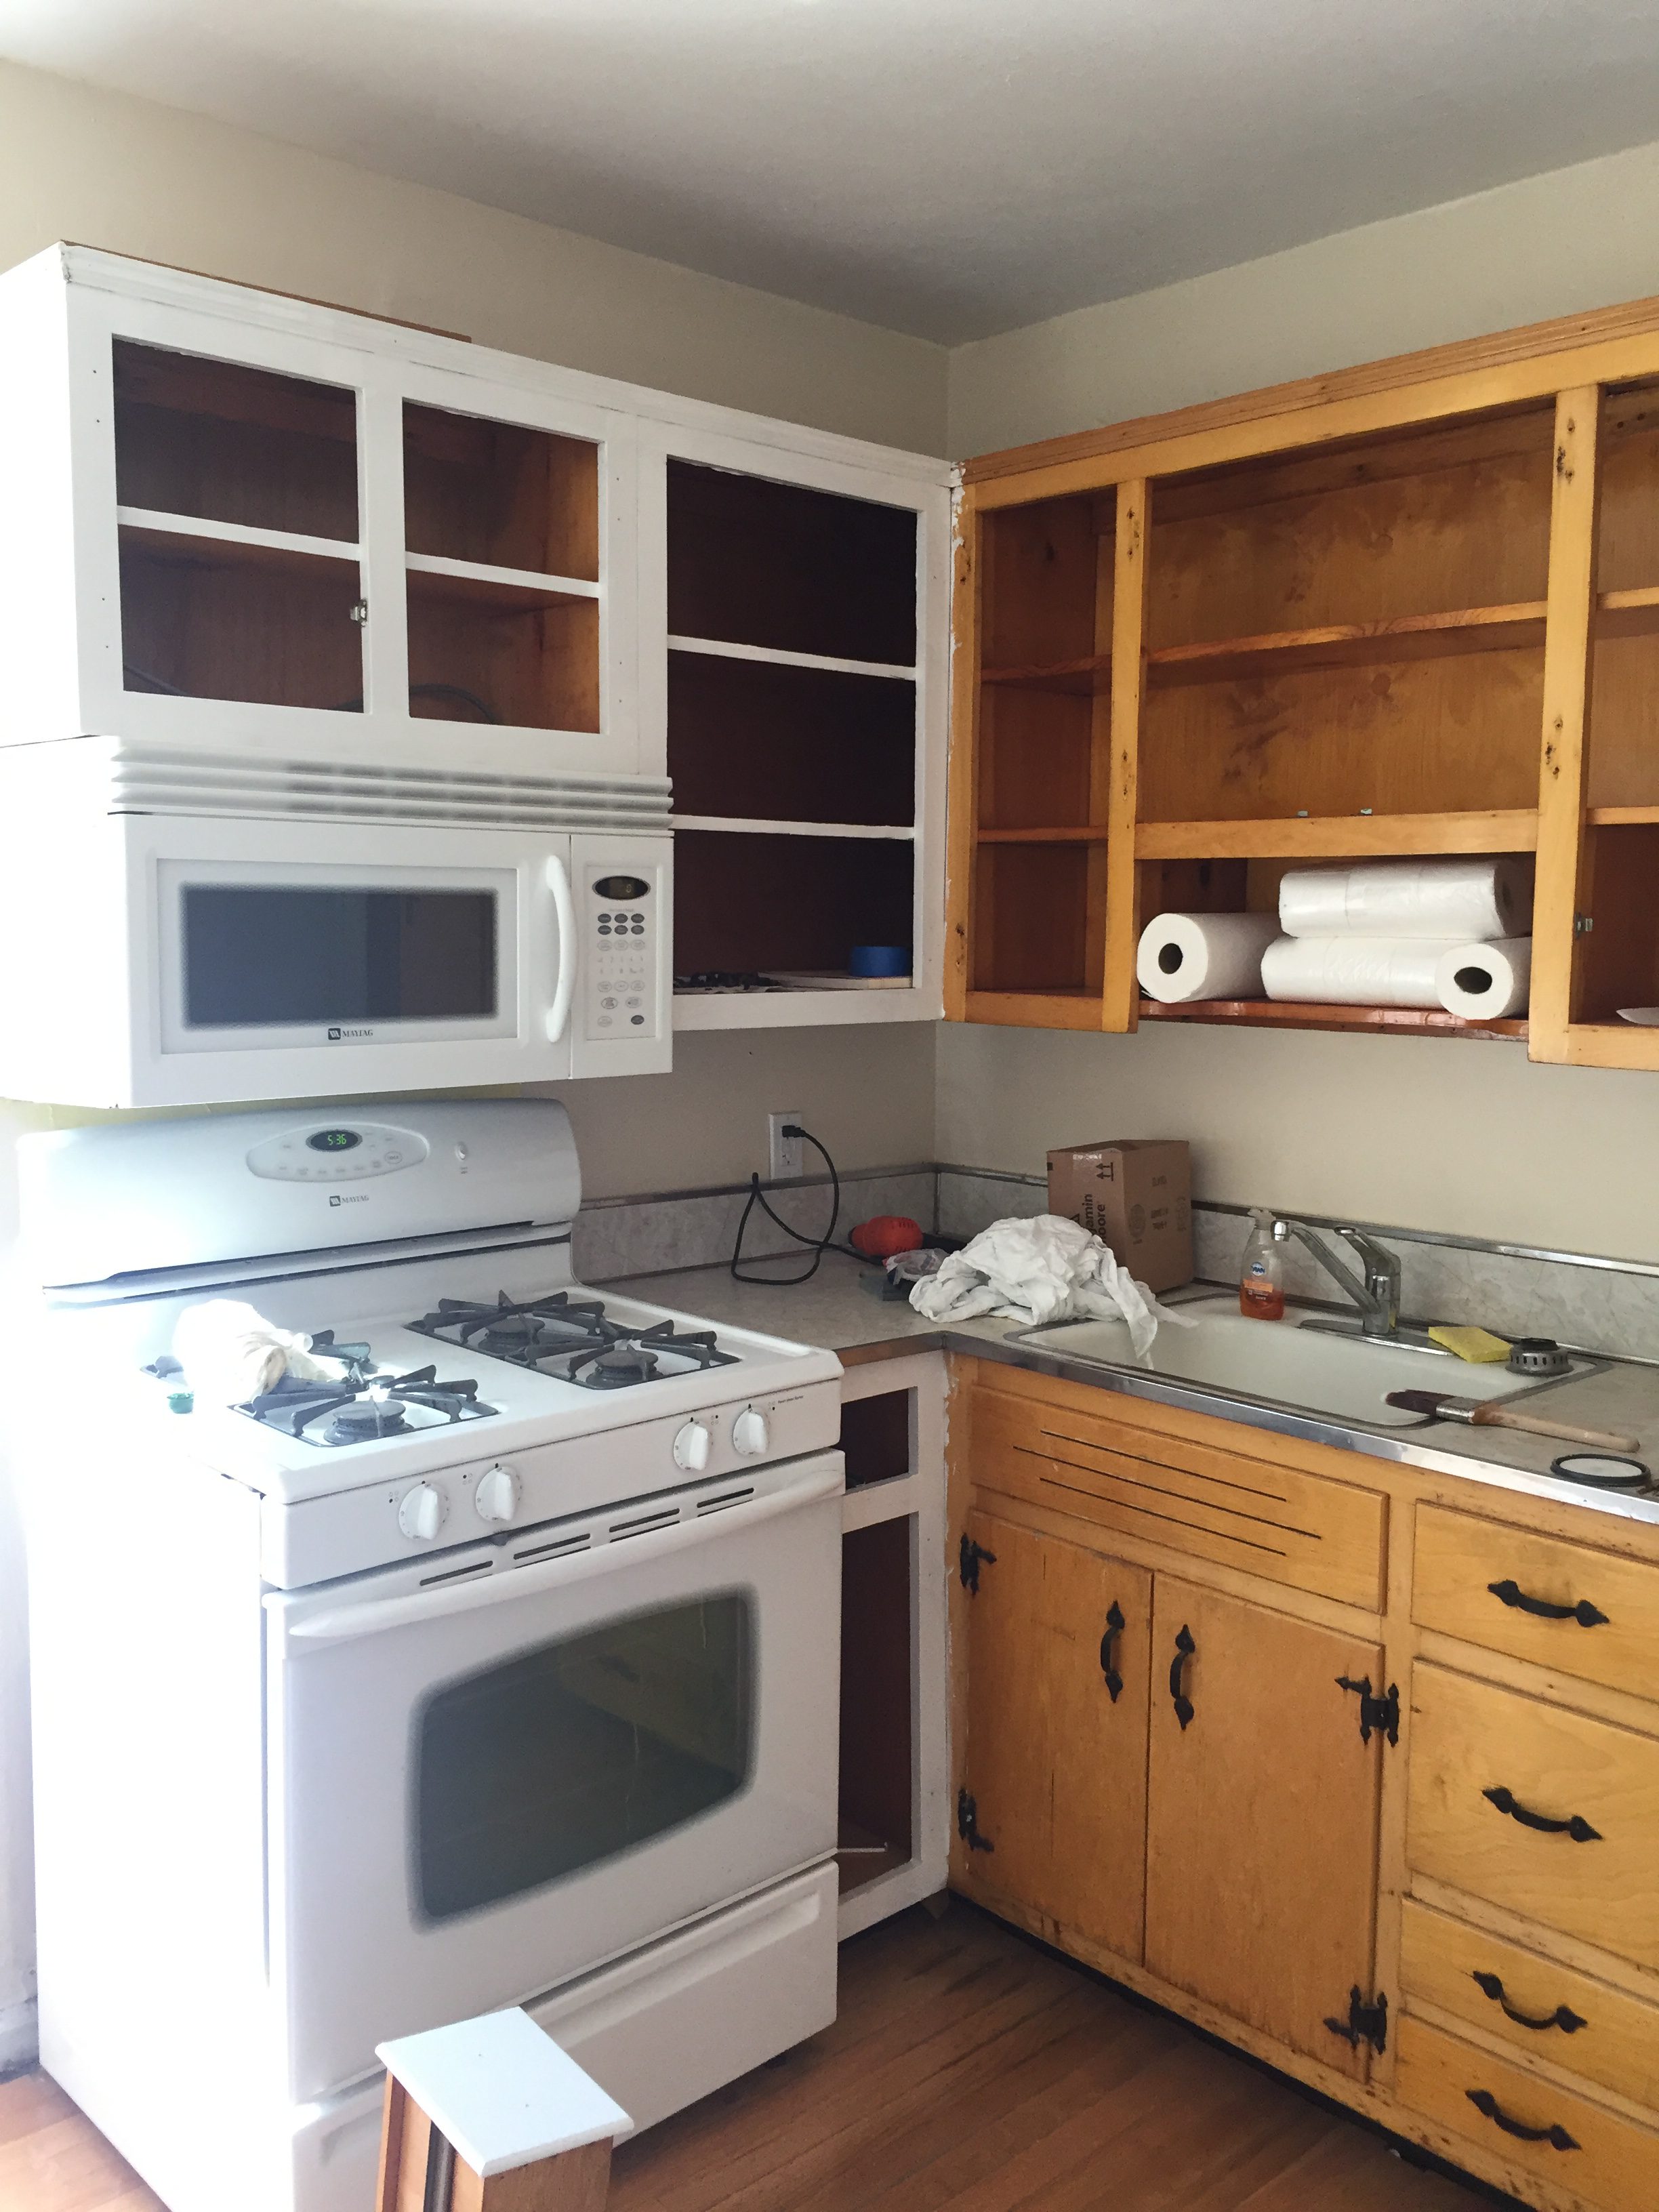
Step 2 – Remove all of the cabinets, and make sure that all of the hardware is stored in a safe place.
Step 3 – DEGREASE!! – I used Krud Kutter to remove all of the grease from my cabinets. Any surface I was planning on painting I degreased, because everything was so dirty, even the sections that didn’t seem to be. I read that it helps the paint stick better if the cabinets are very clean, so I took this step pretty seriously.
Step 4 – SAND!! – I used a thicker sandpaper because these cabinets are solid wood, and they had a gloss on top that I wanted to remove. I’ve heard that electric sanders are a great option as well, and in hindsight I may have spent the extra few dollars and invested in one for the project, because my wrists were very tired by the end of all of this.
Step 5 – PRIME! Because the cabinets were a dark wood, and I was painting them white, I primed everything beforehand using this primer, and added two coats. I basically spent an entire day or two just priming, and letting the primer dry before I even began to actually paint anything. By the time I went to paint the cabinets, they already looked pretty white because of how thick the primer is.
Step 6 – PAINT!! I went in to my local paint shop, and asked them for “chalk paint” because I heard this works extremely well on cabinets. They sold me INSL-X paint, which is what I used on my cabinets in a semi-gloss. I could not believe how thick this stuff is! I felt like it didn’t really need two coats, but just to be safe I painted two coats of it on. It has great coverage, and dries pretty quickly too. I painted with a roller, and used a brush for the tough edges, but I tried to use a brush as little as possible so it didn’t come out streaky.
Step 7 – Add a protective finish to prevent stains or damage. I used Minwax Polycrilic, and I am very happy with the results, because anytime the cabinets are dirty and I wipe them down, the dirt completely washes off. I used a brush for this step, and tried to be careful to hide the brushstrokes.
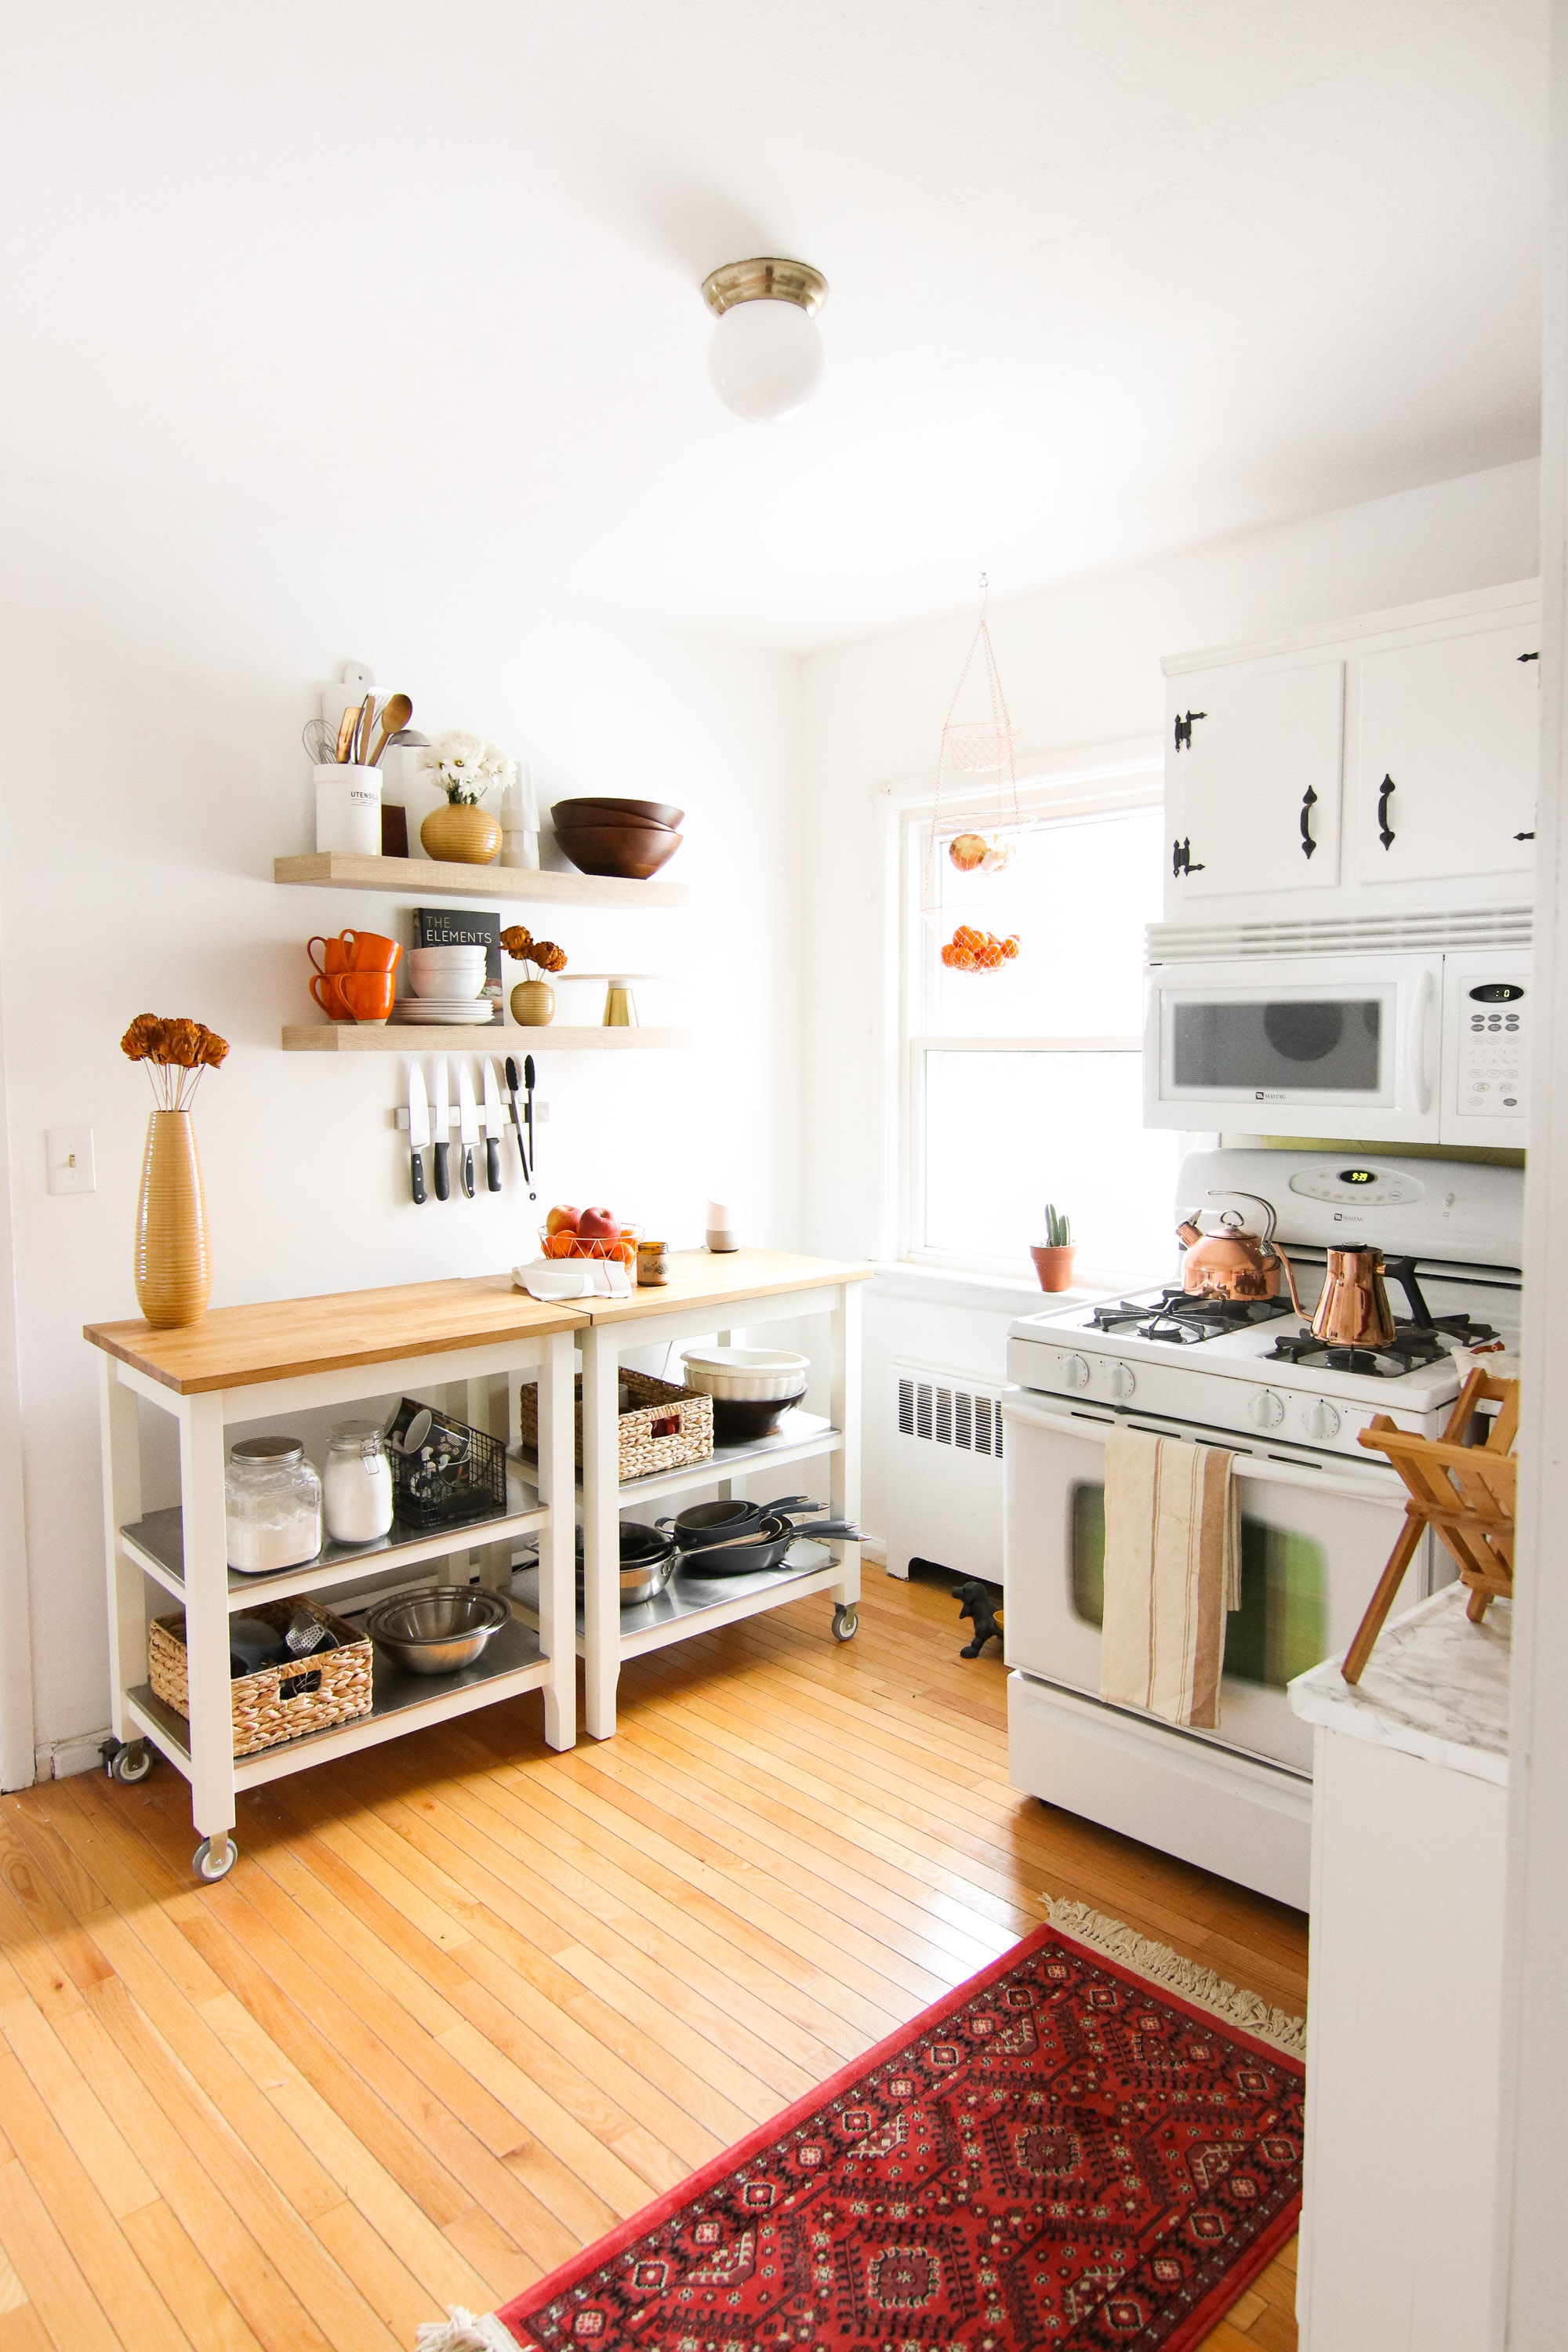
Step 8 – Reassemble your kitchen! After everything is done drying (I’d leave it to dry for a day) put the kitchen back together!
PRODUCTS USED:

SHOP THE POST: